
Recreating Leonardo da Vinci’s The Last Supper in cross stitch is a monumental undertaking that demands months, if not years, of dedicated stitching. Because of the immense time investment, choosing a pattern that delivers exceptional detail and colour accuracy is critical to ensuring the finished piece looks like a masterpiece rather than a pixelated blur. Evaluating the technical specifications of a pattern before starting helps you avoid the disappointment of muddy facial expressions or inaccurate historical tones.
To achieve a gallery-quality finish suitable for framing in your home, you must look beyond the cover photo of a kit or digital download. Understanding how fabric count, stitch count, thread quality, and pattern formatting interact will guide you to a design that respects the depth and emotion of the original mural.
Key Dimensions for Evaluating Pattern Detail
The level of detail in a cross stitch adaptation of The Last Supper depends heavily on the relationship between fabric count and the total stitch count. Fabric count refers to the number of holes per inch; for instance, 14-count Aida is highly accessible but produces larger stitches, whereas 25-count Evenweave or Linen allows for much smaller, denser stitches. If a pattern has a low total stitch count on a low-count fabric, the iconic facial expressions of the disciples and the intricate architectural perspective of the background will inevitably become blocky and indistinct.
Products mentioned in this guide
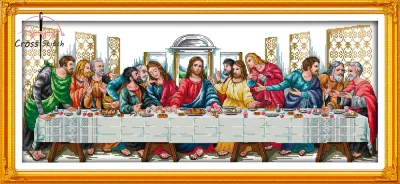
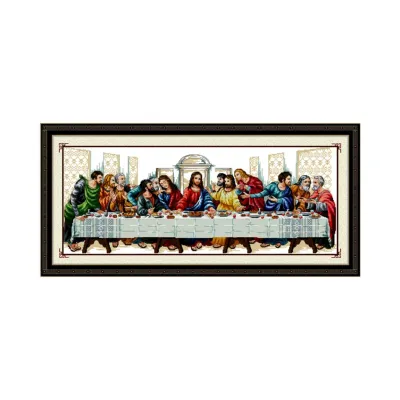
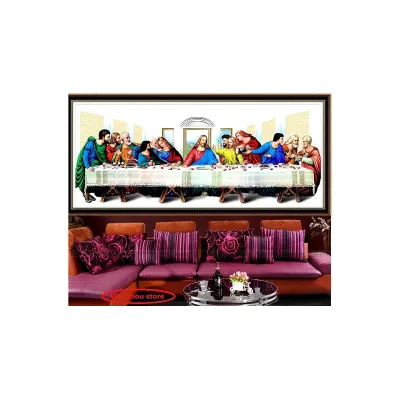
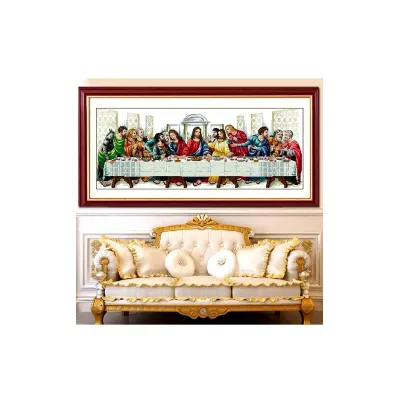
Prices are valid at publication and may change. Please refer to the product page for the latest price.
To preserve the subtle emotional nuances of the figures, a high-fidelity pattern typically requires a substantial total stitch count, often spanning hundreds of stitches in both width and height. When reviewing a pattern, check the dimensions of the grid rather than just the physical size of the fabric. A larger grid size means more individual pixels of colour, which translates directly into smoother transitions and sharper facial features.
Another critical factor in pattern detail is the use of specialty stitches. While full cross stitches form the bulk of the design, patterns that incorporate fractional stitches (such as quarter or three-quarter stitches) can render curved lines, like the drapery of robes or the contours of faces, with much greater precision. Backstitching is also frequently employed to define fine lines, tableware, and architectural borders, preventing the elements from merging into a single, flat shape.
Assessing Colour Accuracy and Thread Quality
The Last Supper is celebrated for its dramatic use of light and shadow, which requires a highly sophisticated colour palette to reproduce accurately in thread. When evaluating a pattern, look at the specified thread brand and the total number of colours used. Reputable patterns generally specify industry-standard threads, such as DMC or Anchor, which are widely available in Singapore and known for their colour fastness, consistent dye lots, and subtle sheen.

A high-quality pattern will often feature dozens of distinct thread shades to capture the soft gradients of the sky seen through the rear windows and the deep shadows beneath the table. Some advanced designs utilise colour blending, also known as tweeding, where one strand of each of two different colours is threaded into the needle simultaneously. This technique creates intermediate shades that smooth out harsh color transitions, preventing a blocky, paint-by-numbers appearance in the finished wall art.
The format of the pattern chart also plays a role in how accurately you can execute the colour scheme. Full-colour reference charts make it easy to visualise the final product and understand how the colours interact, while black-and-white symbol charts are often preferred for tracking progress without eye strain. The most usable designs provide high-contrast symbols that are easily distinguishable, reducing the risk of misinterpreting a symbol and stitching a section in the wrong shade.
Comparing Pattern Formats and Usability
Large-scale cross stitch projects require highly readable charts to prevent mistakes over long stitching sessions. When choosing a pattern, assess the clarity of the symbols, the thickness of the grid lines, and the overall page layout. Multi-page designs should include clear page-overlap guides, which show a shaded row or column from the adjacent page to help you transition seamlessly from one section to the next without losing your place.
You will also need to decide between a digital download (usually in PDF format) and a physical printed booklet. Digital patterns offer the convenience of instant access and the ability to zoom in on complex areas using a tablet or computer screen. They also allow you to use digital markup applications to highlight completed stitches. Physical booklets, on the other hand, do not require a screen, are immune to battery drain, and can be easily annotated with a physical highlighter, though they can wear out or tear over time.
Regardless of the format, a comprehensive pattern must include a clear stitch key that lists the symbol, the thread brand, the specific colour code, and the number of strands required for both full stitches and backstitching. Enlarged detail sections for highly complex areas, such as the hands and faces of the disciples, are also incredibly helpful for ensuring accuracy in the most challenging parts of the design.
Framing and Display Considerations for Finished Pieces
Before committing to a specific pattern, it is essential to calculate the final dimensions of the finished piece based on your chosen fabric count. A pattern with a stitch count of 400 by 200 stitches will measure approximately 73 by 36 centimetres on 14-count fabric, but only about 41 by 20 centimetres on 25-count fabric. Ensure the calculated size fits comfortably on your intended wall, keeping in mind that framing will add several centimetres to the overall dimensions.
When cutting your fabric, always allow for generous margins of at least 5 to 10 centimetres on all sides of the stitched area. These margins are critical for professional framing, mounting, or stretching, as they give the framer enough excess material to secure the piece tightly without distorting the tension of your stitches. In Singapore’s humid climate, proper mounting and framing under glass are highly recommended to protect the cotton threads from dust and moisture over time.
The weight of a fully stitched piece of this scale can be significant, especially if you choose a heavy fabric or a solid-coverage design where every square millimetre is stitched. Ensure that your framing choice includes sturdy backing board and robust hanging hardware. A heavy frame will require secure wall anchors to safely display your completed work of art as a focal point in your living space or dining room.
How to Verify Brand Claims Before Purchasing
With many digital patterns available online, it is important to verify the quality of a design before spending money and time on materials. One of the most reliable ways to do this is by looking for photos of completed projects stitched by other crafters. These photos reveal the actual thread colours and detail levels, allowing you to see if the finished piece matches the digital mockup provided by the designer.
Be cautious of patterns that appear to be simple, automated conversions of the original painting. Unlicensed or low-quality patterns often feature pixelated preview images, an excessive number of isolated stitches (known as “confetti”) that do not contribute to the detail, or missing colour keys. A high-quality adaptation is carefully charted by hand, with a designer refining the symbols and colour selections to ensure the stitching process is logical and enjoyable.
Check the product description for clear instructions regarding the design’s origin and licensing. Reputable designers will openly state whether their pattern is a public domain adaptation or an officially licensed reproduction of a specific art collection. Investing in a well-designed, verified pattern ensures that your hard work results in a stunning, durable piece of wall decor that you will be proud to display for years to come.
Frequently Asked Questions (FAQ)
What is the best fabric count for a detailed Last Supper pattern?
For a highly detailed rendering of The Last Supper, a higher fabric count such as 18-count Aida or 25-count Evenweave is generally recommended. These higher counts result in smaller stitches, which allow the intricate details of the faces, hands, and background architecture to appear much sharper and more refined. However, if you prefer an easier stitching experience that is gentler on the eyes, 14-count Aida is a popular choice, though it will result in a much larger finished piece with slightly less defined details.
Should I choose a stamped or counted cross stitch pattern for this design?
Counted cross stitch is highly recommended for a complex, detailed artwork like The Last Supper. Counted patterns are worked on blank fabric using a chart, which allows for absolute precision, a wider range of subtle colour gradients, and the use of high-quality specialty threads. Stamped cross stitch, where the pattern is pre-printed directly onto the fabric, offers convenience and is easier for beginners, but the printing process can sometimes lack the alignment precision required for highly detailed facial features and fine backstitching.
Community discussion
Share your experience or ask a question. Comments are reviewed before publication.