
Standard flats built by the Housing & Development Board (HDB) typically feature a floor-to-ceiling height of approximately 2.6 meters. This relatively low clearance poses unique challenges for interior lighting. Hanging chandeliers, bulky semi-flush fixtures, or deep pendant lights can make rooms feel claustrophobic and present physical hazards for taller occupants. A well-planned LED ceiling light replacement is the most effective way to reclaim vertical space while ensuring bright, even illumination throughout your home.
When selecting fixtures for a 2.6m ceiling, the goal is to maximize headroom without sacrificing light quality. Modern low-profile LED ceiling lights offer the perfect marriage of form and function, sitting close to the ceiling slab to create an illusion of spaciousness. By understanding the physical, optical, and electrical requirements of your HDB flat, you can confidently evaluate brands and select fixtures that will perform reliably for years to come.
Key Selection Criteria for 2.6m HDB Ceilings
Designing lighting for a low-clearance space requires a careful balance of physical dimensions and optical performance. At a height of 2.6 meters, a standard adult standing under a light fixture is physically close to the light source. This proximity dictates several critical design choices that you must verify before purchasing any fixture.
Products mentioned in this guide
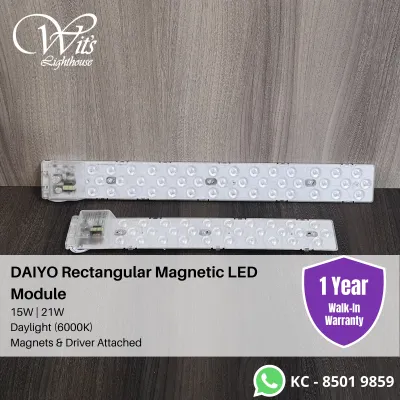
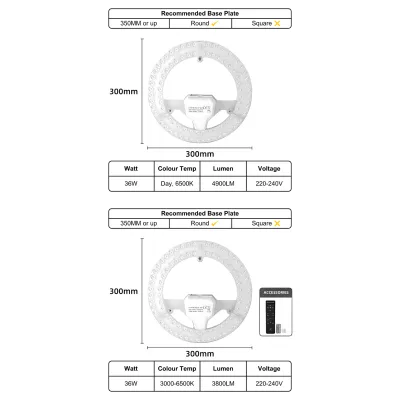
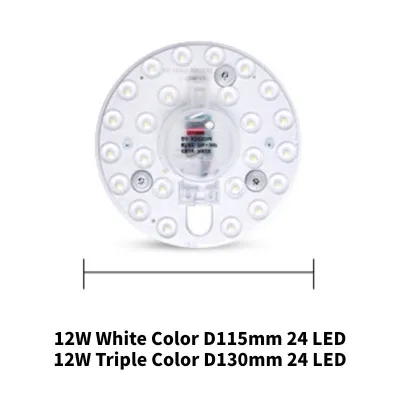
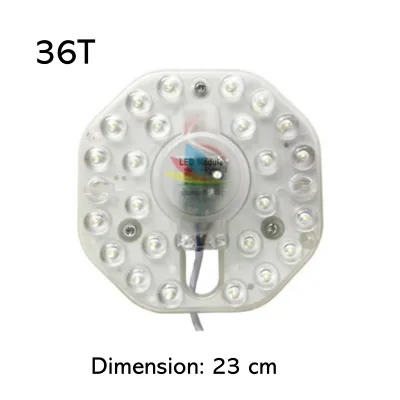
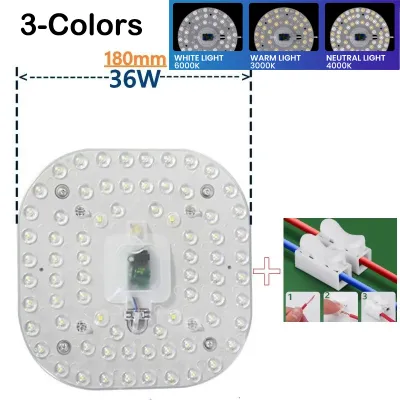
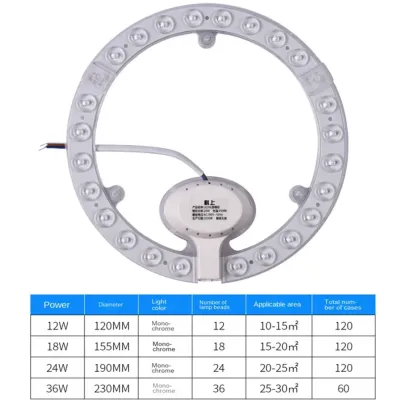
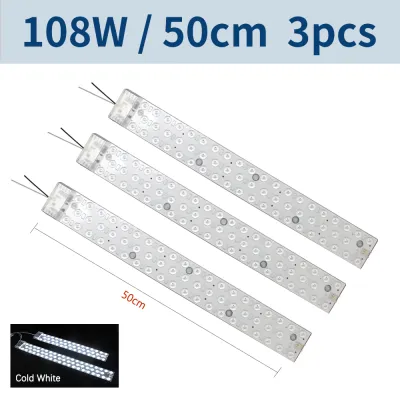
Prices are valid at publication and may change. Please refer to the product page for the latest price.
Fixture Profile and Depth Limits
To maintain comfortable headroom and prevent a cramped visual feel, the physical depth of the ceiling light is your primary constraint. For a 2.6m ceiling, the ideal fixture profile should not exceed 50mm (5cm) in thickness. Ultra-slim flush-mount LED panels, which often measure between 20mm and 35mm, are highly recommended.
Choosing a slim profile keeps the light source as close to the ceiling slab as possible. This design choice prevents the fixture from breaking the visual plane of the ceiling, which helps the room feel taller and more open. It also minimizes the risk of accidental contact when changing bedsheets, stretching, or moving tall furniture.
Optical Design and Glare Control
Because the light source sits closer to eye level in a 2.6m room, direct glare can quickly cause eye strain and headaches. To prevent this, look closely at the optical design of the fixture. Avoid fixtures with exposed LED chips or clear glass covers that project harsh, concentrated points of light.
Instead, prioritize fixtures equipped with high-quality frosted or opal diffusers. Diffusers made from polymethyl methacrylate (PMMA) or high-grade polycarbonate are excellent at scattering light evenly. Additionally, consider edge-lit LED panels rather than back-lit ones. Edge-lit fixtures direct the light inward toward a light guide plate, which then bounces the light downward, resulting in an incredibly soft, uniform glow with minimal glare.
Light Distribution Patterns
In a low-ceiling environment, a narrow beam of light will create a spotlight effect, leaving the upper corners of the walls in deep shadow. This “cave effect” makes a room feel smaller and darker than it actually is. To combat this, select fixtures with a wide beam angle, ideally 110 degrees or broader.
A wide light distribution pattern ensures that light washes over the walls and reaches the corners of the room. Some advanced low-profile fixtures also feature a subtle back-glow or indirect lighting component. This design allows a small percentage of light to escape upward and outward across the ceiling surface, visually lifting the ceiling and softening the transition between the light fixture and the concrete slab.
Heat Dissipation and Materials
LEDs are highly efficient, but they still generate heat at their semiconductor junctions. In ultra-slim, enclosed flush-mount fixtures, this heat can build up rapidly if not managed correctly. Excessive heat is the primary cause of premature LED chip degradation and driver failure.
When evaluating fixtures, check the construction materials of the chassis. High-quality fixtures utilize aluminum backplates or specialized thermal plastics that act as efficient heat sinks. Aluminum is highly effective at conducting heat away from the internal electronics and dissipating it into the surrounding air. Avoid fixtures constructed entirely of cheap, thin plastics, as they tend to trap heat, leading to yellowing of the diffuser and a rapid drop in light output over time.
Evaluating Brand Reliability and Local Support
With countless lighting options available on ecommerce platforms and in local showrooms, identifying reliable brands requires a structured evaluation framework. In Singapore, brand reliability is directly tied to safety compliance, warranty terms, and the availability of local after-sales support.

Mandatory Safety Certifications
Electrical safety is paramount when installing fixed lighting in your home. In Singapore, LED drivers—the components that convert mains AC voltage to low-voltage DC—are classified as Controlled Goods under the Consumer Protection (Safety Requirements) Registration Scheme.
Before purchasing any LED ceiling light, verify that the product or its integrated LED driver carries the red and blue Safety Mark issued by Enterprise Singapore. This mark indicates that the product has undergone rigorous testing by recognized laboratory bodies and is certified safe from electrical shocks, short circuits, and fire hazards. Avoid unbranded or parallel-imported fixtures that lack this certification, as they may not be designed to handle local voltage fluctuations.
Warranty Coverage and Terms
A manufacturer’s warranty is a strong indicator of product build quality. When comparing brands, look for a minimum warranty period of 2 to 3 years. However, it is crucial to read the fine print to understand what the warranty actually covers.
In many budget fixtures, the warranty may only cover the LED chips themselves, which naturally have a long lifespan. However, the LED driver is almost always the first component to fail. Ensure the warranty explicitly covers both the LED chips and the driver. A comprehensive warranty that includes local 1-for-1 exchanges or on-site servicing provides the greatest peace of mind.
Availability of Replacement Parts
Many integrated LED ceiling lights are designed as sealed units. If the driver fails after the warranty period, you are often forced to discard the entire fixture, which is both costly and environmentally unfriendly.
Reliable brands design their fixtures with modularity in mind. They offer easily accessible, quick-connect replacement drivers that can be swapped out without removing the entire light chassis from the ceiling. Before committing to a brand, ask the retailer if they stock individual replacement drivers and compatible diffusers, or check if the brand has an established local distributor in Singapore that provides spare parts.
Transparency in Technical Specifications
Reputable lighting brands are transparent about their technical specifications. Look for clear labeling on the packaging or product data sheets that includes the following metrics:
- Color Rendering Index (CRI): A CRI of Ra 80 or higher is standard for residential spaces, while Ra 90 or higher is ideal for areas where color accuracy matters, such as dining rooms and vanity mirrors.
- Luminous Efficacy: This measures how much light the fixture produces per watt of electricity. High-quality modern LEDs should deliver at least 80 to 100 lumens per watt (lm/W).
- Lifespan Ratings: Look for standard industry ratings such as L70, which indicates the number of operating hours before the light output drops to 70% of its original brightness. A reliable fixture should offer an L70 rating of at least 25,000 to 50,000 hours.
Step-by-Step LED Ceiling Light Replacement Checklist
Replacing an old ceiling fixture with a modern LED light is a structured process that requires careful preparation and strict adherence to safety protocols. Use this step-by-step checklist to guide your replacement project.
1. Pre-Purchase Inspection
Before buying a new fixture, you must understand the physical and structural conditions of your existing setup:
- Identify the Ceiling Type: Determine if your ceiling is a solid concrete slab (typical of standard HDB construction) or a gypsum board false ceiling. This will dictate the type of mounting anchors you need.
- Inspect the Existing Mount: Remove the cover of your current light fixture. Check if it is mounted to an embedded plastic or metal junction box, or if it is screwed directly into the concrete using plastic wall plugs.
- Measure the Footprint: If you are replacing a large fluorescent fixture, it may leave behind unpainted patches or screw holes. Measure the footprint of the old fixture and ensure your new LED ceiling light is large enough to cover these imperfections, or prepare to patch and paint the ceiling before installation.
2. Electrical Compatibility and Load Verification
Ensure your home’s electrical system is compatible with the new fixture:
- Check the Voltage: Singapore's standard mains voltage is 220V to 240V AC at 50Hz. Ensure the new fixture's driver is rated for this input range.
- Verify Dimmer Compatibility: If you plan to use a dimmer switch or a smart home dimming system, you must purchase a fixture specifically labeled as "dimmable." Connecting a standard non-dimmable LED driver to a dimmer switch will cause severe flickering, buzzing, and rapid driver failure.
- Inspect Wire Insulation: Examine the copper wires protruding from the ceiling. In older HDB flats, years of heat exposure from legacy incandescent or fluorescent bulbs can make the plastic wire insulation brittle or cracked. If the insulation is damaged, it must be repaired or replaced before installing the new light.
3. Safe Removal and Disposal Protocols
Handling old fixtures requires care, especially if you are transitioning away from legacy lighting technologies:
- Isolate the Power: Never rely solely on the wall switch to turn off the power. Switch off the corresponding circuit breaker at your home's main distribution board (DB box). Use a non-contact voltage tester at the ceiling wires to verify that the circuit is completely dead before touching any wires.
- Support the Weight: When unscrewing the old fixture, ensure you support its weight so it does not hang by the electrical wires, which can damage the internal connections inside the ceiling conduit.
- Dispose of Hazardous Materials Safely: If you are removing old circular fluorescent tubes, remember that they contain small amounts of toxic mercury vapor. Do not throw them down the HDB rubbish chute. Wrap them carefully to prevent breakage and dispose of them at designated e-waste recycling points located across Singapore.
4. Knowing When to Call a Licensed Electrician
While a straightforward, one-for-one replacement of a light fitting on healthy, existing wiring can be completed by a confident homeowner, you must stop and consult an Energy Market Authority (EMA) licensed electrical worker (LEW) if you encounter any of the following situations:
- No Earth Wire Present: Older HDB flats may lack a green-and-yellow earth wire at the ceiling point. If your new fixture has a metal chassis, it legally and safely requires grounding. An LEW must be engaged to run a proper earth wire.
- Damaged or Crumbling Wiring: If the wire insulation is charred, cracked, or crumbling, attempting to connect a new fixture can cause a short circuit or electrical fire.
- Creating New Lighting Points: If you want to relocate the light fixture, install track lighting, or run new exposed PVC conduits, this constitutes modification of fixed electrical wiring and must be performed by a licensed professional.
- Structural Drilling Constraints: Drilling into HDB concrete ceiling slabs requires care to avoid hitting embedded steel reinforcement bars (rebars) or electrical conduits. If you are unsure of the drilling path, professional installation is highly recommended.
Room-by-Room Lighting Needs in Typical HDB Layouts
Every room in an HDB flat serves a different functional purpose, meaning your choice of LED ceiling light specifications should vary depending on the space.
| Room Type | Recommended Lumen Output | Color Temperature (K) | Key Feature to Prioritize |
|---|---|---|---|
| Living & Dining | 3,000 – 4,500 lm | 3000K – 6500K (Tri-Color) | Wide beam angle, high CRI (>=90) |
| Bedrooms | 1,500 – 2,500 lm | 2700K – 4000K | Glare-free diffusion, dimming capability |
| Kitchen | 2,000 – 3,000 lm | 4000K – 6500K | IP44 rating, easy-to-clean surface |
| Bathrooms | 1,000 – 1,500 lm | 3000K – 4000K | IP44 or higher moisture resistance |
| Service Yard | 1,000 – 1,500 lm | 4000K – 6500K | Dust and insect resistance |
Living and Dining Areas
As the central hub of the home, the living and dining area requires versatile lighting that can transition from bright, functional illumination to a relaxed evening ambiance. For standard rectangular HDB living rooms, a large, slim rectangular or circular LED panel (30W to 50W) provides excellent general ambient light.
To maximize versatility, choose a tri-color LED ceiling light. These fixtures allow you to cycle through daylight (6500K) for reading or cleaning, cool white (4000K) for daily activities, and warm white (3000K) for dining. Ensure the fixture has a high Color Rendering Index (CRI) of Ra 90 or above so that food on the dining table and home decor colors appear vibrant and true to life.
Bedrooms
In the bedroom, the primary goal is to create a restful, low-glare environment. Because you will often look directly up at the ceiling while lying in bed, avoiding harsh light points is critical. Select a flush-mount fixture with a thick, high-quality opal diffuser that softens the light output.
A warm white color temperature (2700K to 3000K) is highly recommended for bedrooms, as it promotes the natural production of melatonin, helping you wind down for sleep. Consider smart-enabled or dimmable LED ceiling lights, allowing you to lower the brightness levels gradually as the evening progresses.
Kitchens and Bathrooms
Kitchens and bathrooms are high-humidity zones exposed to steam, grease, and water splashes. Standard indoor ceiling lights installed in these areas will quickly suffer from moisture ingress, leading to corroded contacts, short circuits, and mold growth inside the diffuser.
For these spaces, you must select fixtures with an Ingress Protection (IP) rating of at least IP44. An IP44 rating indicates that the fixture is sealed against water splashes from any direction and prevents solid objects larger than 1mm (such as small insects and dust) from entering. Additionally, choose fixtures with smooth, flat profiles that are easy to wipe clean of grease and condensation.
Service Yards and Corridors
Service yards and corridors are transitional spaces that require compact, durable, and highly functional lighting. Service yards, in particular, are semi-outdoor environments exposed to wind-blown rain, high humidity from laundry, and dust.
Select compact, utility-style LED flush mounts (12W to 18W) with an IP44 rating for the service yard to ensure long-term durability against the elements. For corridors, a series of small, low-profile flush mounts or surface-mounted downlights spaced evenly along the hallway will provide safe, uniform passage without cluttering the narrow ceiling space.
Frequently Asked Questions (FAQ)
Can I install a flush-mount light if my HDB has a false ceiling?
Yes, you can install a flush-mount LED light on a false ceiling, but you must pay close attention to structural support and weight limits. Standard gypsum board false ceilings are relatively fragile and cannot support heavy fixtures directly.
For lightweight LED panels weighing under 1.5kg, you can use specialized spring clips or butterfly toggle anchors that distribute the weight across the gypsum board. For heavier fixtures, the mounting screws must anchor directly into the metal support runners (studs) of the false ceiling framework. If the fixture is exceptionally heavy, long threaded rods must be anchored through the false ceiling directly into the concrete slab above.
Do I need a licensed electrician for LED ceiling light replacement in Singapore?
Under the regulations set by the Energy Market Authority (EMA) of Singapore, any modification, extension, or installation of fixed electrical wiring must be carried out by a Licensed Electrical Worker (LEW).
While a simple, one-for-one replacement of an existing light fitting—where no changes are made to the fixed wiring or circuit breakers—is technically permissible for homeowners to perform themselves, hiring an LEW is highly recommended. A licensed professional ensures that the installation complies with Singapore Standard SS 638 (the Code of Practice for Electrical Installations). This guarantees proper grounding, prevents potential electrical fire hazards, and ensures your home insurance coverage remains fully valid in the event of an electrical accident.

Community discussion
Share your experience or ask a question. Comments are reviewed before publication.