
For a standard 2.6m HDB ceiling, the most suitable LED track light profiles are ultra-slim, surface-mounted tracks with a height of 15mm to 20mm, or recessed track profiles paired with compact, short-body light heads. Because a 2.6m ceiling height leaves limited vertical clearance, avoiding bulky tracks and long pendant-style fixtures is essential to prevent the space from feeling cramped or visually cluttered. Selecting the right profile requires balancing physical dimensions, light distribution, and structural constraints to maintain a comfortable, open living environment.
Assessing Room Layout and Track Placement for 2.6m Ceilings
In standard Singapore HDB flats with a 2.6m ceiling height, spatial planning is the foundation of a successful lighting layout. Before purchasing any track lights, map out the exact furniture arrangement of your living room, dining area, or bedrooms. High-traffic zones, such as the main walkway from the entrance to the kitchen or bedrooms, should be kept clear of low-hanging or protruding fixtures. Placing a track directly over these pathways can make the ceiling feel lower than it is and increases the risk of taller occupants or guests feeling closed in.
Additionally, identify existing ceiling fixtures that might interfere with your track routing. Ceiling fans are common in HDB flats, and their rotating blades can create a highly distracting strobing effect if they intercept the light beam from a nearby track head. Ensure there is sufficient clearance between the fan blades and the track. Air conditioning units and structural beams also dictate where tracks can run. Instead of installing a massive grid that covers the entire ceiling, plan targeted track zones that focus light only where it is needed, such as highlighting a gallery wall, a dining table, or a workspace. This zoned approach keeps the ceiling clean and prevents the room from looking visually cluttered.
Products mentioned in this guide
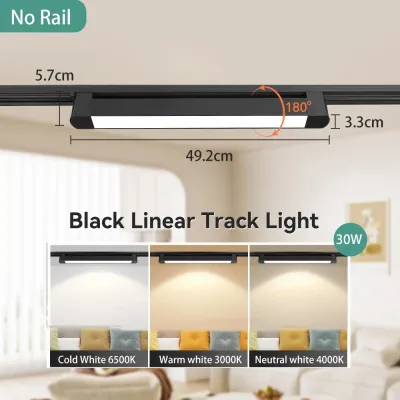
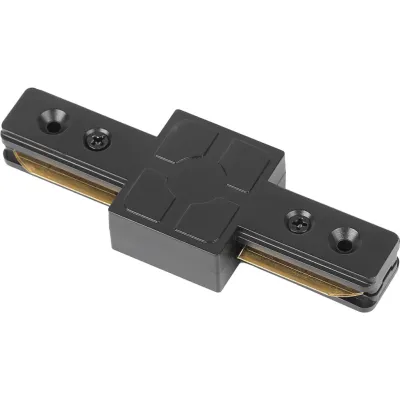
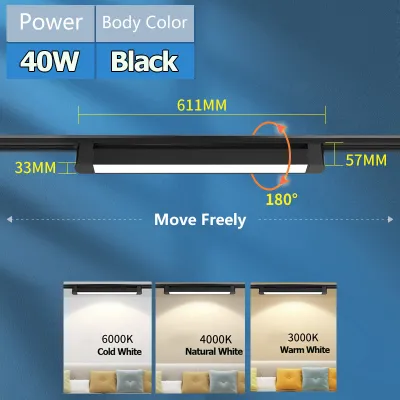
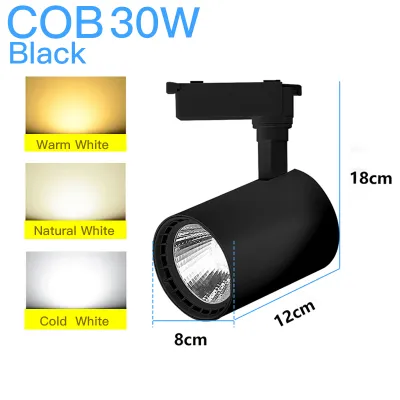
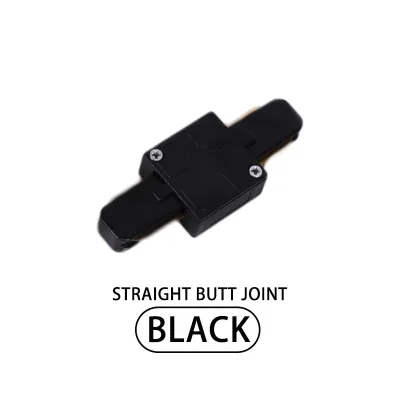
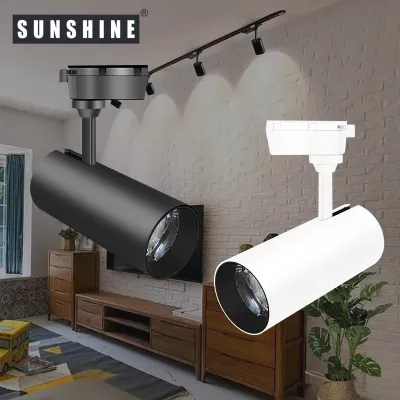
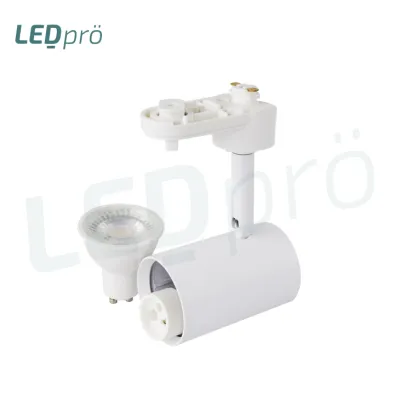
Prices are valid at publication and may change. Please refer to the product page for the latest price.
Choosing Low-Profile and Recessed Track Systems
Selecting the right track base is critical to preserving precious vertical clearance in a 2.6m room. Surface-mounted tracks are the most common choice for HDB flats because they install directly onto the concrete ceiling slab without requiring major structural modifications. When shopping for surface tracks, compare the physical thickness of different profiles. Standard tracks can protrude up to 30mm or more, but ultra-slim profiles are available at heights of 15mm to 20mm. Choosing a slimmer profile minimizes the visual break on the ceiling plane, helping the track blend in.

Recessed track profiles offer an incredibly sleek, flush finish, but they come with specific installation requirements. In an HDB flat, you cannot cut deep channels into the original concrete ceiling slab to bury a track, as this compromises structural safety. Therefore, recessed tracks require the installation of a gypsum false ceiling. While a false ceiling hides the track housing and wiring completely, it also drops the overall ceiling height by at least 75mm to 100mm. If your starting height is 2.6m, this drop will bring the ceiling down to around 2.5m or less. You must decide whether the flush look of a recessed track is worth the loss of physical headroom.
If you choose a low-voltage magnetic track system, which often features very slim profiles, you must also plan for the transformer. These systems run on low voltage (typically 24V or 48V) and require a driver to convert the mains power. Because these drivers are bulky, they cannot always be hidden inside the slim track itself. You will need to verify where the transformer will be housed—such as inside a nearby cabinet, a wardrobe, or a dedicated ceiling access hatch—to ensure it remains accessible for maintenance while keeping the ceiling profile clean.
Selecting Proportionate Light Heads and Drop Lengths
The size and design of the individual LED light heads are just as important as the track profile itself. For a 2.6m ceiling, avoid long, dangling pendant track heads or bulky, industrial-sized fixtures that draw too much attention upward. Instead, opt for compact cylinder designs, flat-head spotlights, or adjustable fixtures with short mounting arms. The total projection of the fixture—measured from the ceiling to the lowest point of the light head—should ideally be kept under 150mm to maintain a comfortable clearance.
When evaluating adjustable track heads, check the maximum drop length when the fixture is tilted at various angles. A light head that looks compact when pointing straight down might extend significantly lower when angled to highlight a wall. Ensure that even at its most extreme tilt, the fixture does not encroach into the standing headroom of the room. This is particularly important in areas where people stand up or sit down frequently, such as around dining tables or sofas.
Light distribution and glare control are also vital in low-ceiling environments because the light source sits closer to eye level. To prevent harsh glare, select light heads with deep-set optics, where the LED chip is recessed deep within the housing, or fixtures that support honeycomb louvers. Choose moderate lumen outputs and wider beam angles (such as 36 to 60 degrees) to distribute light evenly across surfaces. Narrow, high-intensity beams from a low height can create intense hot spots on the floor, which visually emphasizes the short distance between the ceiling and the ground.
Using Color and Light Direction to Enhance Space
Aesthetics and light direction play a major role in how we perceive the height of a room. One of the simplest ways to make a 2.6m ceiling feel higher is to match the finish of the track and fixtures to the ceiling color. In most HDB flats, ceilings are painted matte white. Choosing matte white tracks and white light heads allows the entire system to visually dissolve into the ceiling plane. Conversely, a black track on a white ceiling creates a sharp, high-contrast line that cuts the space into segments, drawing the eye directly to the ceiling’s lower height. If you prefer a high-contrast or industrial aesthetic, limit black tracks to small accent zones rather than running them across the entire living room.
Your choice of color temperature and spatial lighting effects are highly personal preferences, but they should be selected to complement the room’s mood. While warm white (3000K) or cool white (4000K) light can alter the perceived atmosphere, the direction of the light is what truly manipulates the perception of space. Instead of pointing all your track heads straight down at the floor, utilize wall-washing techniques. Angle the adjustable fixtures toward the walls, particularly the upper third of the vertical surfaces. Illuminating the walls draws the eye upward, emphasizing the vertical boundaries of the room and creating an illusion of greater height.
Avoid relying solely on direct, downward spotlighting. When light is focused entirely on the floor, it leaves the upper walls and ceiling in shadow, which can make the room feel cave-like and cramped. Soft, reflected light bouncing off light-colored walls creates a more balanced, ambient glow that opens up the room, making the 2.6m ceiling feel much less restrictive.
Installation Constraints and Electrical Safety Checks
Before purchasing or installing any track lighting system, you must address several electrical and structural safety requirements. First, verify the electrical specifications of the track system. Ensure the operating voltage matches Singapore’s standard residential supply (220-240V) and check that the total wattage of all planned LED fixtures does not exceed the wattage limit of the track rail or the capacity of your existing lighting circuit. Additionally, confirm that the track system and fixtures carry valid local electrical safety certifications, such as the Safety Mark, to ensure they have been tested for safe residential use.
When planning the physical installation, be mindful of HDB structural constraints. Drilling into concrete ceilings must be done with extreme care. HDB slabs contain structural reinforcement bars and pre-stressed steel cables that must never be damaged. Always use an electronic scanner to check for concealed metal or wiring before drilling any mounting holes, and use appropriate masonry plugs that do not require excessive drilling depth.
Electrical safety must be your top priority. Before any installation, modification, or testing of wiring, ensure that the power is completely isolated at the main distribution board (DB box). While mounting the physical track rail to the ceiling can be a DIY task for those with the proper tools and experience, all fixed electrical connections—including wiring the live-end connector to the ceiling junction box, modifying existing circuits, or installing dimming switches—must be performed by a licensed electrician. This ensures the installation complies with local wiring regulations and prevents serious hazards like electrical fires or shocks.
Frequently Asked Questions (FAQ)
Can I install recessed track lights in an existing HDB ceiling?
Installing recessed track lights directly into an original concrete HDB ceiling slab is not permitted, as cutting deep channels (chasing) into the structural concrete is strictly prohibited under HDB renovation guidelines. To achieve a flush, recessed look, you must install a gypsum false ceiling. This false ceiling creates a hollow cavity below the concrete slab to house the recessed track profiles, wiring, and external LED drivers. Keep in mind that a false ceiling will drop your overall room height by approximately 75mm to 100mm. If you are starting with a 2.6m ceiling, you must evaluate whether the seamless look of recessed lighting is worth the slight reduction in physical headroom. Always consult a qualified renovation contractor to assess your flat’s structural layout before proceeding.
What is the ideal distance between the track and the wall for wall washing?
For a standard 2.6m HDB ceiling, the ideal distance to mount your track from the wall for wall washing is typically between 45cm and 60cm. Placing the track too close to the wall (under 30cm) will cause the light to graze the surface too sharply, creating harsh hot spots and highlighting minor wall imperfections. Placing it too far away (over 80cm) will cause the light to spill onto the floor, losing the vertical washing effect. This distance should be adjusted based on the beam angle of your light heads and your preferred aesthetic. It is highly recommended to temporarily hold a single fixture at different distances to test the visual effect, or consult the manufacturer’s spacing charts, before drilling and mounting the track permanently.

Community discussion
Share your experience or ask a question. Comments are reviewed before publication.