
Selecting the ideal Philips Hue downlight for your home requires a thoughtful approach that goes beyond simply choosing a single model for every ceiling. In modern residential spaces, such as apartments, HDB flats, and condominiums, rooms serve highly distinct purposes—ranging from high-focus culinary preparation in the kitchen to relaxed winding down in the bedroom. Achieving the ideal balance of functionality and atmosphere depends on matching the specific light output series, beam angle, and physical cut-out dimensions of each downlight model to the unique structural and environmental conditions of each room. By planning your smart lighting layout based on these technical and spatial parameters, you can avoid common pitfalls like insufficient brightness, awkward glare, or costly installation mismatches.
Understanding Philips Hue Downlight Variants
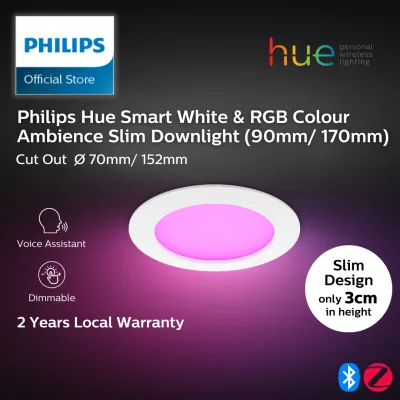
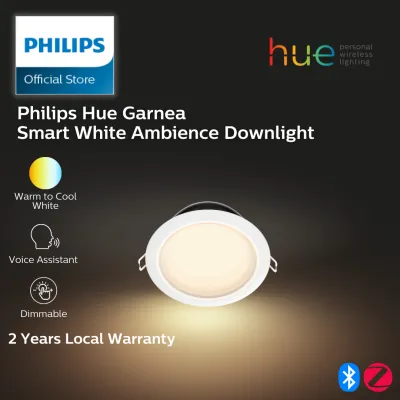
To build a cohesive smart lighting system, you must first understand the primary differences between the available Philips Hue downlight variants. The brand categorizes its light output capabilities into three main series: White, White Ambiance, and White and Color Ambiance. The basic White series provides a fixed, warm white light, which is highly suitable for areas where the atmosphere does not need to change. The White Ambiance series introduces tunable white light, allowing you to transition seamlessly from cool daylight tones for focus to warm, golden tones for relaxation. For maximum flexibility, the White and Color Ambiance series offers millions of colors alongside the full spectrum of white light, making it a versatile choice for entertainment zones and creative accent lighting.
Beyond color capabilities, the physical distribution of light is determined by the beam angle of the downlight. Models with a wide beam angle distribute light broadly across a space, making them excellent for general ambient illumination in rooms with standard ceiling heights. Conversely, models with a narrow beam angle concentrate light into a tight, focused cone. These are typically used to highlight specific architectural features, artwork, or task areas, and they help prevent glare by keeping the light source recessed and directed downward. When planning your ceiling layout, consider how the height of your ceiling affects this spread; higher ceilings generally require narrower, more concentrated beams to maintain adequate light levels at floor level.
Products mentioned in this guide

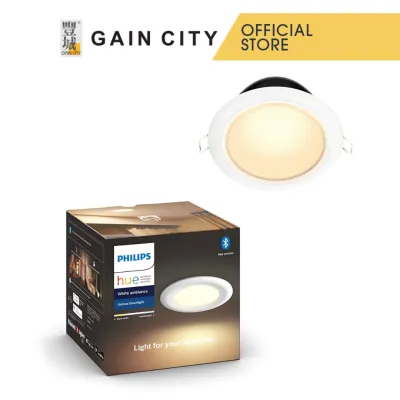
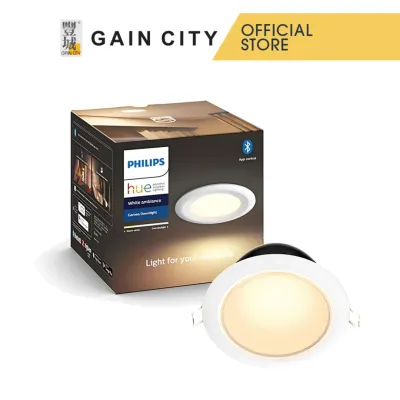
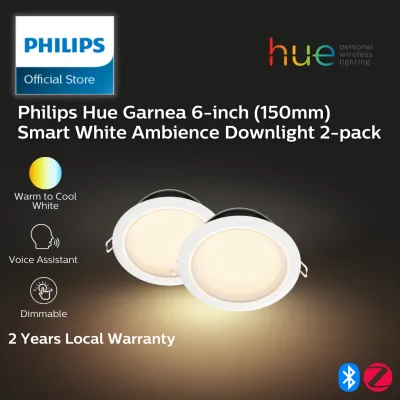
Prices are valid at publication and may change. Please refer to the product page for the latest price.
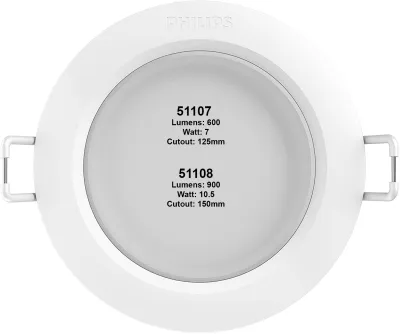
Finally, physical compatibility is a critical factor that cannot be overlooked. Downlights are designed to fit into specific ceiling cut-out diameters, which are typically measured in millimetres. Before purchasing any smart downlight, you must verify the exact dimensions of your existing ceiling holes or coordinate with your renovation contractor to ensure new false ceilings are cut to the precise specifications of the chosen model. Additionally, check the recess depth of the downlight housing against the available cavity space behind your plasterboard ceiling to ensure there is sufficient clearance for heat dissipation and wiring.
Living Room and Entertainment Areas
The living room is the multi-functional heart of the home, serving as a space for hosting guests, watching movies, reading, and relaxing. To accommodate these diverse activities, the downlights in this area must offer versatility. Opting for White Ambiance or White and Color Ambiance variants allows you to dynamically adjust the environment. For instance, you can set a bright, cool white light during afternoon cleaning, transition to a soft, warm white for evening conversations, or program vibrant color scenes that sync with your television or music system during movie nights.

For general ambient lighting in the living room, wide beam angle downlights are highly recommended. They provide an even wash of light across the room, minimizing harsh shadows and dark corners. To create a sophisticated atmosphere, avoid relying solely on ceiling downlights; instead, layer your lighting by combining downlights with smart lightstrips behind the television console, floor lamps in reading nooks, or accent spots highlighting artwork. This layered approach reduces eye strain and allows you to customize the visual depth of the room depending on the time of day.
When integrating smart downlights into a living room, you must pay close attention to your physical wall switches. Traditional wall dimmers are incompatible with smart lighting systems; because smart downlights require a constant, uninterrupted flow of electricity to maintain their wireless connection, using a traditional dimmer switch will cause the bulbs to flicker, buzz, or disconnect entirely. To resolve this, you should have a qualified professional bypass your existing wall dimmers to provide constant power to the fixtures, and then install smart-compatible wireless switches or remotes over the old switch plates to control your scenes and dimming levels safely.
Kitchen and Dining Spaces
In the kitchen and dining areas, lighting must balance high-performance task utility with inviting social ambiance. The kitchen is primarily a workspace where safety and precision are paramount during food preparation, chopping, and cooking. For these zones, prioritizing bright, cool-to-neutral white light variants is essential. Cool white light enhances visibility, improves contrast, and helps you spot cleanliness details on countertops and cooking surfaces. Positioning downlights directly above work zones—such as countertops, sinks, and stoves—prevents your body from casting shadows over your workspace.
For dining tables and kitchen islands, the lighting strategy should shift toward creating a focused, intimate gathering point. Here, utilizing downlights with narrower or adjustable beam angles allows you to direct light precisely onto the tabletop without spilling harsh glare into the eyes of seated family members or guests. Choosing tunable White Ambiance models for these fixtures is highly beneficial, as it allows you to use clear, bright light during meal prep or homework sessions, and then transition to a warm, candle-like glow for dinner parties.
Because kitchens are active environments subject to steam, grease, and occasional water splashes, you must verify the suitability of the installation environment. While standard dry-rated downlights are acceptable for general ceiling areas far from water sources, any fixtures positioned directly above sinks or close to high-steam cooking appliances should be checked for appropriate Ingress Protection (IP) ratings. Ensure that the chosen models are rated to withstand the moisture levels of these specific zones to prevent premature component failure or electrical hazards.
Bedrooms and Bathrooms
Bedrooms and bathrooms represent two extremes of the home environment, requiring vastly different approaches to smart lighting design. In the bedroom, the primary goal is to support your body’s natural circadian rhythm and promote relaxation. Selecting warm white or tunable White Ambiance downlights is ideal for this space. By programming your lights to gradually warm and dim as bedtime approaches, you can minimize exposure to harsh blue light, which is known to disrupt sleep patterns. For early mornings, the same lights can be set to mimic a gentle sunrise, helping you wake up feeling more refreshed.
Bathrooms, on the other hand, are high-moisture environments that demand strict adherence to safety standards. Water and electricity are a dangerous combination, meaning you must check the manufacturer’s specifications to ensure your chosen downlights are certified for wet or damp locations. Typically, bathrooms are divided into safety zones based on proximity to water sources like showers and bathtubs. Downlights installed directly inside or above these wet zones must feature a high IP rating (such as IP44 or higher) to prevent water ingress.
Due to the complex safety regulations surrounding bathroom electrical installations, you should never attempt to install or replace these fixtures yourself. Always consult a licensed electrician to assess your bathroom’s layout, verify local electrical safety codes, and perform the installation. A professional will ensure that the fixtures are properly sealed, grounded, and connected to a circuit protected by a Residual Current Device (RCD) to guarantee safety for your household.
Essential Installation and Compatibility Checks
Before purchasing your Philips Hue downlights, conducting a thorough technical audit of your home’s electrical and structural setup is crucial to avoid costly compatibility issues. Begin by measuring your existing ceiling cut-out diameters with a precise measuring tape. Smart downlights come in specific, non-adjustable sizes, and even a few millimetres of difference can prevent a fixture from fitting securely or leave unsightly gaps around the edge. Additionally, measure the vertical cavity depth behind your plasterboard ceiling; smart downlights often require more clearance than traditional, ultra-thin LED panels to accommodate their internal wireless receivers and heat sinks.
Next, verify your home’s electrical specifications. In Singapore, the standard mains voltage is 230V at a frequency of 50Hz. Ensure that the downlight models you purchase are rated for this voltage range to prevent electrical damage or fire hazards. You must also decide how you plan to control your smart ecosystem. While many modern Hue downlights support direct Bluetooth control for basic adjustments within a single room, achieving full functionality—such as out-of-home control, voice assistant integration, custom schedules, and synchronization with entertainment systems—requires a dedicated smart bridge, such as the Hue Bridge, connected directly to your home router.
Finally, establish clear boundaries for your installation process. While replacing a simple, plug-and-play smart bulb in an existing lamp is a safe DIY task, installing recessed ceiling downlights often involves working with fixed electrical wiring, cutting plasterboard, and working at heights. If your project requires running new electrical cables, modifying your ceiling structure, installing lights in damp environments like bathrooms, or bypassing old wall dimmers, you must isolate the mains power at the distribution board and hire a licensed electrical worker. Prioritizing professional installation ensures compliance with local building codes and guarantees the long-term safety of your home.
Frequently Asked Questions (FAQ)
Do Philips Hue downlights work without the Hue Bridge?
Yes, many modern Philips Hue downlight models feature built-in Bluetooth connectivity, allowing them to operate without a dedicated Hue Bridge. In Bluetooth mode, you can control your lights directly from your smartphone using a dedicated app, adjust brightness, change colors, and set basic scenes within a single room. However, this setup has notable limitations: the wireless range is restricted to the immediate room, you can only connect a limited number of devices (typically up to ten), and you will not have access to advanced features like remote control when away from home, complex automation schedules, or integration with wider smart home ecosystems. To unlock these advanced capabilities, adding a Hue Bridge to your network is required.
Can I replace my existing standard downlights with Philips Hue models?
In most cases, you can replace traditional downlights with smart models, provided you verify several physical and electrical factors beforehand. First, measure the existing ceiling cut-out diameter and the depth of the ceiling cavity to ensure the new smart downlight housing fits securely into the space. Second, you must address your existing wall switches; if your current downlights are connected to a traditional wall dimmer switch, it must be bypassed or replaced by a professional electrician. Smart downlights require constant, un-dimmed power to keep their internal wireless chips active, and attempting to dim them using a traditional wall switch will cause severe flickering and potential damage to the light’s internal circuitry.
Community discussion
Share your experience or ask a question. Comments are reviewed before publication.