
Philips Hue downlights are highly suitable for Singapore HDB flats with a standard 2.6-meter ceiling height, provided you carefully plan the installation and configuration. At this mounting height, achieving comfortable illumination requires matching the fixture’s beam angle to the lower clearance, managing potential glare through recessed trims, and verifying that your false ceiling depth can accommodate the physical housing of the smart fixtures. Additionally, ensuring proper electrical compatibility and maintaining constant power to the units are essential steps to preserve their smart functionality. By addressing these physical and technical parameters, you can create a seamless, glare-free smart lighting system that enhances the spatial feel of your flat.
Understanding Light Distribution at 2.6m Ceiling Height
When designing a lighting layout for a standard 2.6-meter HDB ceiling, the relationship between mounting height and light spread is critical. Because the ceiling is relatively low compared to high-ceiling apartments, the light emitted from a downlight has less distance to travel and disperse before reaching floor or task level. This shorter throw distance means that the beam angle specified by the manufacturer directly dictates whether your rooms will be illuminated by soft, overlapping pools of light or marred by intense, localized hot spots.
To ensure adequate coverage, you must check the manufacturer’s beam angle specifications for your chosen downlight model. A narrow beam angle concentrates light into a tight cone, which can create harsh, high-contrast pools of light on the floor and leave the upper portions of your walls in shadow. For a 2.6-meter ceiling, wider beam angles are generally preferred for general ambient lighting, as they allow the light cone to expand quickly, providing a more even and diffused distribution across the living space.
Products mentioned in this guide
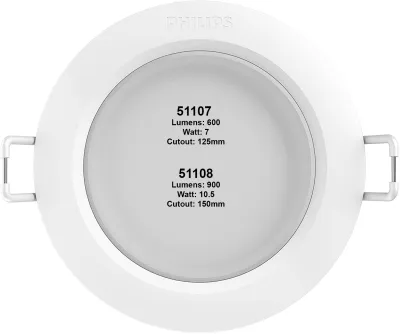
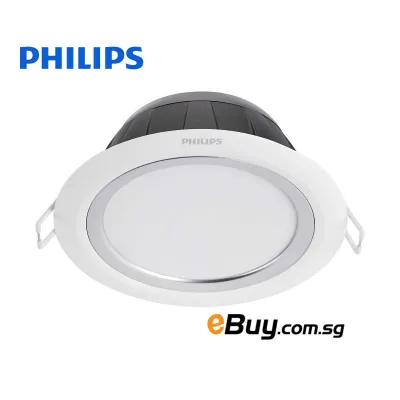
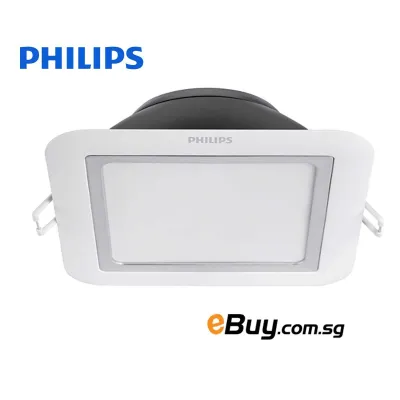
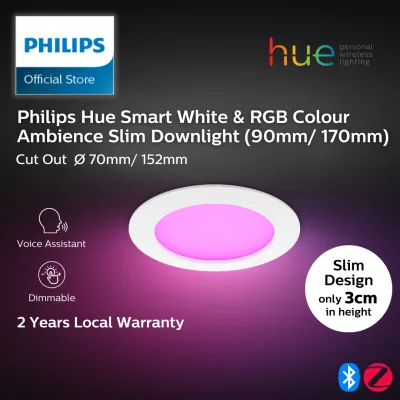
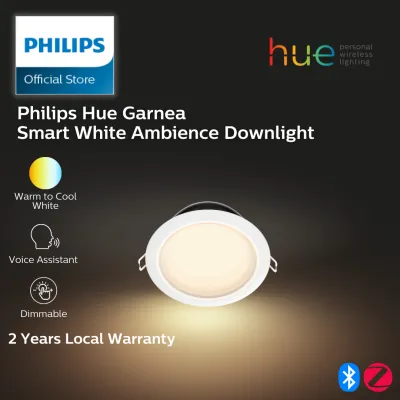
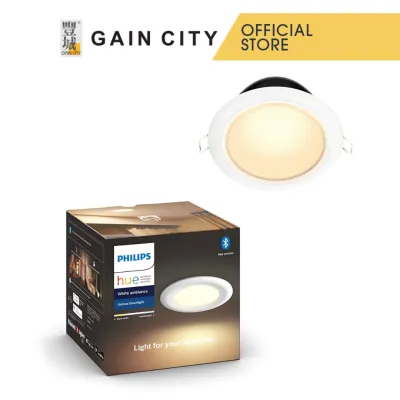
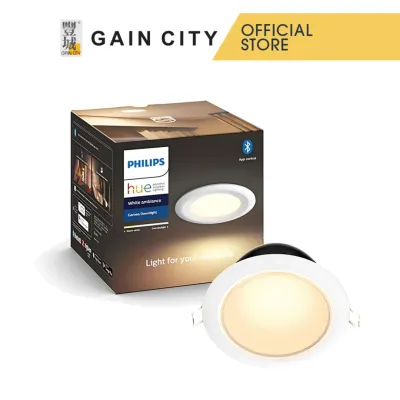
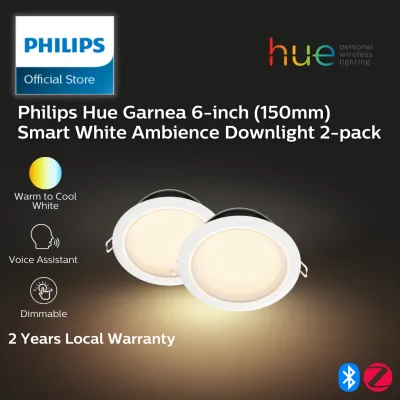
Prices are valid at publication and may change. Please refer to the product page for the latest price.
You can estimate the coverage of each fixture by calculating the approximate light pool diameter at your primary task level, such as a dining table or kitchen countertop. As a general rule of thumb, the diameter of the light pool increases as the beam angle widens and the distance from the light source increases. By calculating these dimensions based on your specific furniture heights, you can determine exactly how far apart to position each downlight to achieve a balanced layout.
Properly balancing these overlapping light pools is essential to prevent harsh shadows and dark spots. If downlights are spaced too far apart, you will experience dark zones between fixtures, which can make a standard HDB room feel smaller and more enclosed. Conversely, spacing them too closely can lead to excessive brightness and visual fatigue. Aim for a layout where the edges of the light pools gently overlap at waist height, ensuring a continuous plane of illumination throughout the room.
Visual Comfort and Glare Considerations
Visual comfort is a primary concern when installing recessed downlights in rooms with a 2.6-meter ceiling height. Because the light sources are physically closer to your standing and sitting eye levels, the risk of direct glare is significantly higher than in spaces with taller ceilings. Glare occurs when the bright light source is directly visible within your normal field of view, leading to eye strain and discomfort over extended periods.

To mitigate this issue, evaluate the physical design of the downlight fixtures, paying close attention to the recessed depth, baffle designs, and trim options. Deep-recessed downlights position the actual light-emitting diode (LED) further back inside the ceiling housing, shielding the source from direct view at typical viewing angles. Baffles with matte or dark finishes further absorb stray light reflections, ensuring that the fixture itself remains unobtrusive while directing light downward where it is needed.
Leveraging the smart capabilities of your lighting system is another highly effective way to maintain visual comfort. Utilizing smart dimming and color temperature adjustments allows you to adapt the brightness and warmth of the light to different times of day. During the evening, lowering the overall brightness and shifting the color temperature to a warm, amber hue reduces blue light exposure and minimizes eye strain, creating a relaxing environment that aligns with your natural circadian rhythm.
Strategic positioning of the fixtures is equally important in preventing discomfort. Avoid placing downlights directly above areas where you will be looking upward or resting for long periods, such as directly over pillows on a bed, above the headrests of a sofa, or directly in front of computer monitors where reflections can cause screen glare. Instead, offset the fixtures slightly or direct the light toward walls and functional surfaces to create a softer, indirect illumination.
HDB Installation Constraints and Electrical Checks
Installing smart downlights in an HDB flat requires careful consideration of physical space and local electrical standards. Unlike traditional surface-mounted ceiling lights, recessed downlights require a false ceiling to conceal the housing, drivers, and wiring. Because HDB flats have concrete structural ceilings, you must plan for the installation of a gypsum board false ceiling, which will slightly reduce your overall room height from the standard 2.6 meters.
Before purchasing your fixtures, you must measure the available false ceiling depth and verify the required cut-out dimensions. Smart downlights often feature integrated wireless receivers and heat sinks, which can make their housing deeper than standard, non-smart LED downlights. Ensure there is sufficient clearance space between the concrete slab and the plasterboard to accommodate the fixture without compressing insulation, pinching wires, or obstructing structural elements.
Electrical wiring for smart lighting systems also demands a different approach than traditional setups. Smart downlights require a continuous power supply to remain connected to your home network, allowing you to control them via mobile apps, voice assistants, or wireless switches. If a user turns off the physical wall switch, the fixture loses power and can no longer receive smart commands. You must ensure your wiring configuration supports constant power to the fixtures while utilizing smart control interfaces to manage the light states.
Safety and compliance must always be your top priorities when undertaking electrical renovations. Ensure that all installed fixtures carry the appropriate local safety certifications, such as the Safety Mark in Singapore, to guarantee they have been tested for electrical safety and fire prevention. Always engage a licensed electrical worker or a qualified electrician to handle the fixed wiring, perform load calculations, and ensure all work complies with local renovation guidelines and electrical standards.
Planning Your Downlight Layout
A well-planned lighting layout is key to maximizing both the aesthetic appeal and the functional utility of your smart downlights. In a standard HDB flat, rooms often serve multiple purposes, requiring a flexible lighting scheme that can transition from bright, task-focused illumination to soft, ambient lighting.
Begin by determining the spacing intervals of your downlights based on your chosen model’s beam angle and the physical dimensions of the room. For general ambient lighting in a living room or bedroom, spacing fixtures approximately 1 to 1.2 meters apart is a common starting point, though this should be adjusted based on your specific calculations of light pool overlap. Ensure that fixtures are placed at a consistent distance from the walls—typically around 30 to 45 centimeters—to create clean, pleasing light washes without harsh shadows.
Zoning your lights is essential for creating independent control areas within multi-purpose spaces. For example, in an open-plan HDB living and dining area, you should group the downlights into separate zones within your smart home application. This allows you to keep the dining area brightly lit for dinner while dimming the living room lights for a movie night, all without needing complex physical rewiring.
Finally, avoid relying solely on direct overhead downlights in relaxation zones. Complement your recessed ceiling lights with secondary light sources, such as smart floor lamps, table lamps, or LED lightstrips installed along coves or under cabinetry. By combining direct downlighting with indirect accent lighting, you can create a layered effect that adds depth to your rooms, making your 2.6-meter ceiling feel higher and the entire space more inviting.
Frequently Asked Questions (FAQ)
Do Philips Hue downlights require a special dimmer switch?
No, smart downlights do not require a traditional wall dimmer switch; in fact, using them with standard wall dimmers can cause flickering, buzzing, or connectivity issues. Smart fixtures require a constant, stable voltage to power their internal wireless receivers. To control the brightness of your lights, you should keep your physical wall switches turned on and use compatible wireless smart switches, mobile applications, or voice commands to dim the lights digitally.
Can I install Hue downlights in an HDB bathroom?
Yes, you can install smart downlights in an HDB bathroom, but you must select models with the appropriate Ingress Protection (IP) rating for damp environments. Standard indoor downlights are typically rated IP20, which is not suitable for areas exposed to direct moisture or high humidity. For bathroom installations, look for fixtures rated IP44 or higher, ensure they are installed outside of direct splash zones, and always consult a qualified electrician to ensure compliance with local electrical safety regulations.

Community discussion
Share your experience or ask a question. Comments are reviewed before publication.