
When a Philips LED light fails to turn on, the issue is typically caused by a tripped circuit breaker, an incompatible dimmer switch, a loose contact point inside the fixture socket, or an internal component failure within the bulb itself. Because LED bulbs rely on delicate electronic drivers rather than simple filaments, they are highly sensitive to voltage fluctuations, improper dimming signals, and physical connection gaps. Systematically isolating the power source, the bulb, and the fixture will help you identify the exact cause of the failure without unnecessary replacement costs.
Initial Safety and Basic Power Checks
Before touching any electrical component, safety must be your primary priority. Always turn off the wall switch controlling the light fixture and ensure your hands are completely dry before attempting to inspect or handle the bulb. Working on a live circuit poses severe shock hazards, even with low-wattage LED systems.
Next, locate your home’s main distribution board, commonly referred to as the DB box in Singapore households. Open the panel and inspect the circuit breakers and the residual current device (RCD). If a breaker has tripped or the RCD has been triggered, it will sit in the “off” position or halfway between “on” and “off”. Push the switch fully to the “off” position first, then flip it back to “on” to reset the circuit.
Products mentioned in this guide
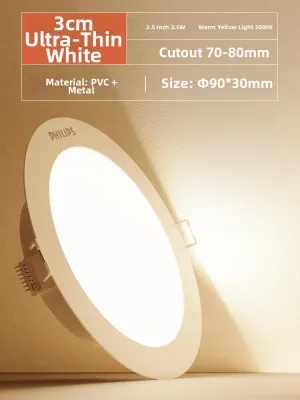
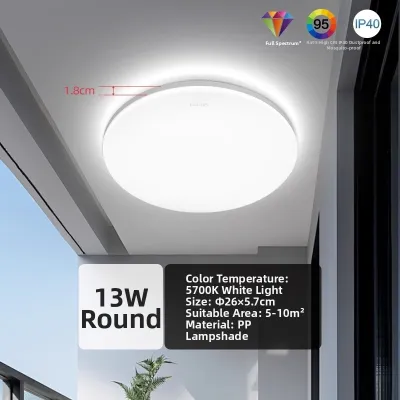
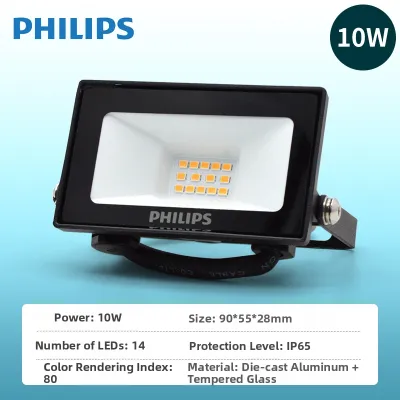
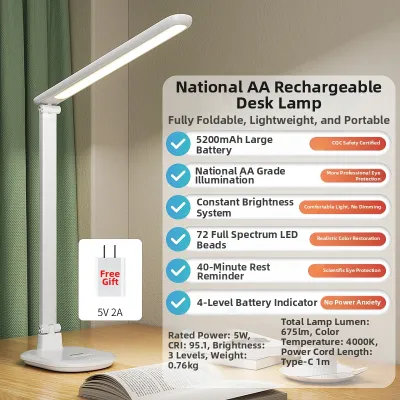
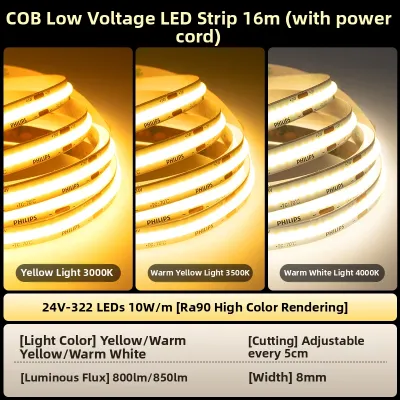
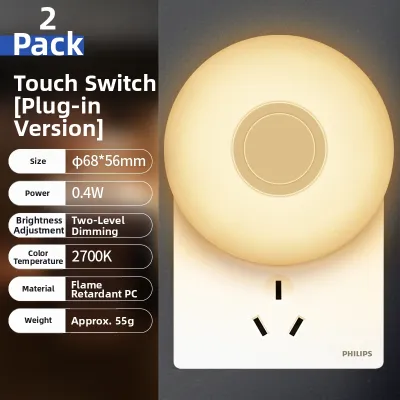
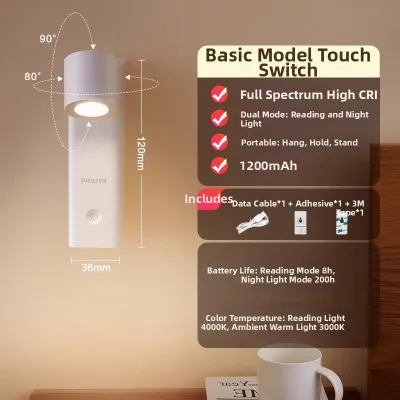
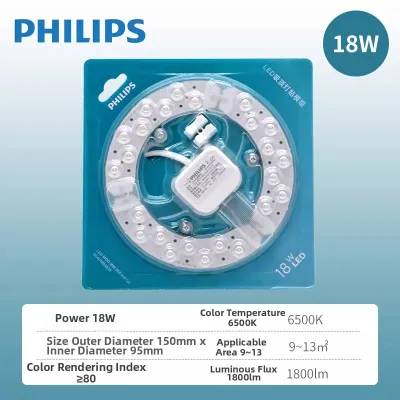
Prices are valid at publication and may change. Please refer to the product page for the latest price.
To determine if the issue is localized to a single light fixture or represents a wider electrical fault, check other appliances and light fittings on the same circuit. If multiple lights in the same room are dark, the problem lies within your home’s electrical distribution rather than the individual Philips LED bulb. If only one light is affected while the surrounding outlets and fixtures function normally, you can proceed to test the bulb and its immediate fixture.
How to Test if the Philips LED Bulb Is Defective
Isolating the bulb from the fixture is the most efficient way to determine if the Philips LED bulb itself has failed. Begin by carefully unscrewing or unclipping the bulb from its socket once it has cooled down completely. Take this bulb to another compatible, known-working light fixture in your home and install it there. If the bulb illuminates normally in the second fixture, the bulb is functional, and the issue lies within the original fixture, switch, or wiring.

Conversely, you should perform a reverse test by taking a confirmed working bulb of the same base type and installing it into the problematic fixture. If this second bulb also fails to light up, the fixture is not delivering electrical power to the socket. This simple cross-testing method prevents you from discarding a functional LED bulb or buying a replacement prematurely.
While handling the Philips LED bulb, perform a thorough physical inspection of its exterior. Look for visible signs of thermal stress or physical damage, such as a faint burnt smell emanating from the base, darkened or discolored plastic housing, or a loose metal cap. LED bulbs contain internal driver circuits with capacitors and resistors; when these components overheat or fail due to voltage spikes, they often leave behind subtle physical clues or a distinct chemical odor. If you observe any of these signs, the bulb is defective and must be replaced.
Checking Dimmer Switch and Smart Control Compatibility
Incompatibility between LED bulbs and wall switches is one of the most frequent causes of startup failure. Traditional wall dimmers designed for legacy incandescent bulbs operate on leading-edge phase cutting, which requires a high minimum wattage load to function correctly. Because a Philips LED bulb consumes only a fraction of that wattage, a legacy dimmer may fail to register the load entirely, leaving the bulb completely dark or causing it to flicker.
To resolve this, verify that your wall dimmer is specifically rated as an LED-compatible trailing-edge dimmer. If you are using smart Philips Hue bulbs or smart LED variants, they require a constant, uninterrupted flow of full mains power. Connecting a smart LED bulb to any physical wall dimmer switch—even an LED-compatible one—can starve the internal smart driver of necessary voltage, preventing the bulb from booting up or pairing with your smart home hub.
For advanced smart switches installed in the wall, check the manufacturer’s wiring specifications. Many smart switches require a dedicated neutral wire to power their internal wireless radios, while others utilize a bypass resistor installed across the light load to prevent low-power leakage. If the electrical current leaking through the switch is too low, the Philips LED driver may remain in a perpetual standby state or fail to turn on entirely. Replacing the incompatible switch with a standard single-pole on-off switch or a certified LED-rated dimmer will often restore normal operation.
Inspecting the Light Fixture and Wiring Connections
If the bulb works elsewhere but fails in its designated spot, the fixture itself requires inspection. Before performing any physical checks on the fixture socket, isolate the electrical supply by turning off the corresponding circuit breaker at the main DB box. Do not rely solely on the wall switch, as some older properties may have switched neutral wires, leaving the socket live even when the switch is turned off.
Once power is fully isolated, use a non-contact voltage tester to verify that no electrical current is present at the socket. Inspect the small metal tab, or center contact, located at the bottom of an Edison screw (E27 or E14) socket. Over time, repeated bulb installations can compress this tab downward, preventing it from making physical contact with the base of the Philips LED bulb. Using a small, insulated screwdriver, gently pry the metal tab upward by a millimeter or two to restore its spring tension, then reinstall the bulb and test.
Next, inspect the visible wiring connections at the fixture canopy, junction box, or behind the switch plate if you have safe access. Look for loose wire nuts, disconnected terminal blocks, or signs of thermal damage. If you encounter scorched wires, melted plastic insulation, or complex multi-way switching configurations, stop immediately. Do not attempt to repair internal building wiring yourself; instead, contact a licensed electrician in Singapore to diagnose and resolve the fault safely.
When to Claim Warranty or Seek Professional Help
If your troubleshooting reveals that the Philips LED bulb is indeed defective, check if it is still covered under the manufacturer’s warranty. Philips LED bulbs typically carry a multi-year warranty, provided they were purchased from authorized local distributors or reputable retail outlets. Locate your original purchase receipt or invoice to verify the purchase date and review the specific terms printed on the packaging or the manufacturer’s local website.
While a standard replacement bulb may only cost a few dollars (typically under S$10 to S$20 depending on the model), claiming a warranty for premium smart bulbs or multi-pack sets is highly recommended. Be aware of specific conditions that can void the warranty of an LED bulb. For instance, installing a standard LED bulb inside a fully enclosed or tightly sealed light fixture traps heat, causing the internal driver components to degrade rapidly and fail. Unless the bulb packaging explicitly states that it is rated for enclosed fixtures, using it in such environments will generally invalidate your warranty claim.
If the bulb is functional but your home’s fixtures continue to experience power failures, flickering, or tripped breakers, the issue points to a deeper infrastructure problem. Persistent electrical faults, loose neutral connections in the ceiling rose, or deteriorating copper wiring require professional intervention. Engaging an EMA-licensed electrician ensures that your home’s electrical system complies with local safety standards and prevents potential fire hazards.
Frequently Asked Questions (FAQ)
Can a power surge damage a Philips LED bulb?
Yes, a sudden voltage spike or power surge can easily damage the sensitive electronic driver inside a Philips LED bulb. Unlike traditional incandescent bulbs that can tolerate brief voltage fluctuations, LEDs rely on delicate semiconductor components, capacitors, and integrated circuits. A surge caused by lightning strikes, utility grid switching, or high-power household appliances turning off can overload these components, causing the bulb to fail instantly. Installing surge protection devices at your main distribution board can help safeguard your lighting investments.
Why does my Philips LED light turn on briefly and then go off?
This behavior is usually caused by thermal protection mechanisms or a loose electrical connection. Many high-quality Philips LED bulbs feature built-in thermal management systems that automatically shut down the driver if the internal temperature exceeds safe operating limits, preventing permanent damage or fire hazards. Alternatively, a loose wire connection in the fixture socket or wall switch can expand as it warms up under electrical load, breaking the circuit and causing the light to turn off abruptly until it cools down again.
Community discussion
Share your experience or ask a question. Comments are reviewed before publication.