
Finding the perfect rectangular LED ceiling light for a standard 2.6-meter HDB flat requires balancing visual scale with practical clearance. In these homes, vertical space is at a premium, meaning bulky fixtures can make a room feel cramped and dark corners can make it feel smaller. To achieve a balanced look and comfortable illumination, you should select a slim-profile fixture—ideally under 8 centimeters in thickness—that aligns with your room’s dimensions and provides the correct lumen output for your daily activities.
For a typical HDB living room, a rectangular fixture measuring roughly 90 by 60 centimeters offers an appropriate visual anchor, while smaller bedrooms or studies benefit from more compact dimensions like 60 by 40 centimeters. Rather than relying on wattage alone to judge brightness, you must calculate the required lumens based on the room’s square footage and functional needs, then select an energy-efficient LED that delivers that output. This approach ensures your ceiling remains clean and uncluttered while your living space is perfectly illuminated.
Calculating the Right Brightness and Wattage for Your Space
When transitioning to modern LED fixtures, the traditional habit of shopping by wattage can lead to poorly lit rooms or excessive energy bills. Wattage measures only the electrical power a fixture consumes, whereas lumens measure the actual amount of visible light emitted. Because modern LED technology is highly efficient, two different fixtures with the same wattage can produce vastly different levels of brightness depending on their internal components and design.
Products mentioned in this guide
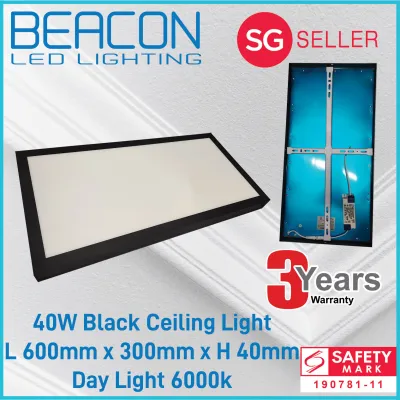
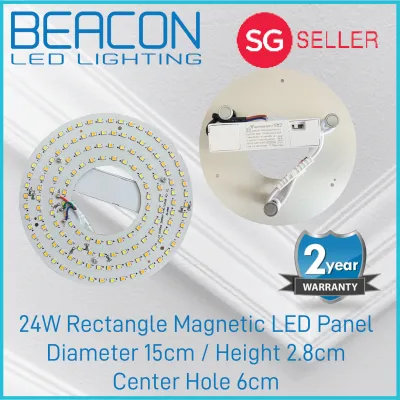
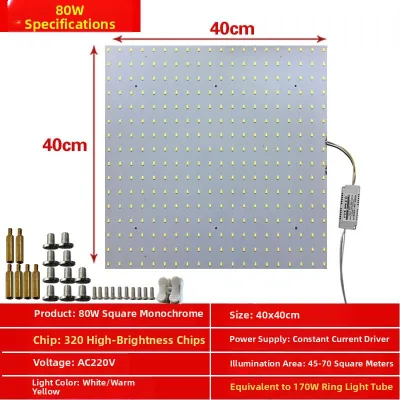
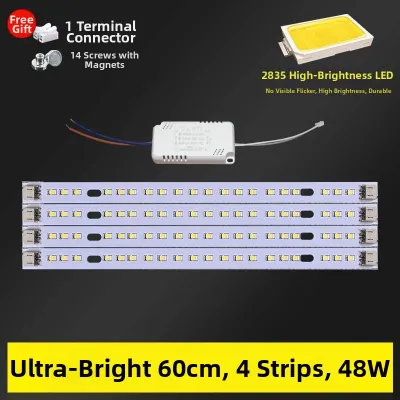
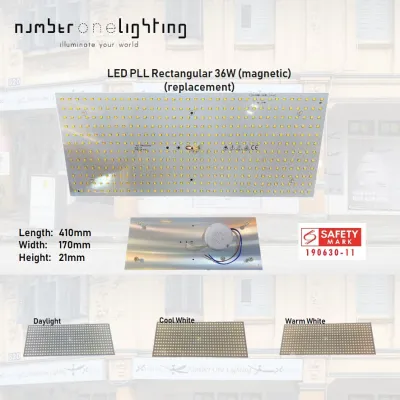
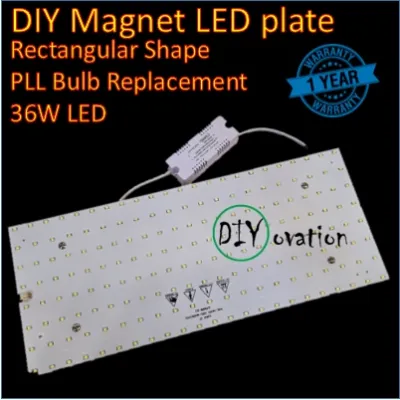
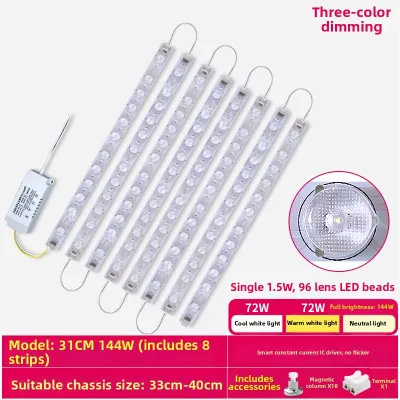
Prices are valid at publication and may change. Please refer to the product page for the latest price.
To determine the ideal brightness for your HDB room, you must first calculate the total lumens required using the concept of lux, which represents lumens per square meter. Begin by measuring the length and width of your room in meters to find the total floor area. Next, multiply this area by the recommended lux level for the room’s primary function. For instance, relaxing spaces like bedrooms typically require a softer illumination of around 100 to 150 lux, while task-oriented areas like kitchens, home offices, or study corners demand a brighter environment of 250 to 300 lux.
Once you have calculated your target lumen range, you can determine the necessary wattage by checking the luminous efficacy of the fixtures you are considering. Luminous efficacy, expressed as lumens per watt (lm/W), indicates how efficiently a light source converts electricity into light. By dividing your target lumen figure by the efficacy rating listed on the product packaging, you will find the exact wattage required. Choosing a fixture with a higher efficacy rating allows you to achieve your desired brightness while keeping your household energy consumption as low as possible.
Matching Rectangular Dimensions to Room Proportions
A rectangular LED ceiling light is an excellent choice for elongating a space, but its physical dimensions must harmonize with the room’s layout to avoid looking out of place. Before purchasing a fixture, measure the length and width of your ceiling to understand the room’s primary spatial axis. Installing a rectangular light that is too large can overwhelm the ceiling, making the walls feel as though they are closing in, while a fixture that is too small will look lost and fail to distribute light evenly.

To create a cohesive visual flow, align the longer side of the rectangular fixture with the longer dimension of the room. This orientation naturally guides the eye along the length of the space, enhancing the perception of depth. Alternatively, you can align the fixture with major furniture arrangements below, such as centering it directly over a dining table or positioning it parallel to a bed. This structural alignment helps define functional zones within open-plan layouts, which are common in modern HDB designs.
As a general rule of thumb for maintaining proportion, the width of your rectangular light should not exceed one-tenth to one-twelfth of the room’s total width. For a standard HDB bedroom, a fixture with a length of 60 centimeters and a width of 40 centimeters usually provides an ideal balance. For larger living or dining areas, you can scale up to a length of 90 centimeters or even 120 centimeters, provided the fixture maintains a slim profile that does not visually crowd the ceiling plane.
Navigating the 2.6m Ceiling Height Constraint
The standard 2.6-meter ceiling height in HDB flats imposes strict limits on the vertical profile of your lighting fixtures. Every centimeter of headroom is valuable for maintaining an open, airy atmosphere. Installing a fixture that protrudes too far downward not only creates a physical hazard for taller occupants but also casts shadows that make the ceiling feel lower than it actually is.
To maximize your vertical clearance, prioritize ultra-slim or flush-mount rectangular LED designs. Modern flush-mount fixtures often feature profiles as thin as 2 to 5 centimeters, allowing them to blend seamlessly into the ceiling surface. These low-profile designs distribute light outward rather than downward, which helps wash the ceiling with light and visually elevates the entire room.
Avoid fixtures with thick diffusers, suspended chains, or bulky decorative housing that unnecessarily encroach on your vertical space. Additionally, before committing to a flush-mount installation, inspect the flatness of your ceiling surface. Standard concrete ceilings in HDB flats can sometimes feature minor plaster irregularities or unevenness around the existing junction box. Ensuring the ceiling is flat and checking the depth of the junction box will guarantee that your ultra-slim fixture sits perfectly flush without unsightly gaps.
Verifying Electrical and Mounting Safety
Before installing any new ceiling fixture, you must verify that your home’s electrical system and structural surfaces can safely support it. In Singapore, residential electrical systems operate at a standard voltage of 230V, so you must ensure that any imported or locally purchased LED fixture is rated for this voltage. Additionally, inspect the condition of the existing wiring at your ceiling point, looking for any signs of brittle insulation, discoloration, or wear that might require attention before connection.
The material of your ceiling dictates the type of mounting hardware and installation techniques you must use. Standard HDB ceilings are typically made of solid concrete, which requires robust masonry wall plugs and screws to secure the mounting bracket firmly. If your room features a retrofitted plasterboard false ceiling, you must use specialized toggle bolts or hollow-wall anchors, and you must verify that the internal framing can support the weight of a larger rectangular fixture.
While replacing a simple light bulb is a straightforward task, installing a new fixed-wiring ceiling fixture involves clear safety boundaries. If the installation requires modifying your home’s permanent wiring, extending circuits, or drilling into concrete ceilings near hidden electrical conduits, you should stop and hire a licensed electrical worker. Working with a qualified professional ensures compliance with local electrical safety standards and prevents hazardous short circuits or structural damage.
Avoiding Common Sizing and Placement Mistakes
One of the most frequent mistakes homeowners make is purchasing a rectangular light based solely on its wattage, assuming that a higher wattage automatically guarantees a brighter room. This oversight can result in a space that is either uncomfortably dim due to poor luminous efficacy or blindingly bright due to an inappropriate beam angle. Always check the total lumen output and the beam angle of the fixture to ensure the light spreads evenly across the room without creating harsh glare or dark corners.
Another common error is centering the rectangular light strictly on the physical center of the ceiling grid while ignoring how the furniture is arranged below. If your dining table or seating area is offset to one side, a centered ceiling light can cast awkward shadows and fail to illuminate your primary activity zones. Instead, plan your lighting placement around your actual living patterns, ensuring the light source aligns with where you sit, work, or relax.
Finally, do not overlook the importance of the Color Rendering Index (CRI) and color temperature when selecting your LED fixture. A low CRI rating can make your home’s wall colors, furniture, and decor look dull or distorted. Aim for a CRI of 80 or higher to ensure colors appear vibrant and true. Additionally, choose your color temperature carefully: warm white (2700K to 3000K) is ideal for cozy bedrooms, while cool white (4000K) or daylight (6500K) is better suited for task-oriented spaces like studies and kitchens.
Frequently Asked Questions (FAQ)
Can I use a dimmable rectangular LED light in a standard HDB room?
Yes, you can use a dimmable rectangular LED light in an HDB room, but it requires careful component matching to function correctly. To achieve smooth dimming without flickering or buzzing, you must ensure that both the LED driver inside the fixture and the wall-mounted dimmer switch are explicitly designed to be compatible with each other. Standard wall switches do not support dimming, and using an incompatible traditional dimmer with an LED light can permanently damage the fixture’s internal circuitry and drastically shorten its lifespan.
How do I clean and maintain a rectangular LED ceiling light?
To clean your rectangular LED ceiling light safely, always begin by turning off the power at the main wall switch and allowing the fixture to cool down completely. Use a dry, soft microfiber cloth to gently wipe away dust and cobwebs from the exterior of the diffuser and housing. For stubborn smudges, you can slightly dampen the microfiber cloth with water or a mild, non-abrasive soapy solution, taking care not to let any moisture enter the internal electrical components. Avoid using harsh chemical solvents, abrasive scrubbing pads, or paper towels, as these can scratch or discolor the acrylic or polycarbonate diffuser over time.

Community discussion
Share your experience or ask a question. Comments are reviewed before publication.