
Planning the placement of a solar light sensor in Singapore requires a clear understanding of your specific housing environment. HDB corridors present tight physical constraints, shared public spaces, and strict fire safety regulations that limit where and how you can mount fixtures. Landed property gates, on the other hand, offer abundant sunlight but demand robust weatherproofing, precise detection angles to avoid public roads, and secure mounting on diverse materials. Finding the right balance ensures reliable security lighting without neighbor disputes or regulatory issues.
Pre-Installation Checks: Sunlight, Regulations, and Surfaces
Before selecting or mounting a solar light sensor, you must evaluate the environmental conditions of your property. Solar panels rely entirely on direct, unshaded sunlight to charge their internal batteries. Even a few hours of partial shade from an overhanging ledge or a neighboring unit can drastically reduce the night-time runtime of your light.
While landed property gates are fully exposed to the elements, HDB corridors are often deeply shaded, semi-enclosed, and subject to public housing rules. These environmental differences dictate not only where you can place your light but also the type of fixture you should buy. For instance, integrated units work well in open spaces, whereas split-type units are necessary for shaded corridors.
Products mentioned in this guide
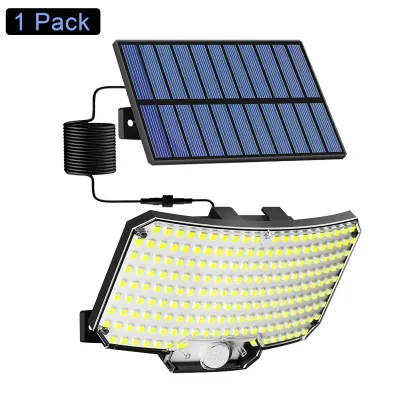
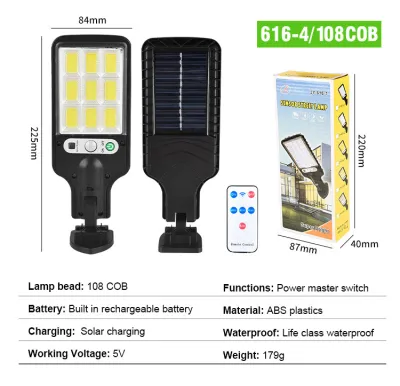
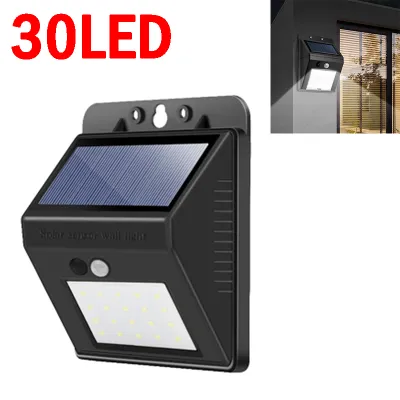
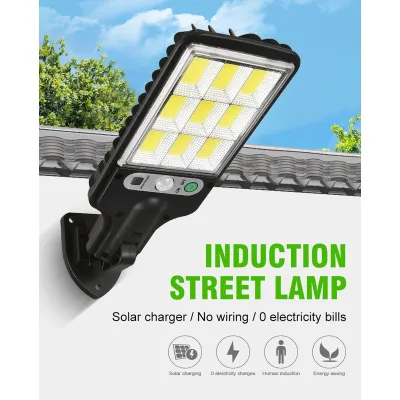
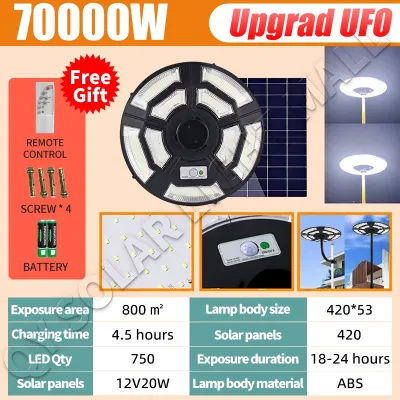
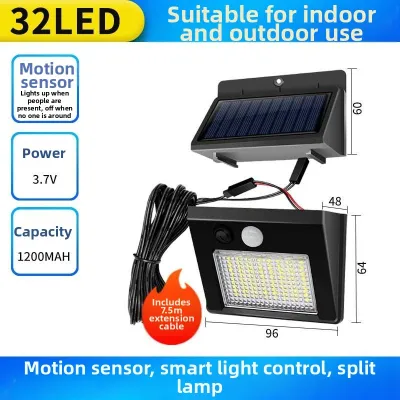
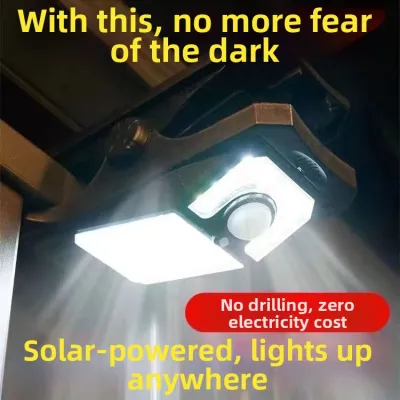
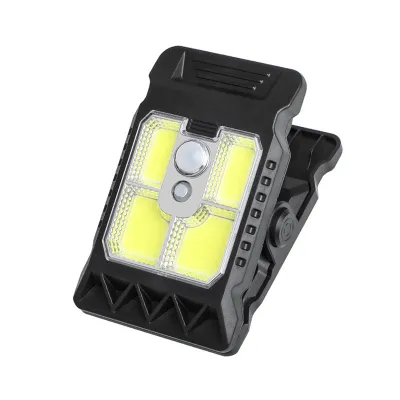
Prices are valid at publication and may change. Please refer to the product page for the latest price.
Before beginning installation, identify your mounting surface and gather the necessary tools. Standard DIY installations typically require:
- A screwdriver and mounting screws
- Wall anchors (for masonry or concrete)
- Heavy-duty, outdoor-rated double-sided mounting tape
- Weather-resistant, UV-stabilized zip ties
Always check the product manual for specific hardware requirements, weight limits, and electrical specifications. If your chosen model features a backup hardwired connection, or if installation requires working at height on a tall landed gate pillar, prioritize safety. Use a stable ladder, have a second person assist you, and always isolate the mains power before handling any fixed wiring. For complex electrical integrations, consult a qualified professional electrician.
HDB Corridor Placement: Maximizing Light and Compliance
Installing a solar light sensor in an HDB common area requires balancing optimal light capture with strict community guidelines. The Housing & Development Board maintains clear rules to keep common corridors safe, unobstructed, and pleasant for all residents.

Best Mounting Spots for Charging and Coverage
To charge the internal battery effectively, position the solar panel near corridor ends, open ventilation voids, or outer parapet walls where direct sunlight penetrates during the day. If the desired location for the light is deep within a dark, recessed corridor, an integrated solar light will fail to charge.
In these shaded areas, use a split-type solar sensor light. This design allows you to mount the solar panel on an outer ledge or grille that receives direct sun, while running a thin, low-voltage cable back to the light fixture positioned over your doorway. Ensure the cable is secured neatly along the wall using self-adhesive cable clips to prevent snagging hazards.
When positioning the motion sensor, aim for targeted coverage of your immediate entryway. The sensor should detect anyone approaching your main door or shoe rack but remain blind to distant elevator lobbies or neighbors walking past to adjacent units. Angle the sensor downward to focus the detection footprint on your private threshold, which also prevents unnecessary triggers that drain the battery.
HDB Compliance and Safety Boundaries
HDB corridors serve as crucial emergency escape routes. According to Singapore Civil Defence Force (SCDF) fire safety guidelines, a minimum clear escape passage of 1.2 meters must be maintained at all times. Any light fixture you install must not narrow this walkway or protrude at head height where it could injure residents during an evacuation.
Avoid drilling into common corridor walls, ceilings, or structural pillars. Drilling into public property can damage concealed electrical conduits, compromise structural integrity, and violate town council by-laws, potentially leading to fines and forced removal of the fixture.
Instead, utilize non-destructive mounting alternatives. High-strength, outdoor-rated mounting tape designed for rough masonry can secure lightweight fixtures to concrete walls, provided the surface is thoroughly cleaned beforehand. For units with metal gates or security grilles, wrapping heavy-duty, UV-stabilized zip ties through the bracket and around the metal bars provides a secure, reversible attachment that supports the weight without damaging public property.
Additionally, be mindful of light pollution. Adjust the angle of the light head so that it points downward at your floor rather than projecting horizontally. The light should never glare directly into a neighbor’s windows, doors, or door viewers, as this can cause friction and lead to complaints.
Landed Property Gate Placement: Security and Weatherproofing
Landed property gates offer excellent solar exposure but present distinct integration challenges. With greater physical freedom comes the responsibility of managing wide outdoor spaces, extreme weather, and potential false alarms from public areas.
Optimal Heights and Angles for Motion Detection
For optimal security coverage at a landed property gate, mount your solar sensor light at a height of 2.0 to 2.5 meters. This height keeps the fixture out of easy reach for tampering or vandalism while providing a wide, downward-projecting detection footprint that covers both vehicles and pedestrians.
Most solar lights utilize passive infrared (PIR) sensors, which detect moving heat signatures. To prevent the light from triggering constantly due to passing cars, public buses, or pedestrians on the public pavement, angle the sensor downward at a 15- to 30-degree angle. This focuses the detection zone strictly within your private driveway or pedestrian gate boundary.
If you have a wide dual-entry gate, a single sensor light may leave significant blind spots. Consider installing two separate units: one smaller unit focused on the pedestrian wicket gate and a more powerful unit covering the main vehicle driveway. Ensure their detection zones do not overlap excessively, which can cause redundant triggering and rapidly exhaust the batteries.
Weather Resistance and Material Considerations
Singapore’s tropical climate features intense heat, high humidity, and heavy monsoon downpours. These conditions demand high-quality materials and robust weatherproofing to prevent premature product failure.
Before purchasing, verify the Ingress Protection (IP) rating on the product label. For fully exposed outdoor gates, select a light with a rating of IP65 or higher. This ensures the casing is completely sealed against dust ingress and high-pressure water jets from heavy rain.
Different gate materials require specific mounting strategies:
- Wrought Iron or Aluminum: Avoid drilling directly into metal gates, as this can strip protective coatings and invite rust. Use custom U-bolts, mounting brackets, or heavy-duty magnetic mounts instead.
- Brick or Stone Pillars: Use a masonry drill bit to install wall anchors. Ensure the mounting bracket sits flush against the surface.
- Wood Gates: Use wood screws, but ensure the wood is treated to prevent rot from setting in around the screw holes.
Never trap moisture between the light base and the mounting surface. When installing on a porous brick pillar, apply a small bead of outdoor-grade silicone sealant around the top and sides of the mounting bracket, leaving the bottom open so any trapped condensation can drain out.
Additionally, check that the housing material is UV-resistant. Cheap plastics will quickly turn yellow, become brittle, and crack under constant exposure to Singapore’s strong sunlight. Look for polycarbonate or powder-coated aluminum housings that resist UV degradation.
Step-by-Step Installation and Panel Alignment
Proper execution during the physical setup phase ensures your solar sensor light functions reliably for years. Follow this logical sequence to mount and align your system safely.
- Surface Preparation: Clean the mounting area thoroughly. Use isopropyl alcohol or a clean, damp cloth to remove all dust, grease, algae, or loose paint. A clean surface is especially critical if you are using adhesive tape, as any residue will cause the bond to fail over time. Allow the surface to dry completely before proceeding.
- Mounting the Base: Secure the mounting bracket or base plate. If drilling into a landed property wall, use a spirit level to ensure the bracket is level, drill the holes, insert the plastic wall anchors, and tighten the screws. If using non-destructive methods on an HDB grille, pull the zip ties tight with pliers and snip the excess tails cleanly. Ensure the bracket is firmly attached and does not wobble.
- Solar Panel Alignment: Position the solar panel to maximize daily sunlight exposure. Because Singapore sits very close to the equator (approximately 1.3 degrees north), solar panels should face almost directly upward or at a very slight tilt of 5 to 10 degrees. This slight tilt is crucial because it allows heavy rainwater to run off, washing away accumulated dust, leaves, and bird droppings instead of letting water pool on the glass surface.
- Sensor Adjustment: Adjust the physical position of the PIR sensor head. If your model features physical dials or hoods, set them to restrict the detection zone to your private boundary. Tighten all adjustment knobs securely so the sensor does not droop or shift over time due to wind or vibration.
Post-Installation Testing and Routine Maintenance
Once the physical installation is complete, a short phase of testing and a simple maintenance routine will keep the system operating at peak efficiency.
Wait until after dark to conduct your first walk test. Walk through the target area at a normal pace to check the sensor’s response time and coverage. Note any blind spots or areas where the light triggers too late, and adjust the sensor angle accordingly.
If your solar light includes sensitivity (SENS), time delay (TIME), or ambient light (LUX) dials, adjust them to suit your environment. Set the LUX dial so the light only activates during true darkness, ignoring minor ambient light from nearby streetlamps. This prevents the battery from draining during twilight or when public lights are active.
While decorative style, perceived color temperature (such as cool white versus warm white), and spatial lighting effects are subjective consumer preferences, they do not affect the physical performance of the sensor. However, choosing a model with adjustable dimming modes can help conserve battery power on cloudy days.
To maintain charging efficiency, wipe the solar panel surface with a soft, damp microfiber cloth every few weeks. In Singapore, airborne dust, pollen, and bird droppings can form a film over the glass, significantly reducing solar absorption. Avoid using abrasive sponges or harsh chemical cleaners that could scratch the panel.
Rechargeable lithium-ion or LiFePO4 batteries inside solar lights naturally degrade over time, usually lasting between two to five years depending on heat exposure. If you notice the light’s runtime decreasing significantly despite sunny weather, check the manufacturer’s instructions for replacing the internal battery safely, ensuring you match the exact voltage and capacity specifications.
Frequently Asked Questions (FAQ)
Can I use solar sensor lights in fully enclosed HDB corridors?
Standard integrated solar lights will not work in fully enclosed or deeply shaded HDB corridors because they cannot receive the direct sunlight required to charge. For these dark spaces, a split-type solar sensor light is the best solution, allowing you to mount the solar panel near an open window or outer parapet wall while running the power cable to the light fixture inside. Alternatively, consider using battery-operated LED lights or consulting a qualified electrician to install a hardwired sensor light.
How do I prevent my landed gate light from triggering falsely?
False triggers at landed property gates are usually caused by moving tree branches, passing cars, or stray animals. To resolve this, slightly angle the sensor downward so its field of view ends before the public road or sidewalk. You can also lower the sensor’s sensitivity dial or apply small strips of black electrical tape to the edges of the PIR sensor lens to physically block its view of problematic peripheral areas.
Community discussion
Share your experience or ask a question. Comments are reviewed before publication.