
Selecting the right T5 LED connector is the key to a seamless, safe, and professional lighting installation. Whether you are mounting slimline fixtures under your kitchen cabinets, setting up retail display shelves, or retrofitting older fluorescent troughs, the connector you choose dictates how power safely reaches your lights. The correct choice depends on your specific T5 LED tube configuration, your physical layout, and whether you want a permanent hardwired system or a flexible plug-in setup.
To find the perfect match, you must first determine if your LED tubes require power from one end or both ends, measure your physical space, and verify that all components are rated for your local electrical supply. Taking these steps upfront prevents compatibility issues, avoids electrical hazards, and ensures your lighting performs reliably for years to come.
Quick Decision: Matching the Connector to Your T5 Setup
Choosing the right connector does not have to be complicated if you match the accessory to your primary installation goal. Different layouts demand distinct physical and electrical configurations to operate safely and look aesthetically pleasing.
Products mentioned in this guide
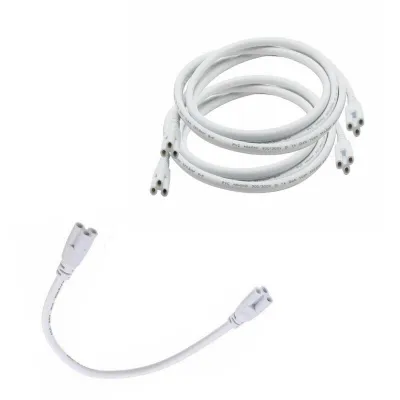
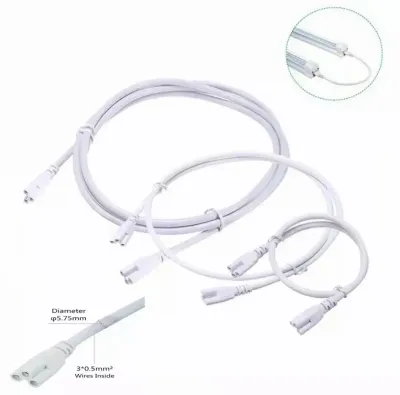
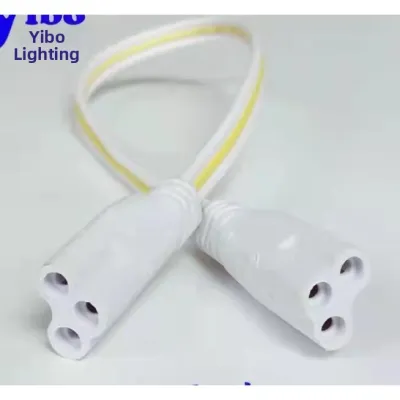
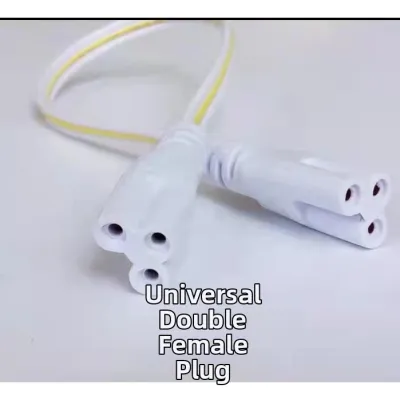
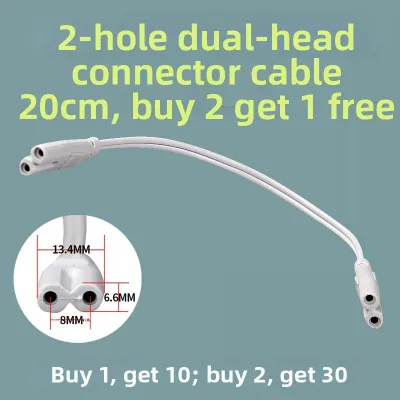
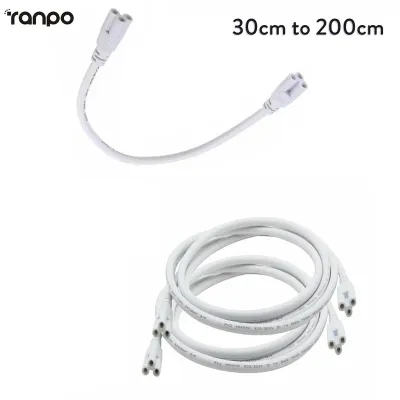
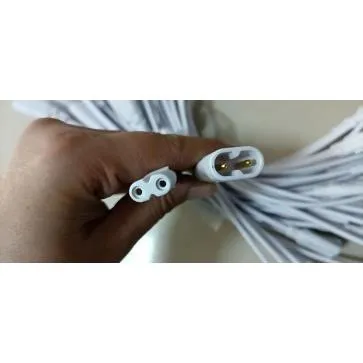
Prices are valid at publication and may change. Please refer to the product page for the latest price.
- Under-Cabinet and Cove Lighting: If you want a continuous, unbroken line of light under kitchen cabinets or inside ceiling coves, you need linkable (daisy-chain) connectors. These are available as direct butt-connectors for tight, gap-free joins or short jumper cables to navigate corners.
- Retrofitting Existing Fluorescent Fixtures: When replacing old fluorescent tubes with modern LEDs inside an existing troffer, you must match the connector to the tube's wiring design. This will require either a single-ended or double-ended power feed connector, depending on how the internal LED driver is configured.
- Permanent Home Renovations: For built-in carpentry, false ceilings, or commercial spaces where visible cables are undesirable, hardwired connectors connected directly to the mains supply offer the cleanest, most integrated look.
- Temporary or DIY Shelving: For display racks, study desks, or temporary workbenches, plug-in power cord connectors are the easiest to install, allowing you to power your lights directly from a standard wall outlet without modifying any household wiring.
Before purchasing any connector, always check the technical specifications of your specific T5 LED tube, as physical dimensions and pin layouts can vary slightly between manufacturers.
T5 LED Connector Types Decoded: Single-End, Double-End, and Linkable
To select the correct connector, you must understand how electricity flows through your T5 LED tube. Unlike traditional fluorescent lamps that always require a ballast to regulate current, LED tubes run on integrated or external drivers, which fundamentally changes how they receive power.

Single-Ended vs. Double-Ended Power Feeds
Single-ended and double-ended configurations represent two entirely different ways of delivering electricity to an LED tube. Using the wrong connector type can result in a failure to light up or, in worse cases, a dangerous short circuit that can damage your fixture.
In a single-ended power feed setup, both the live and neutral AC connections are routed to a single end of the T5 tube. The pins on the opposite end of the tube are purely structural, serving to hold the lamp securely in the fixture without carrying any electrical current. Single-ended connectors simplify the wiring process because you only need to run power cables to one side of the light installation, leaving the other side completely isolated.
Conversely, a double-ended power feed setup mimics traditional fluorescent wiring by delivering live power to one end of the tube and neutral to the opposite end. This design is highly common in direct-wire retrofit projects because it often allows installers to reuse existing tombstone sockets with minimal rewiring.
Before purchasing your connectors, inspect your LED tube’s packaging, product label, or manufacturer’s wiring diagram. You must verify whether the tube is single-ended or double-ended to ensure you buy a connector wired for the correct power delivery method.
Linkable (Daisy-Chain) Connectors for Continuous Runs
When installing multiple T5 LED tubes in a row—such as along a long kitchen counter or inside a commercial display cabinet—linkable connectors allow you to power the entire chain from a single electrical outlet. These connectors are designed to link fixtures end-to-end, carrying power safely from one tube to the next.
Linkable connectors generally fall into two categories:
- Direct Butt-Connectors: These are small, rigid plastic adapters that plug directly into the ends of two adjacent T5 tubes. They hold the fixtures tight against each other, eliminating dark gaps and creating a continuous, seamless line of light.
- Jumper Cables (Patch Cords): These are short, flexible insulated cables with female connectors on both ends. They are ideal for navigating sharp corners, bridging gaps between shelves, or routing around structural obstacles where a straight connection is impossible.
While linkable connectors offer incredible convenience, physical compatibility is highly brand-specific. The shape of the plastic shroud surrounding the pins, the depth of the socket, and the exact pin spacing can vary from one brand to another. To avoid loose connections or physical misalignment, always purchase linkable connectors that are explicitly certified as compatible with your specific brand of T5 LED fixtures.
Hardwired vs. Plug-In: Choosing the Right Installation Method
How you connect your T5 LED system to your building’s power supply depends on your aesthetic preferences, your budget, and whether you are renting or owning the property.
Hardwired Connectors are designed for permanent installations. These cables feature a T5 connector on one end and bare, stripped wires on the other, allowing them to be connected directly to a junction box or wall switch circuit. Hardwiring is the preferred choice for modern renovations in Singapore, such as custom HDB kitchen carpentry or false ceiling cove lighting. It hides all unsightly cables behind walls or inside cabinets, creating a seamless, high-end look. However, because this method involves connecting directly to the building’s electrical grid, it requires careful planning and professional installation.
Plug-In (Power Cord) Connectors offer maximum flexibility and ease of use. These cables feature a T5 connector on one end and a standard electrical plug on the other. This setup is highly DIY-friendly, requiring no electrical knowledge to install—you simply mount the light, plug the cord into the nearest wall socket, and turn it on. It is an excellent solution for study desks, temporary workshops, or rental homes where you cannot modify the permanent wiring. The primary trade-off is aesthetic, as the power cable will remain visible running down the wall or cabinet side.
Pre-Purchase Checklist: Verifying Pins, Voltage, and Dimensions
To ensure your installation goes smoothly and operates safely, run through this verification checklist before finalizing your purchase:
- Pin Configuration and Spacing: Ensure your connector matches the standard G5 bi-pin base, which features exactly 5mm of spacing between the two pins. Check that the physical shape of the connector socket matches the profile of your T5 tube end cap.
- Voltage and Electrical Ratings: Verify that the connector and its cabling are rated for Singapore’s standard mains supply of 230V. Using an under-rated connector can lead to overheating and insulation failure.
- Physical Dimensions and Clearance: Measure the space where the connector will sit. If you are placing your T5 tubes inside a slim aluminum extrusion or a very narrow ceiling cove, ensure the connector housing is compact enough to fit without being bent or crushed against the wall.
- Dimming Compatibility: If you plan to dim your T5 LED lights, confirm that both your LED driver and the connector wiring support your specific dimming system (such as Triac, 0-10V, or smart dimmers). Standard linkable connectors may not support advanced dimming control signals unless explicitly specified by the manufacturer.
Electrical Safety Boundaries and Professional Installation
Working with electricity always carries inherent risks. Prioritizing safety during your T5 LED installation protects your property from electrical fires and ensures your system complies with local safety regulations.
Before inspecting, cleaning, or modifying any electrical connections, always switch off the main power at your home’s distribution board (DB box) and verify that the circuit is completely dead using a reliable voltage tester. Never rely solely on the wall switch to isolate the power.
If your project involves installing new fixed electrical wiring, adding new wall switches, modifying existing ceiling circuits, or installing lighting in damp environments like bathrooms or outdoor wet kitchens, the work must be performed by a qualified, licensed electrician. In Singapore, fixed electrical works must comply with local safety standards and be executed by an Energy Market Authority (EMA) licensed electrical worker.
Finally, never attempt to force a mismatched connector into a T5 tube, and never modify or shave down the plastic pins or plug shrouds to make them fit. Altering these components compromises their electrical insulation, voids your product warranties, and creates a severe risk of short circuits or electrical shocks.
Frequently Asked Questions (FAQ)
Can I use a T8 connector for a T5 LED tube?
No, you cannot use a T8 connector for a T5 LED tube. T8 tubes use a G13 bi-pin base with a 13mm spacing between the pins, whereas T5 tubes use a much smaller G5 bi-pin base with a 5mm spacing. Because of this physical size difference, a T8 connector will not physically fit onto a T5 tube. You should avoid using unauthorized third-party adapters to bridge different sizes unless they are certified by a recognized safety body and explicitly rated for your specific voltage and current requirements.
Is there a limit to how many T5 tubes I can link together?
Yes, there is always a strict limit to how many T5 LED tubes you can link in a single daisy chain. This limit is determined by the maximum current rating of the first connector cable in the chain and the total cumulative wattage of all the connected tubes. Exceeding this limit will overload the wiring, causing the cables to overheat, which poses a serious fire hazard. Always consult the manufacturer’s installation manual for your specific T5 LED model to find the exact maximum number of linkable units allowed.
Community discussion
Share your experience or ask a question. Comments are reviewed before publication.