
Selecting the right light fixtures is a crucial step in transforming a standard Singapore flat or private condominium into a warm, functional home. The CL610 downlight has become a popular option for homeowners seeking a clean, recessed aesthetic that blends seamlessly into modern ceilings. However, determining which rooms are best suited for this specific fixture requires looking beyond the model name to analyze the performance characteristics of the exact variant you purchase.
To achieve a successful home lighting layout, you must match the physical and electrical specifications of your CL610 units with the distinct functional needs of each room. While a wide-beam, warm-white variant might be ideal for creating a cozy atmosphere in your living room, it may fall short in a kitchen workspace where bright, high-contrast task lighting is required. By evaluating your home room by room, you can ensure that every fixture provides optimal visual comfort, safety, and operational efficiency.
Checking the CL610 Specifications Before Planning Your Layout
Before finalizing your lighting design or purchasing fixtures in bulk, you must verify the technical parameters of the specific CL610 downlight variant you are using. Downlight models often share a common product family name but vary significantly in their internal components, light distribution, and physical dimensions. Always check the physical product label, the packaging, or the manufacturer’s official datasheet to confirm these details before proceeding with installation.
Products mentioned in this guide
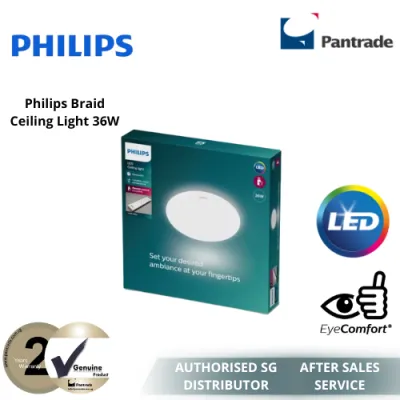
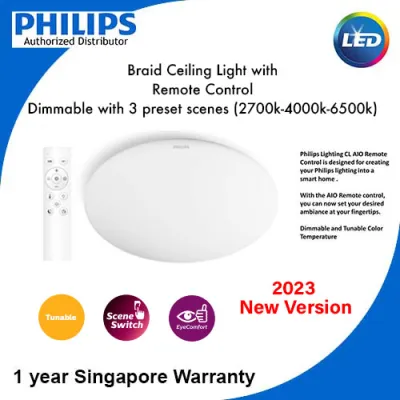
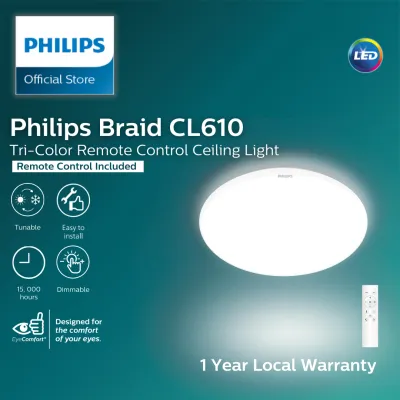
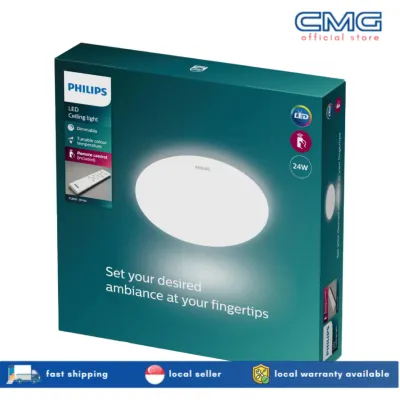
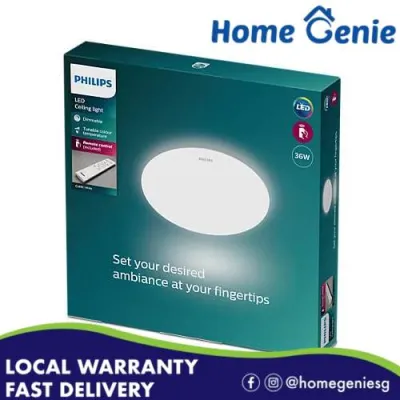
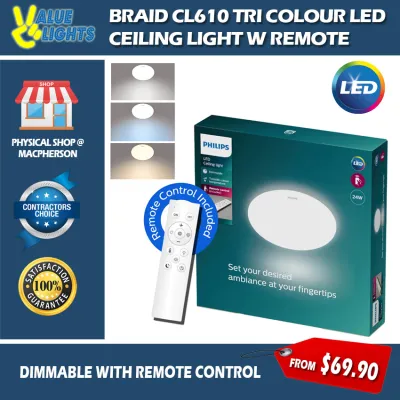
Prices are valid at publication and may change. Please refer to the product page for the latest price.
First, verify the electrical compatibility and safety certifications of your units. In Singapore, residential electrical systems operate on a nominal voltage of 230V at 50Hz, so you must ensure the fixture’s integrated driver or bulb matches this standard and carries the appropriate local safety marks. Check the wattage limit and the specified dimming method—whether it supports triac, trailing-edge, or smart dimming protocols—to prevent flickering or premature driver failure when connected to your wall switches. Additionally, measure the physical cutout dimensions and the overall depth of the fixture to ensure it fits within your planned ceiling structure.
Next, identify the optical characteristics of your specific CL610 variant, as these directly dictate spatial suitability:
- Color Temperature: This is measured in Kelvins (K). Common options include 3000K (warm white) for relaxing environments, 4000K (neutral white) for balanced task areas, and 6500K (cool daylight) for high-visibility zones.
- Beam Angle: A narrow beam angle (typically 24 to 36 degrees) concentrates light to highlight specific features, while a wide beam angle (60 degrees or higher) distributes light broadly for general ambient illumination.
- Lumen Output: This indicates the total brightness of the fixture. Higher lumen outputs are necessary for high ceilings or task-heavy areas, while lower outputs prevent over-illumination in intimate spaces.
- Anti-Glare Features: Look for design elements such as deep-recessed baffles or frosted diffusers, which shield the light source from direct line of sight to reduce eye strain.
- Ingress Protection (IP) Rating: This two-digit code rates the fixture's protection against solid objects and liquids. A standard dry-rated fixture (such as IP20) is suitable only for dry living areas, whereas wet or damp zones require a higher rating.
Living and Dining Rooms: Achieving Balanced Ambient Lighting
The living and dining rooms serve as the primary social hubs of an HDB flat or condominium, requiring a lighting layout that can transition from bright family gatherings to relaxed evening entertainment. For these expansive, open-plan spaces, achieving balanced ambient lighting is essential to make the area feel spacious and welcoming. The CL610 downlight can serve as the backbone of this layout, provided you select variants with a wide beam angle to ensure even, overlapping light distribution across the floor plan.

Using wide-beam downlights helps prevent the “spotlight effect,” where harsh pools of light are separated by dark, unlit gaps on the floor and walls. To create a cohesive visual environment, maintain a consistent color temperature across all fixtures in your open-plan living and dining zones. Mixing a warm 3000K fixture with a neutral 4000K fixture in the same visual field creates distracting color clashes that disrupt the design flow of your home.
Before installing your layout, verify whether your specific CL610 units are dimmable and confirm that they are fully compatible with your existing wall switches or smart home dimming modules. Dimmable downlights allow you to adjust the light levels dynamically, lowering the brightness for movie nights or raising it for board games. If you plan to connect multiple downlights to a single dimmer switch, always verify that the total combined wattage of the fixtures does not exceed the maximum load rating of the dimmer switch.
Bedrooms and Study Nooks: Managing Glare and Task Focus
Bedrooms and dedicated study nooks demand a careful balance between soothing relaxation and sharp mental focus. In these spaces, improper downlight placement can cause significant discomfort, either by shining directly into your eyes while you rest or by casting obstructive shadows over your work. Utilizing CL610 variants with advanced anti-glare designs—such as deep-recessed baffles—is highly beneficial in these areas to keep the light source hidden from normal viewing angles.
When planning bedroom lighting, position downlights away from the area directly above the headboard of the bed. Placing a fixture directly overhead can cause intense glare when you are lying down, making it difficult to wind down in the evening. Instead, position the fixtures along the walkways, wardrobe doors, or perimeter of the room, allowing the light to reflect softly off vertical surfaces.
For study nooks and home office desks, the CL610 can provide excellent task lighting to reduce eye strain during long hours of reading or computer work.
- Verify Light Quality: Ensure your selected variant has a high Color Rendering Index (CRI) of 80 or above (ideally 90+) so that colors appear natural and text remains sharp.
- Optimize Positioning: Place the downlights slightly in front of or to the side of your seating position rather than directly behind you. This prevents your head and shoulders from casting a dark shadow over your book, keyboard, or writing pad.
- Match the Task: A neutral white color temperature of 4000K is often preferred for study areas, as it promotes alertness without the clinical feel of higher daylight temperatures.
Kitchens and Bathrooms: Navigating Brightness and Moisture Limits
Kitchens and bathrooms are high-utility zones that present challenging environmental conditions, requiring strict adherence to safety standards and functional brightness requirements. In the kitchen, cooking preparation involves sharp tools, hot surfaces, and precise measurements, making high-visibility task lighting a necessity. To support safe food preparation, select CL610 downlights with high lumen outputs and exceptional color rendering to ensure ingredients are clearly visible and accurately colored.
To prevent dark spots and shadows in the kitchen, carefully space your downlights along the line of your countertops and cabinets. If downlights are positioned too far back from the counter, your body will block the overhead light, casting a shadow over your cutting board or stove. Spacing the fixtures so that their light cones overlap slightly along the working edge of the counter ensures a bright, shadow-free workspace.
In bathrooms, moisture safety is the single most important factor governing fixture selection. You must check the official product label of your CL610 downlights to verify their Ingress Protection (IP) rating before installation.
- Dry Zones: Standard dry-rated fixtures, such as those rated IP20, are acceptable only in well-ventilated vanity areas far from water sources.
- Damp and Wet Zones: Areas directly above showers, bathtubs, or open wet areas are subject to heavy steam, condensation, and direct water splashes. For these zones, you must use fixtures specifically rated for wet environments (such as IP44 or higher).
- Safety Warning: Never install a standard IP20 downlight in a damp or wet zone, as moisture penetration can cause electrical short circuits, damage the internal driver, or pose a severe shock hazard.
Ceiling Clearances and Electrical Safety in HDB and Condo Homes
Installing recessed downlights like the CL610 in Singapore homes requires a clear understanding of local building structures and electrical safety standards. HDB flats and private condominiums present different structural constraints that directly affect how fixtures are mounted. While HDB flats frequently allow for the installation of gypsum false ceilings to conceal wiring and recessed housings, some condominium units feature solid concrete ceilings where hacking is strictly prohibited or structurally unsafe.
If you are installing the CL610 in a false ceiling, you must ensure there is adequate clearance space behind the gypsum board for heat dissipation. Operating LED downlights generate heat at the rear of the fixture where the driver and LED chips are located. If this heat cannot escape due to insufficient clearance or contact with thermal insulation materials, the fixture can overheat, leading to rapid performance degradation, driver failure, or even fire hazards. Always refer to the manufacturer’s installation instructions to verify the minimum vertical and horizontal clearance distances required for your specific model.
When dealing with solid concrete ceilings where recessed installation is not possible, do not attempt to hack into the structural concrete slab. Instead, consult a lighting professional about using surface-mounted downlight canisters, track lighting systems, or exposed decorative conduits that accommodate the CL610 or compatible alternatives without compromising structural integrity.
Regardless of your ceiling type, electrical safety must remain your highest priority during any inspection, maintenance, or installation work. Always isolate the electrical circuit by turning off the main power supply at your home’s distribution board (DB box) before touching any wiring or removing a fixture. For all fixed electrical wiring, circuit modifications, and the cutting of new ceiling holes, you must hire a Licensed Electrical Worker (LEW) in Singapore. Professional installation ensures compliance with local electrical safety regulations and guarantees that your home’s wiring is safely rated for the load.
Frequently Asked Questions (FAQ)
Can I mix the CL610 with other downlight models in the same room?
It is highly recommended to avoid mixing different downlight models within a single continuous ceiling space. Even if different models claim to share the same color temperature (such as 3000K), variations in manufacturer binning, lens design, and Color Rendering Index (CRI) can result in highly visible differences in light color and beam spread. To maintain visual harmony, clean aesthetics, and uniform light distribution, use the exact same CL610 model and production batch throughout the entire room.
How do I calculate the number of CL610 downlights needed for an HDB bedroom?
To estimate the number of fixtures required, first determine your bedroom’s square footage and identify the verified lumen output of your specific CL610 variant. A standard bedroom typically requires an ambient light level of approximately 100 to 150 lumens per square meter. Multiply your room’s area by this target to find the total required lumens, then divide that number by the lumen output of a single CL610 unit. For balanced illumination, space the fixtures evenly between 1 and 1.5 meters apart, making sure to avoid placing them directly over the head of the bed.
Community discussion
Share your experience or ask a question. Comments are reviewed before publication.