
A scented candle that fails to fill a room with its intended aroma is almost always suffering from a compromised wick. The wick acts as the engine of the candle, drawing liquid wax upward to fuel the flame and vaporize the embedded fragrance oils. When the wick is too short, clogged with carbon, or buried in a deep tunnel, it cannot generate the heat required to create a proper melt pool. Resolving these common wick issues is the key to restoring a strong, room-filling scent throw and ensuring your candle burns cleanly from the first light to the very bottom of the jar.
How Wick Flaws Block Fragrance Diffusion
To understand why a candle lacks scent, look at the physics of fragrance release. A scented candle does not release its aroma from the flame itself; instead, the heat of the flame melts the surrounding wax to create a liquid pool. This pool acts as a diffusion surface, allowing the fragrance oils suspended in the wax to evaporate. If the wick cannot generate enough heat, this liquid pool remains shallow and narrow, severely limiting the surface area available for fragrance evaporation.
Several visual cues help identify when a wick is failing. A weak, flickering flame struggling to stay lit is a classic sign of a drowning wick, which cannot melt enough wax to release scent. Conversely, a flame that dances wildly or produces black soot indicates an untrimmed wick that is burning too hot, consuming the fragrance oils too quickly and destroying the delicate scent notes. A small, deep pool of wax directly around the wick, surrounded by a hard ring of unmelted wax along the container walls, is another clear indicator of a wick issue.
Products mentioned in this guide
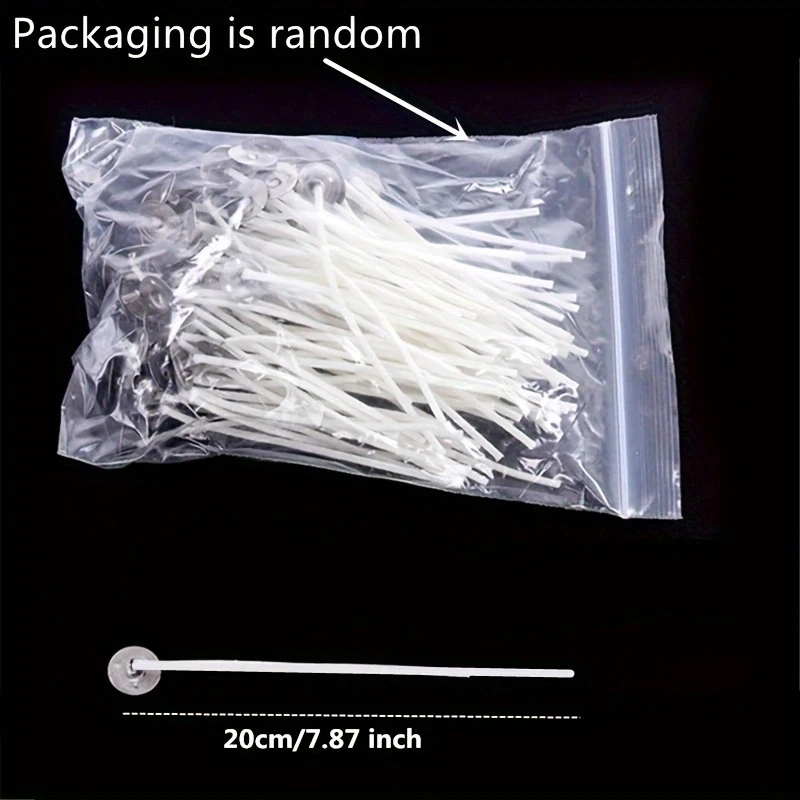

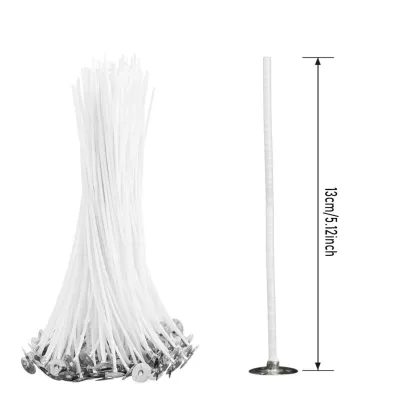

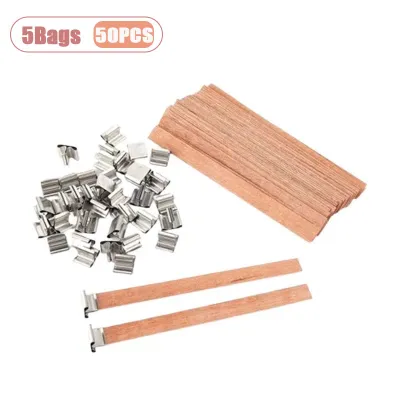
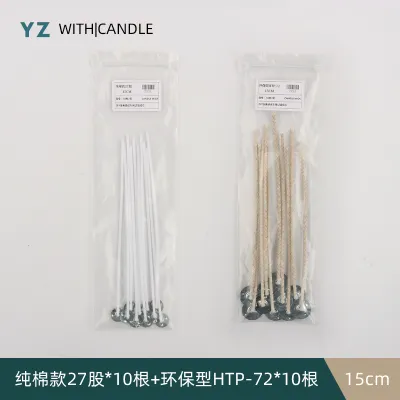
Prices are valid at publication and may change. Please refer to the product page for the latest price.
These wick failures are usually symptoms of broader burning habits or environmental factors. Placing a candle in a drafty area causes the flame to flicker and lose heat, preventing an even melt pool. Similarly, extinguishing a candle too early during its initial burns creates a memory ring in the wax, forcing the wick to tunnel downward. In some cases, the issue stems from a mismatch between the wick material and the specific wax formulation, as denser waxes require more robust wicks.
How to Fix the Three Most Common Wick Problems
When a candle begins to lose its scent throw, you do not have to discard it immediately. Most wick-related issues can be corrected with a few simple, hands-on interventions that restore the flame’s heat and balance. By learning how to diagnose and address tunneling, drowning, and carbon buildup, you can rescue your favorite candles and enjoy their full aromatic potential safely.

Fixing Candle Tunneling and Shallow Melt Pools
Candle tunneling occurs when the wick burns straight down the center, leaving a hard ring of unmelted wax along the container edges. This unmelted wax represents wasted fragrance, and as the tunnel deepens, the wick receives less oxygen, leading to a weak flame that cannot heat the wax sufficiently. To resolve a shallow tunnel, use the foil-wrap method to gently redirect heat back toward the cold edges of the candle.
To apply the foil-wrap method, wrap aluminum foil around the top edge of the container, folding it slightly inward to create a dome with a central hole for the flame. This dome traps the rising heat and reflects it downward, warming the stubborn wax along the perimeter of the jar. Supervise the candle constantly during this process to ensure the container does not overheat, and remove the foil once the surface wax has melted into a flat, even pool.
If the tunnel is too deep for the foil method, carefully scrape away the hard wax along the edges of the jar while the candle is cold. Use a metal spoon or butter knife, taking care not to scratch the glass or disturb the wick base. This scraped wax can be saved for a wax warmer, while the lowered wax level in the jar re-exposes the wick to allow proper airflow.
There is a point of no return where a tunneled candle can no longer be safely recovered. If the wick is completely buried or cannot be lit without the flame being smothered, attempting to burn it poses a fire hazard. In these severe cases, stop lighting the candle and scrape out the remaining wax to use in a flame-free wax melting device.
Rescuing a Drowning or Submerged Wick
A drowning wick occurs when the liquid wax pool becomes too deep, submerging the wick and choking the flame until it becomes a tiny, unproductive speck. This weak flame cannot generate enough heat to vaporize the fragrance oils, resulting in a loss of scent throw. To rescue a submerged wick, carefully reduce the depth of the liquid wax pool to allow the wick to breathe and burn at its proper height.
To remove excess liquid wax, extinguish the candle and use a clean paper towel or cotton pad to absorb the warm liquid. Gently press the absorbent material into the liquid wax pool away from the wick, taking care not to touch the hot wax directly or drop loose fibers into the container. Do not pour liquid wax down household drains, as it will quickly solidify and cause severe plumbing blockages.
Once you have removed the excess wax, use a pair of tweezers or a wick dipper to gently straighten and center the wick while the remaining wax is still soft. Let the candle cool completely before relighting it, allowing the wax to firm up and support the newly exposed wick. This simple adjustment often restores the flame to its optimal size, allowing it to heat the wax pool and release the fragrance.
If a wick continues to drown repeatedly, the wick structure itself may be permanently compromised or too small for the container. Some candles are manufactured with wicks that are too thin for the density of the wax blend, meaning the wick cannot draw up wax fast enough to keep pace with the melting rate. If this issue persists, it is a sign of a manufacturing mismatch rather than a temporary burning error.
Clearing Wick Mushrooming and Carbon Buildup
Wick mushrooming is characterized by a dark, bulbous buildup of carbon at the tip, resembling a small mushroom cap. This buildup occurs when the wick consumes wax and fragrance oils faster than it can cleanly burn them, leading to incomplete combustion. A mushroomed wick produces a large, unstable flame that flickers wildly, generates heavy black soot, and burns through the candle too quickly without releasing a clean scent.
To clear carbon buildup, wait until the candle is completely extinguished, cool, and the wax has fully solidified. Using a dedicated wick trimmer, scissors, or a tissue, gently snip off the carbon cap and trim the wick down to its proper length. Never attempt to trim a hot or burning wick, as hot carbon fragments can fall into the liquid wax, ruining the candle and creating a secondary fire hazard.
Mushrooming is frequently caused by burning a candle for too long in a single session, which allows carbon to accumulate on the wick tip. Room drafts can also contribute to this issue by destabilizing the flame and disrupting clean combustion. Keeping your candles away from open windows, air conditioning vents, and high-traffic areas helps maintain a steady, clean burn that prevents carbon caps from forming.
Avoid inhaling the black soot produced by a mushroomed wick, as carbon particles can irritate the respiratory system and stain nearby walls. If a candle continues to produce heavy soot or a dangerously high flame even after you have trimmed the carbon cap away, the fragrance oil concentration may be too high. In such cases, discontinue burning the candle to protect your indoor air quality.
Daily Habits to Maintain a Strong Scent Throw
Preventing wick issues before they start is a highly effective way to ensure your scented candles deliver a consistent, powerful fragrance. Establishing a few simple maintenance habits will keep your wicks burning cleanly and prevent the structural failures that ruin scent throw. The most critical of these habits is managing the very first burn of a new candle.
The first time you light a scented candle, allow it to burn long enough for the liquid wax pool to reach all the way to the outer edges of the container. This process, often referred to as setting the candle’s memory, typically takes several hours depending on the diameter of the jar. If you extinguish the candle before the melt pool reaches the edges, you establish a physical memory ring that the candle will follow on subsequent burns, leading to inevitable tunneling.
Before every single lighting, trim the wick to the manufacturer’s recommended length, which is typically about five to six millimeters. Trimming the wick controls the size of the flame, preventing it from growing too large, producing soot, or consuming the wax too rapidly. A properly trimmed wick ensures a controlled, steady burn that maximizes the life of the candle and allows the fragrance oils to evaporate at an optimal rate.
Additionally, keep the wax pool clean and free of debris, such as match heads, wick trimmings, or dust. Debris in the wax pool can act as a secondary wick, creating multiple flame points that overheat the container and pose a severe fire hazard. Finally, ensure your candles are burned on a flat, heat-resistant surface away from drafts, and avoid moving a lit candle while the wax is liquid, as shifting the container can cause the wick to tilt.
When to Stop Burning and Replace the Candle
Even with meticulous care, every scented candle eventually reaches the end of its usable life, and knowing when to stop burning is crucial for safety. Discontinue using a candle when the remaining wax at the bottom of the container is shallow, typically around one centimeter deep. Burning a candle past this point allows the intense heat of the flame to transfer directly to the bottom of the jar, which can cause the container to shatter or scorch the surface underneath.
Other clear stopping conditions include a wick that has slipped from its metal anchor tab, a container that has become excessively hot to the touch, or any visible cracks in the glass. Never attempt to burn a candle if the container is damaged, as the hot liquid wax can leak out rapidly, creating a severe fire hazard. Always prioritize safety over trying to extract the last few drops of scented wax from a failing jar.
To ensure safety, never leave a burning candle unattended, and keep it out of reach of children, pets, and flammable items. When extinguishing the flame, use a candle snuffer or a wick dipper rather than blowing it out to prevent hot wax from splattering and minimize smoke. Always consult the safety label on the bottom of your candle for specific manufacturer guidelines regarding burn times and disposal.
Frequently Asked Questions (FAQ)
Can I Insert a Replacement Wick if the Original Burns Out?
Attempting to insert a replacement wick into an existing candle is highly discouraged due to the safety risks involved. Securing a new wick firmly to the bottom of a container requires specialized heat-resistant adhesives and tools that are difficult to apply once the jar is already filled with wax. If a replacement wick is not perfectly centered and anchored, it can drift to the side of the container during a burn, causing the glass to overheat, crack, or shatter. Instead of risking a DIY repair, it is much safer to scrape out the remaining wax and melt it in a flame-free wax warmer to enjoy the remaining fragrance.
Does the Wax Type Change How the Wick Releases Fragrance?
Yes, the type of wax used in a candle directly influences how the wick must perform to release fragrance effectively. Natural waxes like soy and beeswax have higher melting points and denser molecular structures than paraffin wax, requiring thicker or specially braided wicks to draw the wax upward efficiently. A wick that is perfectly calibrated for a paraffin candle may easily drown or cause tunneling if used in a soy blend. Because each wax formulation has unique thermal properties, you should always refer to the manufacturer’s specific care instructions for guidance tailored to that particular candle type.

Community discussion
Share your experience or ask a question. Comments are reviewed before publication.