
Selecting the right 22W circular downlight for your home involves looking beyond brand names and focusing on verifiable technical specifications. Because performance can vary significantly between models, comparing actual light output, thermal construction, and driver reliability is the most dependable way to secure long-term value.
By evaluating these core metrics, you can design a whole-house lighting scheme that balances energy efficiency with optimal visual comfort. Taking the time to understand these technical details prevents common pitfalls such as premature fixture failure, inadequate illumination, or costly ceiling modifications during installation.
How to Compare Brightness and Light Output
When shopping for a 22W circular downlight, the wattage rating only tells you how much electrical power the fixture consumes, not how much light it emits. To understand actual brightness, you must check the lumen rating and calculate the luminous efficacy, which is measured in lumens per watt (lm/W). A highly efficient 22W downlight can produce significantly more light than an inefficient model of the same wattage, reducing overall energy consumption across your home. This efficiency is particularly crucial when installing multiple fixtures across a large living area or an entire floor plan.
Products mentioned in this guide
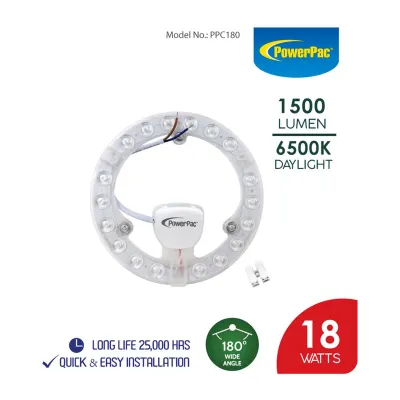
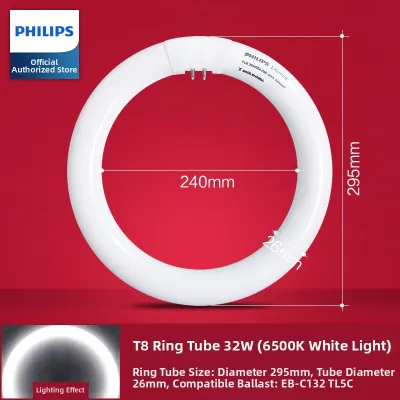
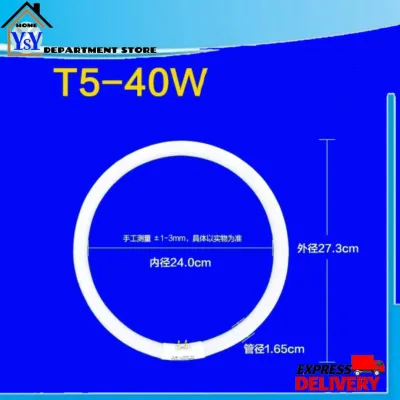
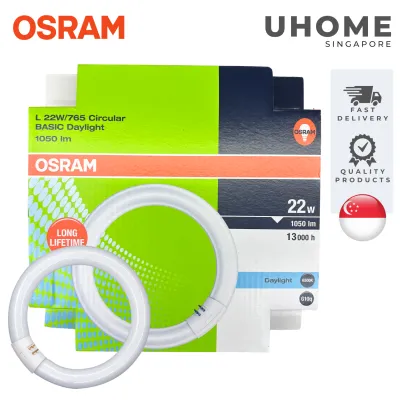
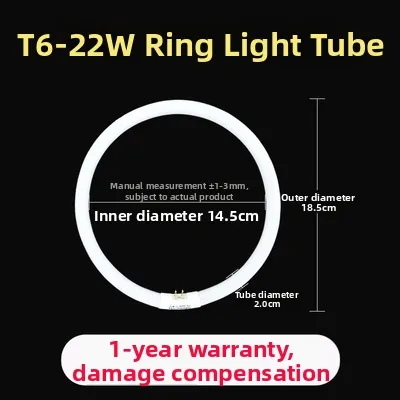
Prices are valid at publication and may change. Please refer to the product page for the latest price.
The physical distribution of this light depends heavily on the fixture’s beam angle and reflector design. Narrow beam angles concentrate light into a focused pool, making them ideal for highlighting specific features, artwork, or task areas like kitchen countertops. Conversely, wide beam angles disperse light across a broader area, which helps eliminate harsh shadows in open living spaces but may reduce the perceived intensity of the light at floor level. Choosing the wrong beam angle can result in either a spotty, unevenly lit room or a space that feels overly bright and clinical.
Correlated Color Temperature (CCT) also plays a critical role in how bright a room feels. Cooler color temperatures, such as 6000K daylight, often appear brighter and crisper to the human eye, making them suitable for utility spaces, home offices, and kitchens where task clarity is essential. Warmer temperatures, like 3000K warm white, create a softer, more relaxing atmosphere but may require a higher lumen output to achieve the same perceived level of illumination. Many modern fixtures offer selectable CCT switches, allowing you to adjust the color temperature during installation to match the room’s specific mood.
Evaluating Lifespan Through Thermal Management
Many manufacturers advertise nominal lifespans of tens of thousands of hours, but these figures rarely tell the whole story. To assess true durability, look for standardized lumen maintenance ratings such as L70 or L80, which indicate how many hours the fixture can operate before its light output drops to 70% or 80% of its original brightness. These standards provide a much more realistic expectation of a downlight’s functional lifespan than generic marketing claims. A fixture that maintains 80% of its brightness over 30,000 hours offers far superior long-term performance than one that degrades rapidly within the first year.

The primary enemy of LED longevity is heat, which makes the physical construction of the heat sink a critical factor. Downlights featuring robust die-cast aluminum heat sinks dissipate thermal energy far more effectively than those utilizing cheap plastic composites. Superior heat dissipation prevents the LED chips from overheating, thereby slowing down the rate of lumen degradation and color shifting over time. When heat is not managed properly, the delicate semiconductor junctions inside the LED degrade rapidly, leading to a noticeable drop in brightness and a shift toward an unpleasant greenish or bluish tint.
Additionally, you should consider the configuration of the light’s electrical components. Many modern downlights feature integrated LED modules where the driver is built directly into the fixture, meaning the entire unit must be replaced if either component fails. Opting for systems with separate, external drivers allows for easier maintenance, as you can often replace a failed driver without discarding the functioning LED light source. This modular approach not only reduces electronic waste but also lowers long-term maintenance costs, as drivers are typically the first component to fail under normal operating conditions.
Calculating True Value for Whole-House Lighting
When planning a comprehensive lighting layout for a flat or condominium, calculating the total cost of ownership is far more valuable than simply comparing initial retail prices. While a budget-friendly 22W downlight might cost less upfront in S$, an inefficient or poorly constructed model can lead to higher monthly utility bills and premature replacement costs. Investing in fixtures with higher luminous efficacy and better thermal management often yields lower overall expenses over several years. When multiplying these savings across twenty or thirty fixtures in a whole-house renovation, the financial difference becomes substantial.
Warranty terms serve as a strong indicator of a manufacturer’s confidence in their product’s build quality. When reviewing warranties, check the exact duration and verify whether the coverage extends to both the LED chip and the external driver, as drivers are often the first component to fail. It is also wise to confirm if the warranty is transferable or if it requires professional installation receipts to remain valid. A comprehensive three-to-five-year warranty that covers all components provides peace of mind and protects your investment against early component failures.
Dimming compatibility is another crucial factor that can impact your overall budget. If you plan to install dimmable downlights, you must verify that the fixtures are fully compatible with your existing or planned dimmer switches. Incompatible components can cause annoying flickering, buzzing, or premature driver failure, leading to unexpected retrofitting costs that quickly erase any initial savings. Consulting compatibility charts provided by the manufacturer before purchasing can save you from the frustration of replacing expensive dimmer switches or fixtures after the installation is complete.
Decision Framework: Choosing the Right Specifications
Selecting the ideal 22W circular downlight requires matching the fixture’s specifications to the specific demands of each room. For high-ceiling areas or spaces where you need focused illumination, prioritize high-efficacy models with narrow beam angles. These fixtures project light downward efficiently, ensuring that work surfaces or decorative features receive adequate light without spilling excess glare into the surrounding space. This approach is particularly effective in double-volume living rooms or over kitchen islands where task lighting is critical.
For general living areas, dining rooms, and bedrooms, prioritize visual comfort and color accuracy. Look for wide-beam downlights with a high Color Rendering Index (CRI) of 90 or above, which ensures that colors appear natural and vibrant. Wide-beam distribution helps create a soft, even wash of light across the room, reducing eye strain and making the living space feel more inviting. High-CRI lighting is especially important in dining areas, where it enhances the appearance of food and creates a more pleasant dining experience.
In areas where lights remain turned on for extended periods, such as kitchens, hallways, or home offices, thermal durability is paramount. For these environments, select downlights equipped with substantial aluminum heat sinks that can handle continuous operation without overheating. This precaution protects the internal electronics and maintains consistent brightness levels over years of heavy use. It also reduces the risk of heat-induced driver failures in enclosed ceiling spaces that tend to trap warm air.
Before finalizing any purchase, always measure the available space inside your ceiling cavity. High-performance downlights with large, heavy-duty heat sinks require more vertical clearance and adequate surrounding air space to dissipate heat safely. If your false ceiling has limited depth or lacks proper ventilation, you may need to select low-profile models specifically designed for tight spaces. Installing a bulky fixture in a cramped, unventilated cavity can lead to heat buildup, drastically shortening the lifespan of the light.
Installation Compatibility and Safety Checks
To ensure a smooth installation process, you must verify that the physical dimensions of the new downlights match your ceiling’s existing infrastructure. Measure the exact diameter of the ceiling cut-out hole and compare it to the manufacturer’s specified cut-out dimensions. Additionally, check that there is sufficient clearance behind the ceiling board for the spring clips to snap into place securely without damaging the surrounding plaster. A mismatch of even a few millimeters can result in loose fixtures or the need for messy, expensive ceiling repairs.
Electrical safety and compliance are non-negotiable when installing recessed lighting. Ensure that any downlight you select carries the appropriate local electrical safety certifications, such as the Safety Mark in Singapore, to guarantee it has been tested for fire and electrical hazards. If you are installing fixtures in damp areas like bathrooms or covered balconies, verify that they have an appropriate Ingress Protection (IP) rating, such as IP44 or higher, to resist moisture. Using non-certified or unrated fixtures in these environments poses a serious safety risk and can void your home insurance.
While replacing a simple plug-and-play downlight on an existing, safe circuit can sometimes be done by a homeowner, complex installations require professional expertise. Any task involving new fixed wiring, cutting new holes in the ceiling, working at significant heights, or installing fixtures in high-moisture zones must be handled by a licensed electrician. Prioritizing professional installation ensures compliance with local building codes, guarantees the safety of your home’s electrical system, and provides recourse if any issues arise post-installation.
Frequently Asked Questions (FAQ)
Can I replace an existing downlight with a 22W circular model myself?
You can replace an existing downlight yourself only if the fixture uses a compatible plug-and-play connection and the new unit fits the existing ceiling cut-out perfectly. Before touching any components, you must switch off the main power at the circuit breaker and use a voltage tester to confirm the line is dead. If the replacement requires modifying the ceiling hole, handling raw wiring, or working in damp areas, you must hire a licensed electrician to complete the work safely.
Does a higher wattage always mean a brighter downlight?
No, wattage only measures electrical power consumption, not light output. Modern LED technology has made it possible to produce more light using less energy, meaning a highly efficient 22W downlight can easily outperform an older or lower-quality model of the same or higher wattage. To compare actual brightness accurately, always look at the lumen output (lm) and the luminous efficacy (lm/W) specified by the manufacturer rather than relying on wattage alone.

Community discussion
Share your experience or ask a question. Comments are reviewed before publication.