
Selecting the right adhesive mirror to make a small room look bigger requires balancing material clarity, weight, and strategic placement. For compact spaces, frameless glass mirror tiles and lightweight acrylic panels are the most effective options. Unlike bulky floor mirrors that consume valuable floor space, adhesive mirrors mount flush against the wall, preserving walking paths while instantly doubling the perceived depth of a room.
By bouncing both natural and artificial light into dark corners, these wall-mounted solutions eliminate visual boundaries. In compact apartments, high-quality adhesive mirrors serve as affordable, non-invasive architectural tools that make tight layouts feel open, airy, and bright.
What to Look for in Space-Enhancing Adhesive Mirrors
When shopping for adhesive mirrors to expand a compact room, the material composition is your most critical decision. The two primary options are real glass and acrylic (or shatterproof plastic), each presenting distinct trade-offs in reflectivity, weight, and safety.
Products mentioned in this guide
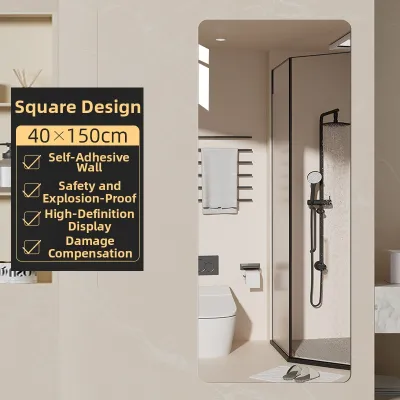
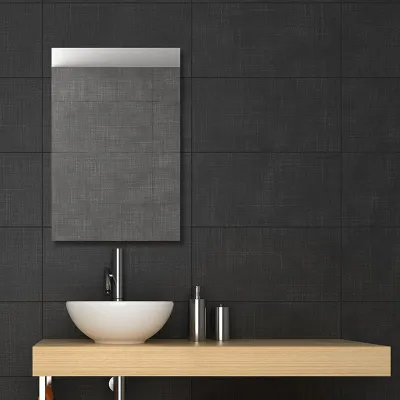
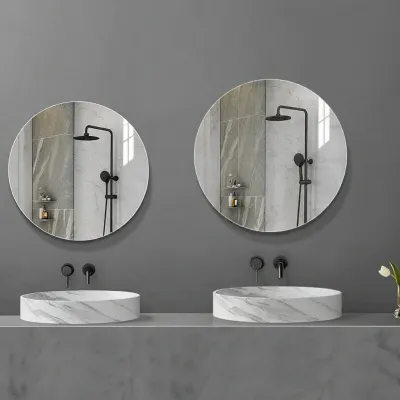
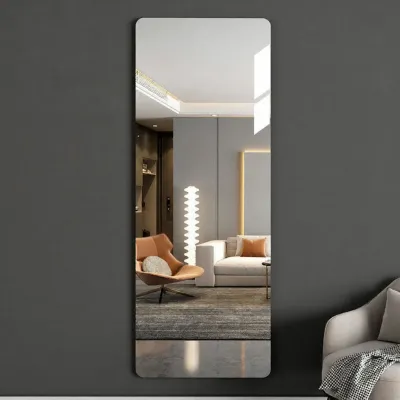
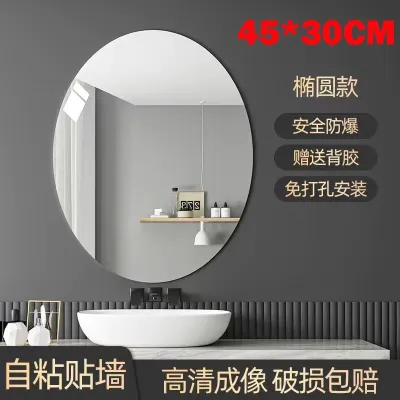
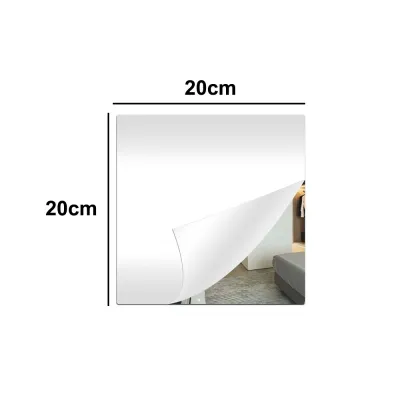
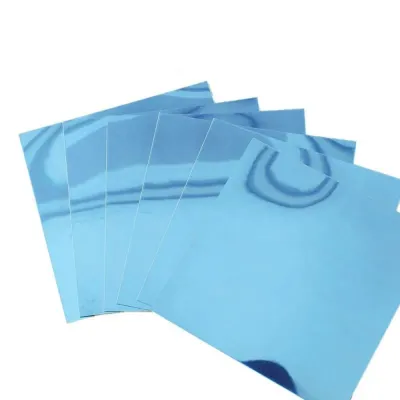
Prices are valid at publication and may change. Please refer to the product page for the latest price.
Material Differences and Reflectivity
- Real Glass Mirrors: Glass offers the highest optical clarity and zero distortion. Because glass is perfectly rigid, it provides a true reflection that maximizes the illusion of depth. However, glass is heavy and fragile. It requires high-bond adhesives and is best suited for solid, well-prepared walls where there is no risk of the mirror falling and shattering.
- Acrylic and PET Mirrors: Acrylic is exceptionally lightweight, impact-resistant, and safe for households with children or pets. The primary drawback is flexibility. If the underlying wall has even minor textures or curves, a thin acrylic mirror will bend, resulting in a distorted "funhouse" reflection. To minimize this distortion, look for acrylic sheets with a thickness of at least 2mm to 3mm, and avoid paper-thin mirror decals.
Frameless vs. Framed Designs
To create a seamless visual flow, frameless designs are highly recommended. Frames act as physical borders that stop the eye, reinforcing the boundaries of a small room. Frameless mirrors, especially when placed edge-to-edge, allow the eye to travel continuously across the wall, making the transition between the real room and the reflection almost invisible.
Adhesive Strength and Thickness
Before purchasing from online home decor stores, always verify the product specifications. Check the manufacturer’s rated weight limit for the included adhesive. High-quality adhesive mirrors typically utilize double-sided polyethylene (PE) foam tape, which helps absorb minor wall irregularities. Ensure the product description explicitly states the mirror’s thickness and backing material, as a thicker backing prevents warping over time.
Best Adhesive Mirror Styles for Compact Rooms
Different room layouts benefit from different mirror configurations. Selecting the right style depends on the specific wall dimensions you want to cover and the level of installation precision you can commit to.

Frameless Interlocking Mirror Tiles
Frameless interlocking mirror tiles, usually sold in square formats like 30×30 cm, are excellent for creating custom, large-scale reflective walls. By arranging multiple small tiles in a grid, you can construct a massive mirror effect without the weight, high cost, or installation hazards of a single, giant glass pane.
These modular tiles offer outstanding flexibility. They can be configured to cover awkward wall dimensions, such as the narrow side of a wardrobe, a recessed alcove, or a household bomb shelter door. This adaptability allows you to turn otherwise wasted wall space into a major light-reflecting feature.
However, interlocking tiles require meticulous installation. Because the reflection spans multiple pieces, even a one-millimeter misalignment between adjacent tiles will create highly visible seams and a disjointed reflection. To achieve a convincing spatial illusion, you must use a spirit level and spacer guides during installation to ensure every tile sits perfectly flush and level.
Large Peel-and-Stick Wall Mirrors
Large peel-and-stick rectangular or full-length mirrors are designed to create deep, singular focal points. Placing a single, continuous vertical mirror mimics the appearance of a doorway or a window leading into another room, which instantly tricks the brain into perceiving double the floor area.
These large panels work beautifully in narrow entryways, corridors, or directly behind low-profile furniture like a dining sideboard or a living room sofa. Because the reflection is unbroken, the spatial illusion is highly convincing and clean.
On the downside, larger adhesive mirrors demand flawless wall preparation. Because the adhesive sheet covers a wide surface area, any trapped air, dust particles, or wall texture will cause bubbling, warping, or eventual peeling. Furthermore, because of their weight, large glass adhesive mirrors carry a higher risk of falling if the wall surface is not completely clean and dry.
Geometric and Hexagonal Adhesive Mirrors
Geometric and hexagonal adhesive mirrors are modular shapes that can be arranged in creative, honeycomb-like patterns. Rather than forming a single, continuous reflection, they break up the wall surface into an artistic, multi-faceted display.
This style is ideal for adding visual interest and depth to accent walls without overwhelming a small room. The multiple angled edges catch light from different directions, drawing the eye across the room and making a plain, flat wall feel dynamic and textured.
While highly decorative, geometric mirrors are not the best choice if your primary goal is a realistic full-room expansion. The fragmented reflection is interrupted by numerous gaps and seams, meaning these mirrors function more as stylish light-scattering accents than as true space-doubling tools.
Arched or Round Self-Adhesive Mirrors
Arched and round self-adhesive mirrors feature soft, curved silhouettes that contrast with the rigid, boxy lines common in modern apartments. In compact rooms dominated by straight lines—such as square rooms, rectangular cabinets, and sharp door frames—introducing curved mirrors softens the overall aesthetic.
Curved edges naturally draw the eye upward, emphasizing the room’s vertical height rather than its narrow width. An arched mirror, in particular, mimics the architectural shape of a classic window, adding a sense of historical depth and openness to a plain wall.
Because these shapes provide a more focused, localized reflection, they are best utilized above console tables, shoe cabinets, or in small entryways. They excel at brightening specific zones and creating welcoming focal points, though they lack the wall-to-wall expansion capabilities of modular tiles.
Strategic Placement for Maximum Space Illusion
Where you place your adhesive mirror is just as important as the style you choose. Poor placement can make a room feel chaotic, while strategic positioning can make a tiny room feel twice its actual size.
Position Opposite Windows to Maximize Daylight
To make a dark, compact room feel airy, mount your adhesive mirror directly opposite or adjacent to a window. This positioning allows the mirror to capture incoming natural daylight and bounce it deep into the dark corners of the room. By multiplying the natural light, the space instantly feels larger and more connected to the outdoors.
Extend Narrow Corridors
In narrow hallways or entryways, place a large adhesive mirror at the far end of the corridor. This visually extends the length of the hallway, making a cramped transition zone feel like a grand, open passageway. Alternatively, lining one side of a narrow hallway with frameless mirror tiles will visually widen the path.
Reflect Light Sources, Not Clutter
To enhance evening brightness, position your mirrors so they reflect artificial light sources, such as wall sconces, pendant lamps, or floor lights. This doubles the ambient light output without requiring extra electrical wiring.
Conversely, always avoid placing mirrors where they will directly reflect cluttered shelving, open wardrobes, utility zones, or tangled electronics cords. Reflecting clutter simply doubles the visual noise, which makes a small room feel significantly more cramped and disorganized than it actually is. Aim to reflect clean, open spaces, indoor plants, or minimalist wall art.
Safe Installation and Wall-Friendly Removal
To ensure your adhesive mirrors remain securely on the wall—and can be removed eventually without tearing away paint or plaster—you must follow a careful, step-by-step process.
Surface Preparation
- Clean the Wall: Wipe the target area with isopropyl alcohol to remove dust, grease, and fingerprint oils. Avoid using standard household glass cleaners, as they often leave behind a thin, slick residue that prevents the adhesive from bonding securely.
- Dry Completely: Allow the wall to air-dry completely. Any residual moisture will trap dampness behind the adhesive, leading to premature failure.
- Verify Flatness: Hold a straightedge or level against the wall to check for bowing or bumps. If the wall is uneven, opt for rigid glass tiles rather than flexible acrylic, or sand down minor plaster imperfections first.
Application and Curing
Apply the adhesive tape evenly across the back of the mirror, focusing heavily on the perimeter and the center. Press the mirror firmly against the wall, applying even pressure across the entire surface for at least 30 seconds. Do not hang any weight or clean the mirror surface immediately; allow the adhesive to cure undisturbed for 24 hours to reach its maximum holding strength.
Safety Warning: For heavy glass mirrors, installations in high-traffic zones, or placements at height (such as high on a wall), relying solely on adhesive tape is a safety hazard. Always use mechanical supports, such as bottom mirror clips, or consult a qualified handyman to ensure a secure installation.
Damage-Free Removal
When it is time to move out or redecorate, never pull or pry an adhesive mirror directly off the wall, as this will tear the drywall paper or strip the paint down to the plaster. Instead, follow this gentle removal method:
- Apply Heat: Use a handheld hairdryer on a medium-high setting to apply direct heat to the face of the mirror. This softens the adhesive backing behind the panel.
- Slice the Adhesive: Take a long piece of dental floss, fishing line, or thin wire. Holding it taut behind the top edge of the mirror, gently slide it downward in a sawing motion. This slices through the softened foam tape, releasing the mirror from the wall.
- Clean Residue: Peel away any remaining foam pieces with your fingers. Use a mild adhesive remover or isopropyl alcohol to clean up any sticky residue left on the wall finish.
Frequently Asked Questions (FAQ)
Can adhesive mirrors be used in humid areas like bathrooms?
Standard adhesive mirrors are generally not recommended for high-humidity areas like bathrooms unless they are explicitly rated for moisture resistance. In a damp environment, constant moisture and steam will seep behind the mirror, causing standard adhesive backings to degrade, lose grip, and eventually fail. Additionally, high humidity can cause the silver reflective backing on standard glass mirrors to oxidize, resulting in unsightly black spots and peeling edges. If installing in a bathroom, ensure the space is exceptionally well-ventilated, use specialized moisture-resistant adhesive tape, and verify that the mirror backing is sealed against humidity.
Will removing peel-and-stick mirrors damage my rental walls?
Whether removal causes damage depends heavily on your wall’s paint finish, the underlying material, and the removal technique. Matte or flat paint finishes are highly porous and prone to peeling because the adhesive bonds deeply with the paint layer. Semi-gloss, gloss, or satin finishes are much more resilient and tolerate adhesive removal far better. To minimize the risk of damage, always use the hairdryer and dental floss removal method rather than pulling the mirror directly off the wall. If you are renting, it is highly recommended to test a small, inconspicuous area of the wall with a piece of the adhesive tape before committing to a full installation.

Community discussion
Share your experience or ask a question. Comments are reviewed before publication.