
Creating a cohesive gallery wall transforms an empty partition or concrete wall into a curated focal point. However, hanging multiple pieces of wall decor with frame elements can quickly become overwhelming without a structured approach. Achieving a balanced arrangement requires more than just hammering nails into the wall; it demands careful spatial planning, the right tools, and an understanding of visual weight. By following a systematic method, you can design a gallery wall that feels intentional, secure, and visually harmonious.
Plan Your Space and Gather the Right Tools
Before handling any artwork, analyze the physical wall space. In Singapore, residential properties—ranging from high-rise HDB flats to private condominiums—often feature a mix of structural concrete walls and lightweight drywall partitions. It is essential to identify your wall type first. Knock on the wall: a hollow sound indicates drywall, while a solid, dull thud points to concrete or brick. Concrete walls require a rotary hammer drill, masonry drill bits, and plastic wall plugs (anchors) to hold weight securely. Drywall partitions require hollow-wall anchors or toggle bolts.
Next, measure the wall’s height and width, making note of permanent fixtures. Light switches, air conditioning trunking, intercom panels, and skirting boards all restrict your usable canvas. Ensure your layout leaves comfortable clearance around these obstacles so the arrangement does not feel cramped or accidental.
Products mentioned in this guide
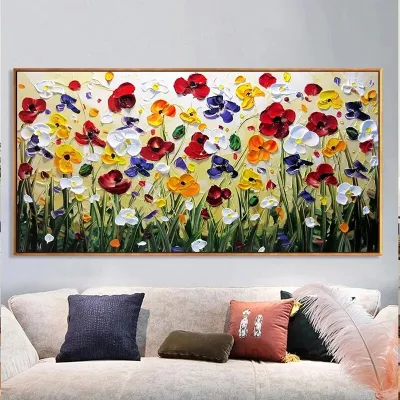
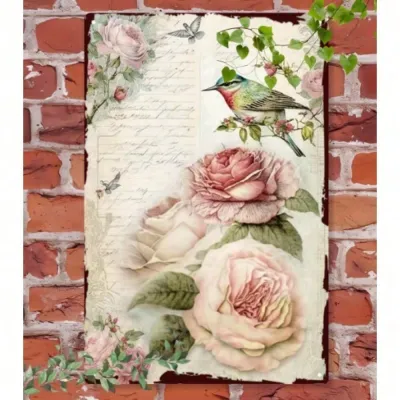




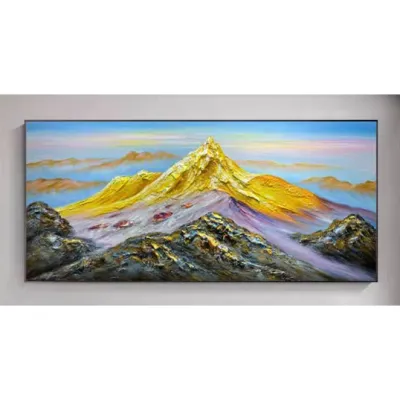
Prices are valid at publication and may change. Please refer to the product page for the latest price.
Once the physical space is assessed, curate your collection of wall decor with frame pieces. To maintain visual harmony, select a unifying element across your frames or artwork. This could be a shared color palette in the prints, consistent mat board widths, or matching frame materials (such as slim black aluminum or warm natural oak). Balance different sizes and orientations (portrait versus landscape) to keep the eye moving across the display.
Gather the necessary tools before starting the installation:
- Measuring tape for precise spacing.
- Pencil for marking reference points.
- Spirit level to guarantee perfectly straight lines.
- Hammer or drill (with masonry bits for concrete).
- Wall hardware (heavy-duty hooks, screws, wall plugs, or high-quality adhesive strips for lightweight frames).
- Painter's tape for marking layouts without damaging paint.
Always check the weight limits of your chosen hardware against the weight of your framed pieces. For heavy glass-fronted frames, rely on anchored screws rather than adhesive alternatives to prevent damage or injury.
Choose a Layout Strategy and Spacing Rule for Visual Balance
A successful gallery wall relies on a clear structural logic. Depending on your personal preference and the style of your home, choose one of the following primary layout strategies:

Grid Layout The grid layout is highly symmetrical, utilizing identical frame sizes, shapes, and matting arranged in neat rows and columns. This approach is ideal for minimalist, modern, or formal spaces. It works best with a series of related prints, such as architectural photography or botanical illustrations. Because of its clean lines, even a minor misalignment of a few millimeters will be highly noticeable, requiring absolute precision during installation.
Salon or Organic Layout The salon layout is more fluid and dynamic, making it perfect for mixing frames of different sizes, depths, and materials. To achieve visual balance in an organic layout, start by placing the largest, most visually dominant piece near the center of the wall to serve as an anchor. Work outward from this central point, distributing smaller frames around it. Balance the “visual weight” by ensuring that dark, heavy frames or busy artworks are balanced by similar visual weight on the opposite side of the arrangement.
The Spacing Rule Consistency is the secret to making a diverse group of frames look like a single, cohesive installation. Maintain a uniform gap between all frames. A spacing of 5 to 10 cm is standard. Smaller gaps (5 to 7 cm) work well for compact spaces or smaller frames, while larger gaps (8 to 10 cm) suit expansive walls and larger frames. Keep this distance identical horizontally and vertically throughout the entire arrangement.
Proportion to Furniture When hanging a gallery wall above furniture like a sofa, console table, or sideboard, treat the entire collection as one large, unified piece of art. The overall width of the gallery wall should ideally span 2/3 to 3/4 of the width of the furniture below it. This prevents the artwork from overpowering the furniture or looking lost on an expansive wall.
Mock Up the Arrangement with Paper Templates
To avoid turning your wall into a Swiss cheese of incorrect drill holes, create a physical mock-up using paper templates. This risk-free, reversible step allows you to refine your composition in real-time.
Begin by placing each framed piece face down on craft paper, newspaper, or packing cardboard. Trace the outline of each frame with a pencil and cut out the shape. Label each paper template clearly with the name of the artwork or its size and orientation (e.g., “Large Center Print,” “Small Black Frame – Portrait”).
Next, locate the hanging mechanism on the back of each frame. Whether it is a sawtooth hanger, a D-ring, or a hanging wire, measure its exact distance from the top and sides of the frame. Transfer this precise point onto your paper template. If the frame uses a hanging wire, pull the wire upward with your finger to simulate the tension of the hook, then measure from that peak to the top of the frame. Mark this “tension point” on the paper template; this is exactly where your nail or screw must go.
Using low-tack painter’s tape, stick the paper templates onto the wall according to your chosen layout. Step back to the opposite side of the room to evaluate the composition. View it from different angles, such as from an adjacent doorway or while seated. This perspective makes it easy to spot if the arrangement feels too high, too low, or tilted. Adjust the paper templates as needed until you achieve perfect visual balance.
Step-by-Step Hanging and Alignment
With your paper templates perfectly positioned on the wall, you can proceed to the physical installation with confidence.
Marking the Hanging Points Using a pencil or a sharp tool, press through the marked hanging point on each paper template to leave a small indent on the wall. Once all points are marked, gently peel away the paper templates and painter’s tape, leaving only your precise drill or nail marks on the wall.
Executing the Installation Safely Before drilling or driving nails, verify that the area is clear of hidden hazards. Avoid drilling directly above or below light switches, power sockets, or water outlets, as electrical conduits and pipes run vertically and horizontally behind the walls. Turn off the main power breaker if drilling close to electrical lines. Using a reliable stud finder with live-wire detection is highly recommended.
If installing on concrete walls, use a rotary hammer drill equipped with a masonry drill bit that matches the size of your plastic wall plugs (typically 5mm or 6mm for standard frames). Drill to the depth of the plug, insert the wall plug flush with the wall surface, and drive the screw in, leaving a few millimeters of the screw head exposed to catch the frame’s bracket. For drywall, use appropriate self-drilling drywall anchors. If you are unsure of the wall’s composition or structural integrity, consult a qualified professional.
Hanging and Leveling Hang the framed pieces one by one. If you chose a salon layout, start with the central anchor piece first and work your way outward. For a grid layout, start from the top-left corner and work systematically across and down.
Place a spirit level on top of each frame as you hang it to ensure it is perfectly horizontal. Once all pieces are hung, place the level across the tops of adjacent frames in a row (or along the central axis) to verify that the entire arrangement aligns beautifully.
Final Verification and Glare Check
Once all the frames are securely on the wall, step back to perform a final inspection. Walk around the room to observe how the gallery wall looks from various viewing distances and angles. Ensure that the visual weight feels evenly distributed across the entire wall space.
If any frames tend to shift or tilt slightly—which can happen due to vibrations from closing doors or foot traffic—apply a small piece of removable adhesive putty (such as Blu-Tack) to the bottom corners of the frames. This secures them in place and maintains your perfect alignment over time.
Finally, evaluate how the room’s lighting interacts with the glass of your frames. In Singapore’s bright, tropical climate, natural light streaming through windows can cause harsh reflections on standard picture glass, obscuring the artwork. If glare is a problem, consider adjusting the angle of nearby adjustable track lights or spotlights. For fixed lighting setups, using non-reflective or anti-glare glass in your frames can significantly improve visibility. While decorative lighting styles and color temperatures (such as warm 3000K spotlights versus cool white ambient light) are highly personal preferences, ensuring your art is visible and free from distracting reflections is key to enjoying your gallery wall.
Frequently Asked Questions (FAQ)
How high should the center of a gallery wall be?
The general rule of thumb is to position the center of the overall gallery wall arrangement at eye level, which is approximately 145 to 150 cm from the floor to the center point of the composition. If you are hanging the gallery wall directly above a piece of furniture like a console table or sofa, adjust this height so that the bottom edge of the lowest frames sits about 15 to 20 cm above the top of the furniture. This maintains a connected visual relationship between the furniture and the art.
Can I mix different frame styles and colors?
Yes, mixing different frame styles and colors can create a beautifully curated, eclectic look. To prevent the wall from looking chaotic, maintain at least one cohesive element. You can use matching white or off-white mat boards inside all the frames, limit your color palette to two or three complementary finishes (such as matte black, warm brass, and natural oak), or ensure that all the artwork shares a similar color story. This common thread ties the diverse frames together into a balanced, intentional display.

Community discussion
Share your experience or ask a question. Comments are reviewed before publication.