
To determine if your LED light driver is compatible with a wall dimmer switch, you must cross-reference the driver’s specified dimming protocol with the dimmer’s operating technology and load limits. This process involves checking the physical labels on both devices, calculating the total wattage of your connected light fixtures, and verifying that the input voltage aligns with your local electrical supply. Taking these steps before installation ensures smooth, flicker-free operation and protects your lighting system from premature failure.
Understand LED Dimming Compatibility
Unlike traditional incandescent bulbs that dim by simply reducing voltage, LEDs rely on complex electronic circuits. The LED light driver acts as the intermediary power supply, converting high-voltage alternating current (AC) from your wall switch into the low-voltage direct current (DC) required by the LED chips. When you introduce a wall dimmer switch, it alters the incoming AC signal. The driver must be designed to interpret this altered signal and adjust the DC output accordingly.
If the driver and dimmer are mismatched, the electronic communication breaks down. This mismatch often manifests as visible flickering, strobing, or an audible buzzing sound coming from either the driver or the wall switch. Beyond the immediate visual discomfort and annoying noise, operating mismatched components can cause severe thermal stress. Overheating can degrade the internal capacitors of the driver, leading to a drastically reduced lifespan or sudden component failure.
Products mentioned in this guide
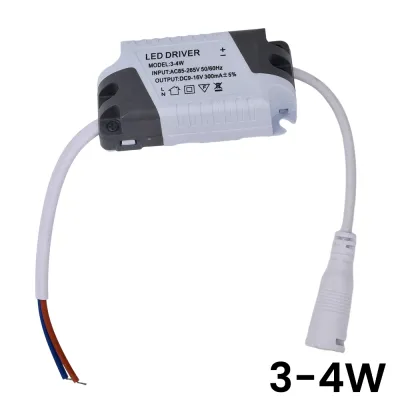
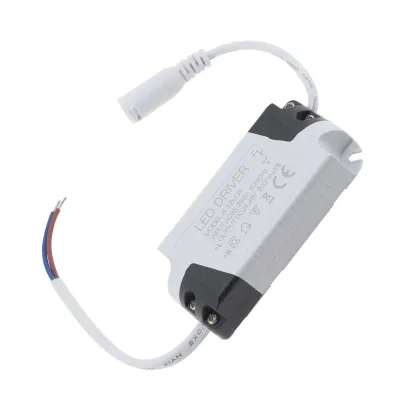
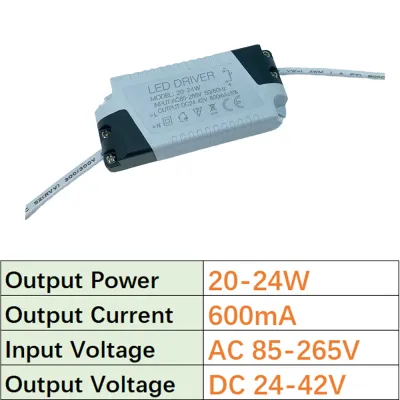
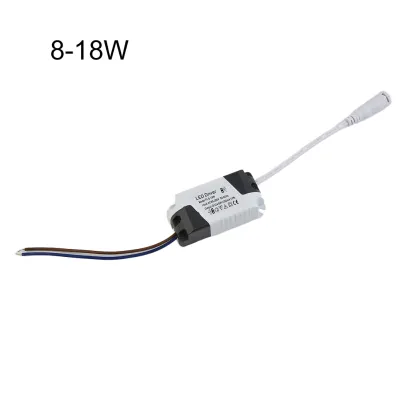
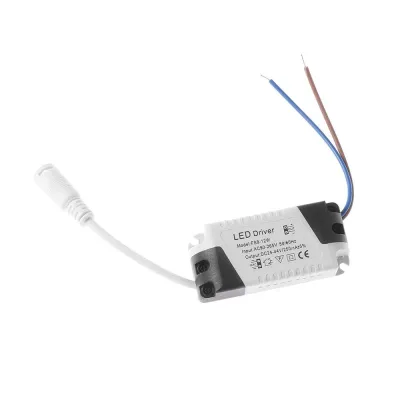
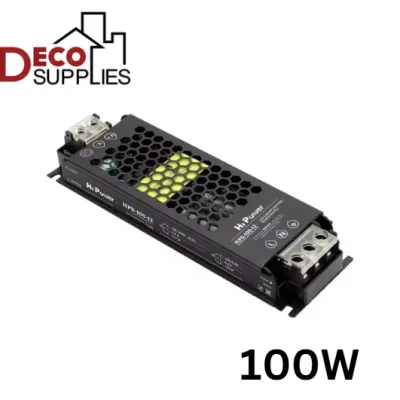
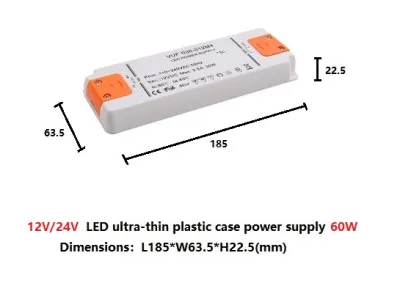
Prices are valid at publication and may change. Please refer to the product page for the latest price.
In Singapore’s residential environments, such as HDB flats and condominiums, lighting setups are often integrated into false ceilings or custom carpentry. Accessing these drivers after installation can be difficult and costly. Therefore, verifying the technical specifications of both the LED light driver and the dimmer switch before mounting and wiring them is essential to avoid unnecessary troubleshooting and replacement expenses.
Check Your LED Light Driver Specifications
The first step in verifying compatibility is examining the physical label printed on the LED light driver. If the driver is already installed inside a ceiling void, you may need to safely access it to read the printed text, or refer to the product packaging and official manufacturer datasheet. The datasheet provides the most comprehensive technical details, including electrical tolerances and recommended operating conditions.

Look closely for explicit markings indicating whether the unit is dimmable. Manufacturers typically print “Dimmable” or “No-Dim” clearly on the casing. If a driver does not explicitly state that it supports dimming, you must assume it is non-dimmable. Connecting a standard, non-dimmable driver to a dimming circuit will likely result in immediate operational issues or permanent damage to the driver’s internal circuitry.
If the driver is dimmable, identify the specific dimming protocol it uses. Common protocols include phase-cut dimming (often labeled as TRIAC, leading-edge, or trailing-edge), 0-10V dimming, and DALI (Digital Addressable Lighting Interface). Additionally, note the electrical ratings printed on the label, such as the input voltage range (typically 220V-240V for Singapore), output current (measured in milliamperes, mA), and maximum output wattage. These values are critical for matching the driver with a compatible wall switch.
Identify Your Wall Dimmer Switch Type
Wall dimmer switches are not universal; they utilize different technologies to control electrical loads. Review the user manual or the manufacturer’s technical specifications for your specific dimmer model. The most common residential dimmers are phase-cut dimmers, which are divided into leading-edge (often used for traditional resistive loads) and trailing-edge (designed specifically for electronic low-voltage loads like LEDs). Some modern switches are classified as universal dimmers, which can automatically detect or be manually toggled between leading- and trailing-edge modes.
Every dimmer switch has a specified minimum and maximum load rating, usually measured in watts (W) or volt-amperes (VA). For LED lighting, you must look specifically for the LED-rated load capacity, which is often significantly lower than the rating for traditional incandescent bulbs. For example, a dimmer rated for 400W of incandescent lighting might only support up to 100W of LED lighting due to the high inrush currents associated with LED drivers. Operating below the minimum load can cause the lights to flicker or fail to turn off completely.
Reputable dimmer manufacturers regularly publish compatibility matrices or approved bulb and driver lists. These documents are based on laboratory testing and list specific LED light driver brands and models that have been verified to work seamlessly with the dimmer. Checking these lists can save significant time and provide peace of mind before purchasing new components from an electrical supplier or online marketplace.
Match the Driver and Dimmer Requirements
To ensure a successful installation, you must align the dimming protocol of the LED light driver with the technology of the wall dimmer. A TRIAC or phase-cut dimmable driver must be paired with a compatible phase-cut wall dimmer. If you have a 0-10V or DALI driver, a standard phase-cut wall switch will not work; these advanced protocols require dedicated control wiring and specialized dimming controllers.
Calculate the total wattage of all LED fixtures connected to a single driver, and ensure the driver’s total load matches the dimmer’s capacity. When calculating, it is a safe practice to apply a derating factor. Ensure the total connected LED wattage does not exceed 80% of the dimmer’s maximum LED rating. Simultaneously, verify that the combined wattage is higher than the dimmer’s minimum load threshold to prevent low-end instability.
Ensure that the input voltage requirements of the LED light driver match your local mains supply. In Singapore, the standard mains voltage is 220V-240V AC at 50Hz. The driver must be rated to accept this input. Furthermore, confirm that the dimmer switch is rated for the same voltage and is capable of passing this voltage safely to the driver without causing internal voltage drops that could disrupt the driver’s performance.
Safe Installation and Verification Steps
Working with electrical wiring carries inherent risks of shock and fire. Before conducting any physical inspection, mounting, or wiring of the LED light driver and dimmer switch, you must completely isolate the mains power. Turn off the corresponding circuit breaker at your home’s main distribution board (DB box). Use a reliable voltage tester to verify that the wires are completely dead before touching them.
Always follow the precise wiring diagrams provided in the manufacturer instructions for both the driver and the dimmer switch. Ensure that the live, neutral, and earth wires are connected to their correct terminals. Incorrect wiring can bypass safety mechanisms, destroy the electronic components instantly, or create a serious fire hazard.
Once the physical installation is complete and all connections are secure, restore the mains power. Test the dimming performance by slowly turning the dimmer switch from its minimum setting to its maximum setting. Observe the light output closely. The transition should be smooth, without any sudden jumps in brightness, dead zones where the switch does nothing, or visible flickering at any point along the dimming curve.
If you encounter any ambiguity in the wiring diagrams, if the manufacturer instructions for the driver and dimmer appear to conflict, or if your installation involves fixed building wiring, stop immediately. In Singapore, fixed electrical wiring installations must comply with local safety standards, and any complex electrical work should be carried out by a licensed electrical worker (LEW) to ensure safety and regulatory compliance.
Troubleshoot Common Dimming Issues
If your newly installed dimming system exhibits issues like flickering or intermittent operation, start by turning off the power and inspecting all physical connections. Loose wire nuts, poorly crimped connectors, or loose terminal screws at either the wall switch or the LED light driver can cause voltage fluctuations that disrupt the dimming signal.
If the lights flicker only when dimmed to low levels, or if they glow faintly when the switch is turned off, the total connected wattage may be below the dimmer’s minimum load requirement. This is a common issue when replacing high-wattage halogen bulbs with highly efficient LEDs. You can resolve this by adding more fixtures to the circuit (within the driver’s limits) or replacing the dimmer with a model that has a lower minimum load threshold.
Many modern wall dimmers feature a physical dial or a digital setting known as a low-end trim adjustment. This feature allows you to set the minimum voltage level that the dimmer sends to the driver. If your lights flicker or drop out at low brightness, adjusting the low-end trim slightly upward can stabilize the current and eliminate the flicker without sacrificing too much dimming range.
If troubleshooting does not resolve the issues, and you have verified that the wiring is correct, the driver and dimmer specifications may fundamentally conflict. In such cases, attempting to force compatibility can damage the components. The safest and most effective solution is to replace either the LED light driver or the wall dimmer switch with a model that is explicitly certified and tested to work with the other component.
Frequently Asked Questions (FAQ)
Can I use a non-dimmable LED light driver with a dimmer switch?
No, you should never use a non-dimmable LED light driver on a dimming circuit. Non-dimmable drivers are designed to deliver a constant current and cannot handle the chopped voltage signals produced by a dimmer switch. Attempting to dim a non-dimmable driver will result in severe flickering, buzzing, and rapid overheating, which can permanently damage the driver, the LED fixtures, or the dimmer switch itself.
Do smart LED light drivers require a specific wall dimmer?
Yes, smart LED light drivers, which feature built-in wireless control modules, generally require constant, uninterrupted mains power to maintain their smart connectivity. Pairing them with a traditional wall dimmer switch will starve the smart module of power when dimmed, causing it to disconnect from your smart home network. For smart setups, you should use a standard on/off switch or a specialized smart button or bypass controller rather than a traditional analog wall dimmer.
Why does my compatible LED light driver still flicker at low levels?
Even when components are nominally compatible, low-level flickering can occur if the electrical load is close to the dimmer’s minimum threshold, or if there are minor voltage fluctuations in your home’s electrical supply. This can often be resolved by adjusting the low-end trim setting on your dimmer switch to slightly raise the minimum dimming level, ensuring the driver receives a stable signal even at the lowest setting.

Community discussion
Share your experience or ask a question. Comments are reviewed before publication.