
To achieve smooth, flicker-free dimming, choosing a compatible driver for led light requires matching the driver’s control protocol with your dimmer switch’s technology, calculating the correct electrical load, and verifying physical and safety constraints. Mismatching these components often leads to annoying buzzes, strobing lights, or premature hardware failure. By systematically identifying your switch type, calculating your wattage needs, and verifying local safety standards, you can secure a reliable lighting setup for your home.
Identify Your Dimmer Switch Type and Electrical Specs
Before purchasing any new lighting components, you must identify the exact dimming technology and electrical ratings of your existing or planned wall switch. Dimmer switches use distinct methods to control the flow of electricity to your lights. The three most common residential dimming technologies are leading-edge (TRIAC), trailing-edge (ELV), and 0-10V systems. You can typically identify your switch type by checking the manufacturer’s datasheet, looking at the physical label printed on the back of the switch plate, or consulting the product manual.
In addition to the dimming technology, you must note the dimmer’s minimum and maximum load ratings in watts. Traditional dimmers designed for incandescent bulbs often have high minimum load requirements, such as 40W. Because LED fixtures consume far less power, a single LED setup might not draw enough wattage to reach this minimum threshold, leading to erratic performance. You must also verify the operating voltage range of the switch to ensure it matches your local electrical supply.
Products mentioned in this guide
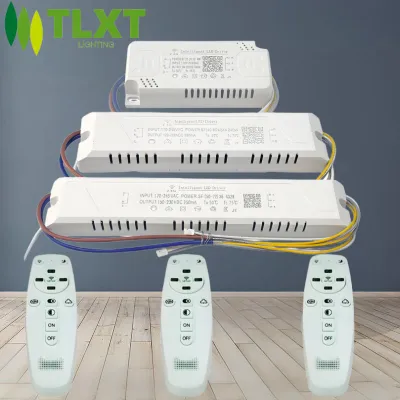
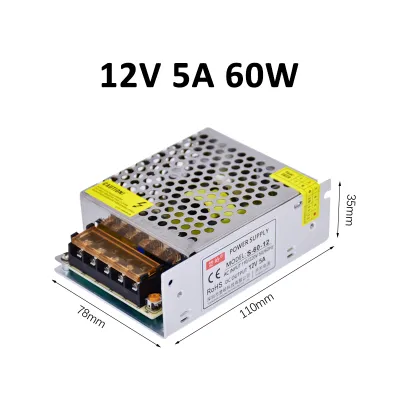
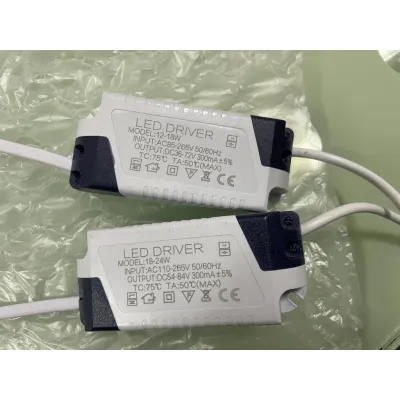
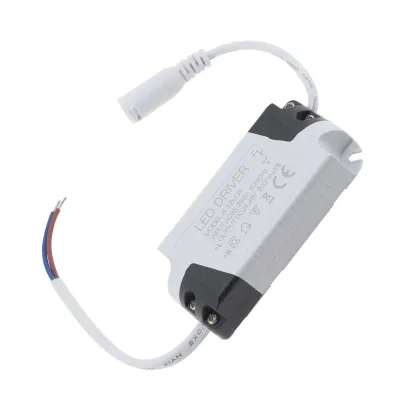
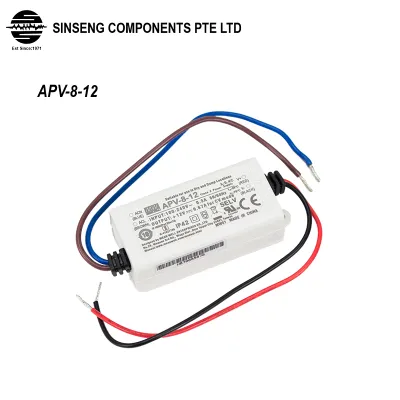
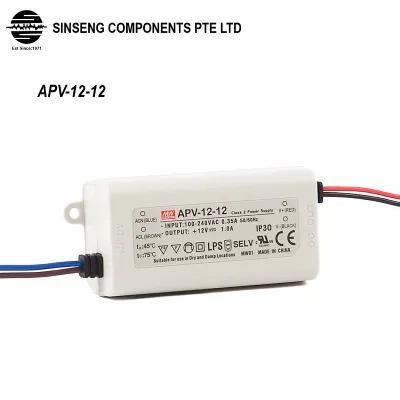
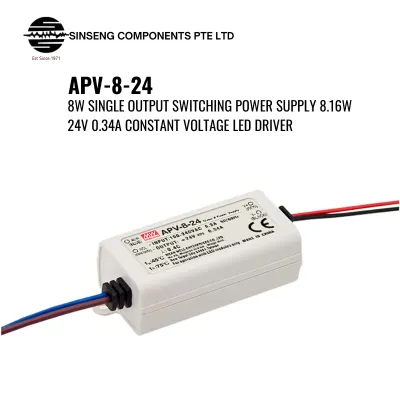
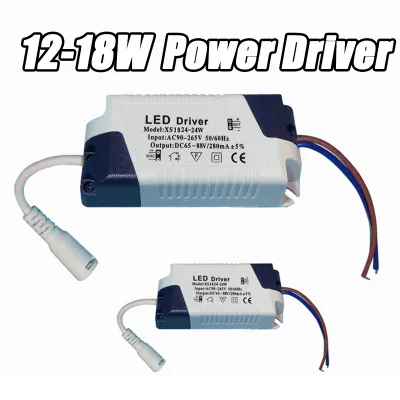
Prices are valid at publication and may change. Please refer to the product page for the latest price.
Another critical factor to verify is whether your dimmer switch requires a neutral wire. Many modern smart dimmers and advanced electronic switches require a continuous neutral wire to power their internal wireless radios or digital processors. In many residential properties, especially older HDB flats or established condominiums in Singapore, standard light switch boxes are wired with only a live wire and a switched live wire, lacking a neutral connection. Identifying this wiring configuration early will dictate whether you need to select a specialized no-neutral dimmer switch or have a professional run additional wiring to your switch box.
Select the Matching LED Driver Protocol
Once you have identified your dimmer switch’s technology, select a driver for led light that natively supports and correctly interprets that specific dimming signal. Mismatching the control protocol between the switch and the driver is the most common cause of dimming failures, such as lights that flash rapidly or refuse to dim below a certain brightness level.

If you have a standard TRIAC dimmer, pair it with a phase-cut compatible LED driver explicitly designed for leading-edge operation. Conversely, if you are using an ELV dimmer, you will need a driver rated for trailing-edge phase-cut dimming. Some modern drivers are “universal phase-cut” models, meaning they can auto-detect or be manually configured to accept either leading-edge or trailing-edge signals, offering greater flexibility during installation.
For systems utilizing 0-10V dimmers, select a dedicated 0-10V dimmable driver. Unlike phase-cut systems that alter the main power line, 0-10V systems use two separate, low-voltage control wires to send a DC voltage signal to the driver. The driver interprets 10V as maximum brightness and 0V as the lowest light level. When wiring these systems, ensure that the control wire polarity is strictly observed, as reversing the positive and negative connections will prevent the dimming function from working.
Never rely solely on generic “dimmable” marketing labels on the packaging of an LED driver. A driver labeled simply as dimmable may only support one specific protocol and fail completely when connected to another. Always refer to the driver’s official technical specification sheet or manufacturer datasheet to confirm the exact dimming protocols it supports and to check for any tested compatibility lists featuring your specific dimmer model.
Calculate Wattage Capacity and Apply Safety Derating
Sizing your LED driver and managing the circuit load correctly is essential to prevent overloading your dimmer switch, which can lead to overheating, electrical buzzing, and premature component failure. To begin this calculation, sum the total maximum wattage of all the LED fixtures, downlights, or light strips that will be connected to the single driver or dimmer circuit.
When calculating your load, apply a standard safety margin—often referred to as safety derating—below the dimmer’s maximum rated LED load. LED drivers draw a brief but intense spike of electrical current when first switched on, known as inrush current. This inrush current can be significantly higher than the continuous operating current of the lights. To prevent tripping breakers or damaging the switch, limit the total connected LED wattage to 80% of the dimmer’s maximum rated capacity for LED loads. For example, if a dimmer is rated for a maximum of 150W of LED lighting, you should keep the total connected load under 120W.
Equally important is ensuring that the total connected load meets the dimmer’s minimum wattage requirement. If your total LED wattage is too low, the dimmer switch may not register the load correctly. This can cause the lights to drop out completely at low dimming levels, flicker constantly, or fail to turn off entirely. If you are installing a very low-wattage lighting setup, ensure both your driver and dimmer are rated to operate reliably at those minimal power levels.
Verify Physical Fit and Installation Safety Boundaries
Before finalizing your purchase, verify that the chosen LED driver physically fits your intended installation space and complies with local electrical safety standards. LED drivers generate heat during the process of converting and regulating electrical power, and this heat must be dissipated effectively to prevent the driver from overheating and failing prematurely.
Measure the physical dimensions of the driver and compare them against the available space in your ceiling cavity, false ceiling space, junction box, or the specific fixture housing. In Singapore’s tropical climate, ambient temperatures can be high, making adequate ventilation even more critical. Ensure there is sufficient clearance around the driver for air circulation, and avoid packing insulation material directly against or over the driver unless it is explicitly rated for contact with insulation.
Next, confirm that the driver’s input voltage range matches the local mains supply, which is standard 230V AC at 50Hz in Singapore. You must also verify that the driver’s output voltage (such as 12V or 24V constant voltage) and output current (such as 350mA, 500mA, or 700mA constant current) precisely match the electrical requirements of your specific LED fixtures. Mismatching these output specifications can permanently damage your LED lights.
Finally, establish clear safety boundaries for the installation process. Any work involving fixed electrical wiring, high-voltage connections, working at heights to access ceiling cavities, or installations in damp locations like bathrooms and kitchens requires strict safety protocols. Always isolate the mains power at the main distribution board before touching any wiring. If you are not fully trained or if the installation involves modifying your home’s fixed electrical infrastructure, engage a qualified professional, such as an EMA-licensed electrical worker in Singapore, to complete the installation safely and legally.
Finalize Your Selection and Pre-Installation Checklist
With your technical specifications calculated, finalize your selection by creating a verified shortlist of components and planning a safe pre-installation test. Taking the time to double-check your choices before mounting equipment permanently will save significant troubleshooting time later.
Start by cross-referencing your specific dimmer switch model and your chosen LED driver model. Many reputable manufacturers provide online compatibility matrices or technical support databases where they list tested and approved combinations. If your exact dimmer and driver combination is listed as compatible, you can proceed with high confidence. If it is not listed, contact the manufacturer’s technical support to verify if they have untested recommendations or known issues with that pairing.
Additionally, verify that both the dimmer switch and the LED driver carry the appropriate electrical safety certifications for use in Singapore. Look for recognized safety marks, such as the Enterprise Singapore Safety Mark, on the product housing or packaging. This certification ensures the product has undergone rigorous testing to meet local safety standards, reducing the risk of electrical fires or shocks in your home.
Before committing to a full-scale installation of multiple light fixtures across your home, plan a controlled bench test or a single-fixture test. Connect a single driver, dimmer switch, and LED fixture in a safe, temporary setup to verify the dimming performance. This test allows you to observe the dimming range, check for smooth transitions, and listen for any audible hum or buzz in a quiet environment before the components are sealed inside walls or false ceilings.
Diagnose and Resolve Common Dimming Artifacts
Even with careful planning, you may occasionally encounter minor issues after installation. Understanding how to diagnose and resolve common dimming artifacts will help you fine-tune your lighting system for optimal performance.
If you experience flickering or flashing at very low dimming levels, the cause is often that the electrical load has dropped below the stable operating threshold of the dimmer or driver. Many modern dimmer switches feature a physical low-end trim adjustment screw or a digital configuration setting. By adjusting this trim, you can set the minimum dimming limit of the switch to a point just above where the flickering begins, ensuring a stable and smooth low-light experience.
Audible buzzing or humming can be highly distracting, especially in quiet living rooms or bedrooms. This noise is often caused by mechanical vibration within the driver’s internal components or a slight mismatch in phase-cut timing. First, check the physical mounting of the driver; if it is resting loosely on a resonant surface like a plasterboard false ceiling, it can amplify minor vibrations. Securely mounting the driver to a solid joist or using vibration-dampening pads can resolve this. If the buzzing persists, verify that the phase-cut compatibility (leading-edge versus trailing-edge) is correctly matched between the switch and the driver.
It is vital to recognize when to stop troubleshooting and seek professional assistance. If you encounter persistent electrical faults, tripped circuit breakers, burning smells, or if you suspect a wiring conflict within your walls, do not attempt to resolve these issues yourself. Immediately isolate the power at your main distribution board and contact the product manufacturer or a licensed electrician to inspect and rectify the system.
Frequently Asked Questions (FAQ)
Can I use a non-dimmable LED driver with a dimmer switch?
No, you should never use a non-dimmable LED driver on a circuit controlled by a dimmer switch. Non-dimmable drivers are engineered to receive a constant, stable AC voltage. When a phase-cut dimmer chops the incoming AC sine wave to reduce brightness, the non-dimmable driver’s internal circuitry will attempt to compensate for the voltage drop, leading to severe flickering, strobing, or complete shutdown. Over time, this constant electrical stress will cause premature component failure, overheat the driver, and potentially damage your dimmer switch or trip your home’s circuit breakers. For safe and reliable operation, both the LED fixture and the power driver must be explicitly rated and designed for dimming.
Do I need a special LED driver for smart dimmer switches?
Whether you need a specialized driver depends entirely on the technology used by your smart dimmer switch. Some smart switches are designed to act as standard phase-cut dimmers (either TRIAC or ELV) and are fully compatible with standard phase-cut dimmable LED drivers. However, other advanced smart lighting systems rely on digital communication protocols, such as DALI, 0-10V, or wireless standards like Zigbee and Bluetooth, where the dimming command is sent as a digital signal rather than an altered power wave. For these systems, you must select a driver that natively supports the specific digital protocol or wireless standard of your smart switch. Always consult the smart switch manufacturer’s technical specifications to identify the required driver type and recommended wiring configurations.

Community discussion
Share your experience or ask a question. Comments are reviewed before publication.