
Choosing the right Philips wall light for your corridor requires matching the physical dimensions of your space—specifically its width and ceiling height—to the physical profile and light distribution of the fixture. In typical Singapore homes, such as HDB flats and condominiums, corridors serve as high-traffic transitional zones where space is at a premium. Selecting a fixture that is too deep can obstruct walking paths, while choosing the wrong brightness or beam angle can result in harsh glare or dark, uninviting corners. By measuring your space accurately and verifying product specifications, you can find a wall light that balances safety, clearance, and visual comfort. This guide walks you through the essential steps to evaluate your corridor’s dimensions and select a compatible fixture that enhances your home’s interior design.
Measure Your Corridor Width and Ceiling Height
Before browsing any lighting catalog or visiting a showroom, grab a measuring tape to document the exact physical parameters of your corridor.
Measure the clear walking width from wall to wall at the narrowest point. If your corridor has existing features like built-in cabinets, decorative molding, or door frames, measure the clearance between these elements rather than just the bare walls. This measurement determines the maximum allowable protrusion of your wall light to prevent accidental bumps.
Products mentioned in this guide
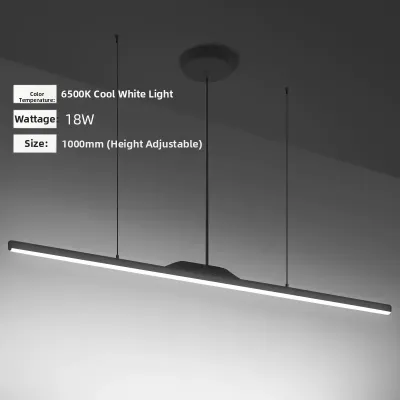
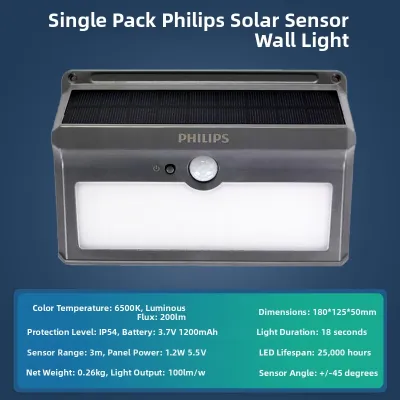
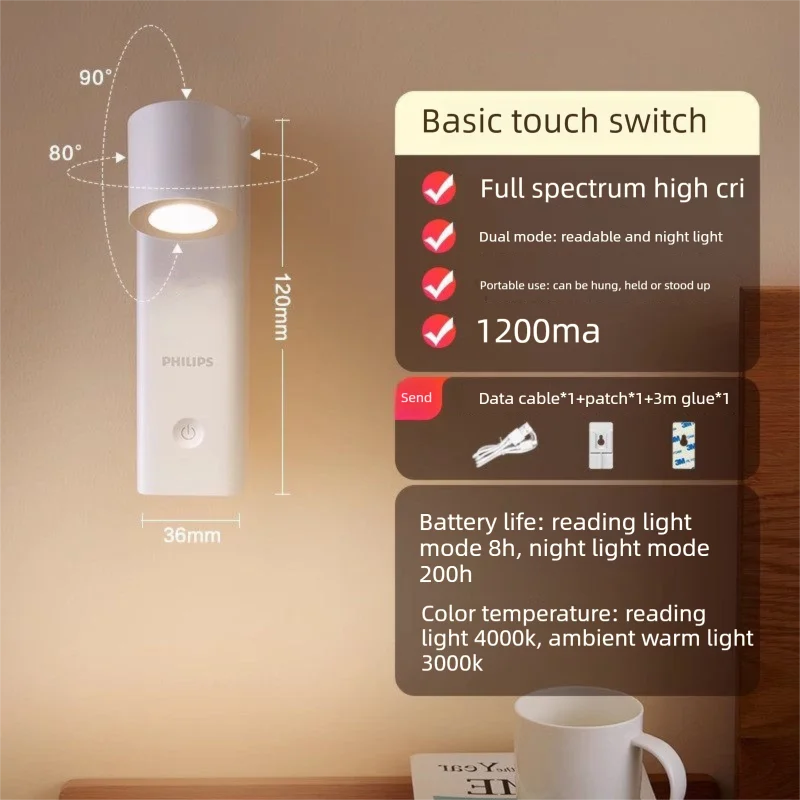
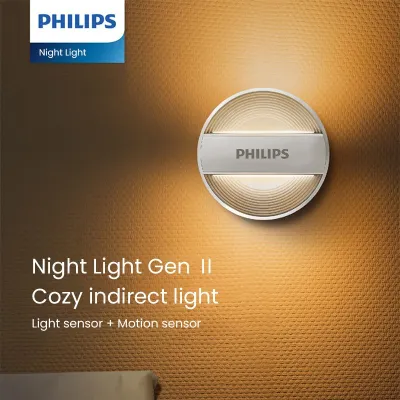
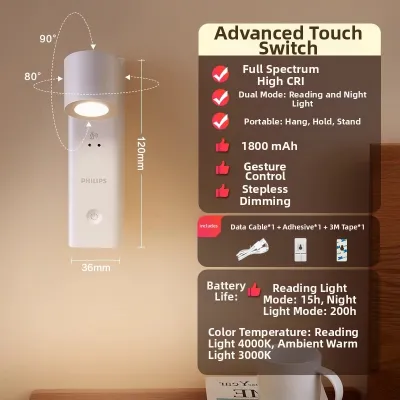
Prices are valid at publication and may change. Please refer to the product page for the latest price.
Next, measure the exact ceiling height from the floor to the ceiling. This vertical dimension dictates where the fixture should be mounted and how far the light needs to travel to illuminate the floor safely. Standard HDB ceilings typically range around 2.6 meters, while some condominiums or top-floor units may feature higher ceilings that require different light distribution strategies.
Finally, locate any existing electrical junction boxes on your walls. If you do not have existing wall-mounted points, you will need to identify the locations of wall studs or structural columns. Knowing whether your walls are solid concrete, brick, or drywall is crucial, as this affects both the installation method and the feasibility of running new concealed wiring. Be sure to note these structural details down so you can refer to them when comparing different lighting models.
Match Light Size and Protrusion to Your Corridor Width
The width of your corridor directly dictates the physical profile of the wall light you can safely install. In narrow corridors, such as those commonly found in standard HDB layouts, physical clearance is the primary safety concern. For these tight spaces, look for slim, flush-mount, or low-profile LED wall lights that protrude minimally from the wall surface.

As a general rule of thumb for narrow passages, aim for fixtures with a protrusion depth of less than 10 centimeters. This ensures that family members can carry groceries, laundry baskets, or furniture through the hallway without knocking into the light. Checking the product dimension labels on the packaging is essential to verify the exact depth before purchasing.
If you live in a condominium or landed home with a wider hallway, you have more flexibility to select larger or more decorative fixtures. Wider spaces allow for sculptural designs, classic sconces, or fixtures with outward-extending arms that add architectural interest. However, even in spacious corridors, ensure the mounting height and placement do not interfere with the swing of nearby doors or wardrobe panels.
Always cross-reference the physical dimensions of the fixture with your measured walking clearance. A fixture might look compact in a spacious showroom or on an online marketplace, but it can feel surprisingly dominant in a confined corridor. Verifying the manufacturer’s specification sheet for the exact width, height, and depth is the most reliable way to avoid spatial conflicts and ensure a comfortable, unobstructed path.
Select Brightness and Beam Spread for Your Ceiling Height
Ceiling height determines how light behaves as it travels from the wall fixture to the floor and surrounding surfaces. For standard or lower ceilings, the goal is to create even, comfortable ambient light without creating harsh hot spots. In these environments, opt for wall lights with wider beam spreads or those featuring diffused shades that soften the output.
Diffused covers, such as frosted glass or matte synthetic materials, scatter light in multiple directions. This prevents the light from feeling too intense when you walk past the fixture at eye level. For standard heights, moderate lumen outputs are usually sufficient to illuminate the floor path without overwhelming the senses during late-night trips to the kitchen.
For corridors with high ceilings, the lighting strategy must adapt to ensure the illumination effectively reaches the floor. In these spaces, look for fixtures with higher lumen ratings or directional beam spreads, such as up-and-down wall lights. Up-and-down lights cast distinct beams of light both upward toward the ceiling and downward toward the floor, emphasizing vertical space while providing functional path lighting.
When installing wall lights in narrow corridors, glare reduction is a critical factor to consider. Because the fixtures are mounted on the wall, they often sit closer to eye level than ceiling lights. Check the product packaging for glare-reduction features, specialized optics, or recessed light sources that shield the direct glare of the LED from your line of sight, ensuring a comfortable visual experience for everyone in the household.
Check Product Specifications for Corridor Suitability
When evaluating different Philips wall light models, reviewing the product specifications on the packaging or manual is key to ensuring long-term satisfaction. Start by checking the color temperature indicators, which are measured in Kelvins (K). For corridors, a warm white (around 2700K to 3000K) or cool white (around 4000K) is typically preferred to create a welcoming transition that matches the ambiance of adjacent living rooms and bedrooms.
If your corridor serves multiple purposes—such as a bright pathway during the day and a soft, low-lit guide at night—verify the dimmability compatibility on the product label. Not all LED wall lights are dimmable, and using a non-dimmable fixture with a dimmer switch can cause flickering or premature driver failure. Ensure the product packaging explicitly states that the model supports dimming and check for compatible dimmer switch types.
For modern convenience, you may want to look for integrated motion sensors or smart ecosystem compatibility, such as Philips Hue wall lights. Smart models allow you to program schedules, adjust brightness levels via an app, or pair the lights with motion sensors so they turn on automatically when you step into the corridor. Always refer to the manufacturer’s specifications to confirm which bridge, hub, or accessories are required to enable these smart features, and verify that your home Wi-Fi or smart home setup supports them.
Verify Electrical Compatibility and Installation Limits
Before finalizing your purchase, you must verify the electrical prerequisites and safety boundaries of your chosen wall light. Ensure the fixture’s voltage rating matches Singapore’s standard residential voltage of 230V. Additionally, check the wattage limits and base or interface types if the fixture uses replaceable bulbs rather than integrated LEDs.
It is vital to recognize when to stop and consult a qualified professional. If your corridor does not have existing wall-light wiring, or if the existing junction box needs to be relocated, do not attempt to perform this electrical work yourself. In Singapore, fixed electrical wiring installations must be carried out by a licensed electrical worker to ensure compliance with safety standards and prevent fire hazards.
Furthermore, consider the specific installation environment of your corridor. If your hallway is located near an open entrance, a balcony, or a semi-outdoor area exposed to wind-blown rain and high humidity, check the IP (Ingress Protection) rating on the product label. While indoor corridors can use standard IP20-rated fixtures, areas exposed to moisture require a higher rating, such as IP44 or above, to protect the internal electrical components from water ingress and ensure safe operation over time.
Frequently Asked Questions (FAQ)
How do I clean and maintain a Philips wall light in a dusty corridor?
To clean and maintain your corridor wall light, always start by isolating the power supply at the main switch or turning off the light switch to ensure safety. Use a dry or slightly damp microfiber cloth to gently wipe away dust and lint from the fixture’s surface. Avoid using harsh chemical cleaners, abrasive pads, or solvents, as these can degrade the protective finish or damage the synthetic diffuser over time. Regular dusting helps maintain the light output and keeps the fixture looking new.
Can I replace an existing ceiling light with a Philips wall light in my corridor?
Replacing an existing ceiling light with a wall light is not a direct swap and requires structural and electrical modifications. Wall lights require a dedicated wall-mounted junction box and internal wiring routed through the wall cavity. To make this transition, you must consult a qualified electrician to assess your wall structure, run the necessary electrical conduits, and safely patch the old ceiling point. This ensures the new installation is structurally sound and complies with local electrical safety regulations.

Community discussion
Share your experience or ask a question. Comments are reviewed before publication.