
Finding the right adjustable table arch stand for your photo frames in a Singapore apartment comes down to a careful balance of physical dimensions, structural stability, and spatial design. In compact living environments, where every square centimeter of surface area on console tables, sideboards, or study desks is highly valued, a poorly chosen stand can lead to cluttered surfaces or, worse, damaged keepsakes. To make an informed decision, you must evaluate how a stand’s adjustability matches your specific frame collection, how its base interacts with your furniture, and how its visual scale fits your room’s layout.
By focusing on verification and precise measurements rather than aesthetic guesswork, you can select a tabletop arch that safely elevates your memories. This guide provides a practical framework to help you assess compatibility, evaluate material integrity, and implement space-saving display strategies that work harmoniously within typical apartment floor plans.
Key Dimensions to Measure Before You Buy
Before browsing online marketplaces or local home decor boutiques, you must gather precise measurements of both your photo frames and the target tabletop surface. Relying on visual estimates often results in stands that are either too flimsy for heavy frames or too bulky for narrow furniture. Start by compiling a list of the physical specifications of the frames you intend to display.
Products mentioned in this guide
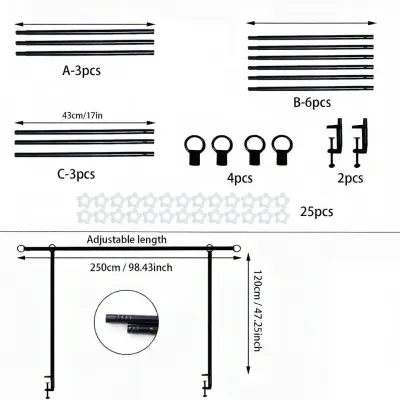
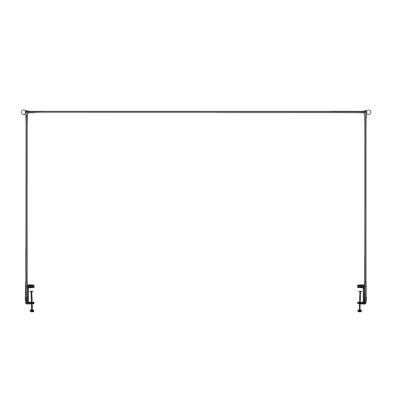
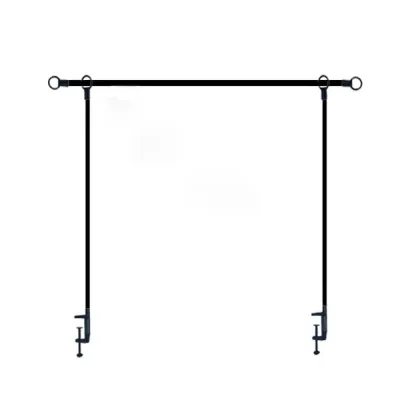
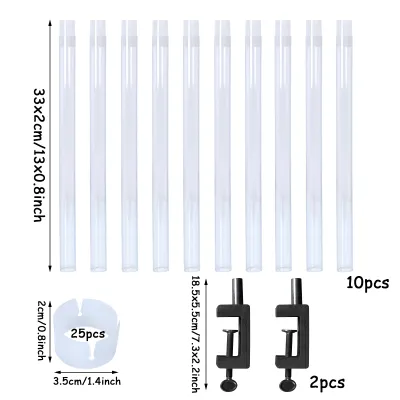
Prices are valid at publication and may change. Please refer to the product page for the latest price.
First, measure the thickness, height, and width of the largest and heaviest photo frames in your collection. Frame thickness is particularly critical; many adjustable arch stands utilize hooks, clamps, or shallow channels to hold items in place. If you have thick shadow boxes, deep wooden frames, or double-sided acrylic panels, ensure the stand’s support brackets are deep enough to accommodate them without forcing the frame to tilt forward. Additionally, weigh your heaviest frame. Knowing the exact weight prevents you from overloading a stand and causing the adjustment joints to slip over time.
Next, assess the usable depth and width of the table, console, or shelf where the arch stand will sit. In Singapore apartments, entryway consoles and hallway sideboards are frequently narrow, often measuring between 30cm and 40cm in depth to keep walkways clear. Your adjustable table arch stand must have a base footprint that fits entirely within this depth, leaving a safety margin of at least 5cm from the front and back edges. A base that overhangs or sits flush with the edge is highly susceptible to being bumped by passing household members or pets.
Finally, check the vertical clearance above the tabletop. Measure the distance from the table surface to any overhead obstructions, such as wall-mounted shelving, air conditioning units, low-hanging pendant lights, or decorative wall panels. Because adjustable arch stands can extend significantly in height, verifying this vertical limit ensures you do not purchase a stand that cannot be fully utilized or adjusted to its optimal height within your space.
Evaluating Adjustability and Frame Compatibility
An adjustable table arch stand is only as useful as its adjustment mechanisms. When evaluating different models, you must look closely at how the stand expands, contracts, and locks into place to ensure it can securely hold your specific photo frames.

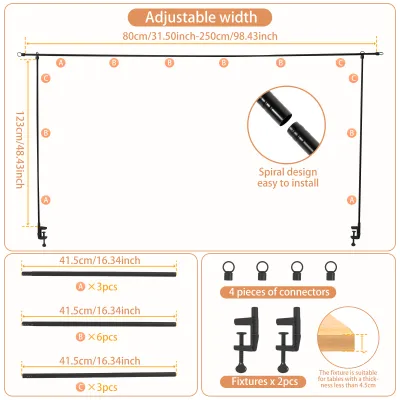
Begin by reviewing the manufacturer’s stated minimum and maximum width and height extension ranges. Compare these specifications directly against the frame dimensions you measured earlier. If you plan to display a single large landscape frame, the arch must be able to contract or expand to support the frame’s outer edges securely. If you plan to hang or rest multiple smaller frames, the horizontal bar must offer sufficient width to prevent the frames from overlapping or crowding each other. Look for stands with continuous adjustment mechanisms, such as telescoping rods, which allow you to fine-tune the dimensions to the exact millimeter, rather than fixed-interval peg systems that limit your options.
Inspect the gripping, clamping, or support mechanisms of the stand. High-quality stands feature non-slip and non-scratch elements, such as silicone sleeves, rubberized pads, or soft felt linings within the mounting brackets. These protective features serve two purposes: they prevent delicate frame edges (such as lacquered wood, polished metal, or fragile glass) from scratching, and they provide the friction necessary to keep the frames from sliding out of alignment when the table is subjected to minor vibrations.
Most importantly, verify the manufacturer’s stated maximum weight capacity. A lack of clear weight specifications is a major red flag that suggests the stand is intended only for lightweight paper or plastic items rather than glass-fronted photo frames. Ensure the combined weight of your frames and any hanging hardware remains well below the maximum limit. Pay close attention to the locking joints, such as tension knobs, thumbscrews, or lever clamps. These joints must feel robust and tighten securely without stripping the threads, as they bear the primary burden of keeping the arch from sagging or collapsing under load.
Material and Stability Considerations for Tabletops
In a busy household, tabletop decor must be resilient. The material composition and physical design of an adjustable table arch stand directly dictate its stability and how well it protects your furniture surfaces.
Evaluate the base design and the stand’s overall center of gravity. A stable arch stand typically features a weighted base made of solid steel, cast iron, or heavy alloy. Avoid stands with lightweight, hollow plastic bases, as they are easily tipped over by a slight breeze, a passing pet, or the vibration of a nearby door closing. The wider and heavier the base relative to the height of the arch, the lower the center of gravity will be, which significantly reduces the risk of accidental tipping. If you plan to extend the arch to its maximum height, a heavy, solid base becomes absolutely non-negotiable.
Consider the material of your tabletop when choosing a stand. Many Singapore homes feature premium furniture surfaces, such as solid teak, engineered quartz, polished marble, or tempered glass. Hard metal or rough plastic bases can easily leave permanent scratches or scuffs on these materials. Look for stands that come with integrated protective pads, such as EVA foam or rubber feet, pre-installed on the bottom of the base. If the stand you prefer lacks these built-in protectors, plan to purchase and apply aftermarket adhesive felt bumpers to the base before placing it on your furniture.
Additionally, take environmental factors into account. Singapore’s tropical climate is characterized by high relative humidity, and many apartments receive intense, direct sunlight through large windows. If your table is positioned near a window or balcony door, the arch stand will be exposed to UV rays and moisture. Under these conditions, untreated metals can rust, and low-grade plastics can become brittle or discolor. Opt for stands finished with rust-resistant powder coatings, anodized aluminum, or UV-stabilized materials to ensure the stand maintains its structural integrity and appearance over years of exposure.
Space-Saving and Visual Proportion Strategies
In compact apartments, successful decorating relies on maximizing vertical space and maintaining visual balance. An adjustable table arch stand is an excellent tool for this, provided you apply sound layout principles to avoid creating visual clutter.
If the design of your arch stand allows, explore tiered or nested display options. Hanging frames at slightly different heights or layering a smaller frame in front of a larger one allows you to display multiple pieces within a very small physical footprint. This vertical layering technique draws the eye upward, making the room feel taller while keeping the actual tabletop clear for other functional items. However, ensure that any layered frames do not block important details of the photos behind them, and verify that the stand’s depth can accommodate the overlapping layers without pushing the frames out of their secure brackets.
To prevent the display from feeling chaotic, match the stand’s color, texture, and finish with your existing room decor. For instance, if your apartment features a modern minimalist or Scandinavian aesthetic, a matte black or clean white metal stand will blend seamlessly into the background, keeping the focus entirely on the photos. If your style leans toward modern luxury or classic elegance, a brushed brass or warm metallic finish can add a sophisticated touch. Coordinating the stand’s finish with other metal accents in the room—such as light fixtures, cabinet handles, or coffee table legs—creates a cohesive, intentional look.
Finally, apply visual weight principles to balance the arch stand with surrounding objects. An arch stand is a prominent structural element that naturally commands attention. To prevent the tabletop from looking lopsided, balance the stand by placing a slightly shorter, solid object (such as a ceramic vase, a small stack of books, or a potted plant) on the opposite side of the table. Leave sufficient negative space—empty areas around the stand—so the arrangement has room to “breathe.” Overcrowding the table with too many small decorative items around the base of the arch will negate its space-saving benefits and make the entire area feel cramped.
Pre-Purchase Checklist and Safety Boundaries
Before finalizing your purchase on any online marketplace or at a local retailer, run through this structured checklist to ensure the adjustable table arch stand is safe, practical, and fully compatible with your home.
- Dimension Verification: Double-check that the stand's minimum and maximum adjustment ranges comfortably accommodate your frame sizes. Ensure the base depth is at least 5cm narrower than your tabletop depth.
- Weight Capacity Check: Confirm the manufacturer's maximum weight rating. Weigh your frames on a kitchen scale to verify they do not exceed 80% of this limit, leaving a safe buffer.
- Material and Finish Check: Ensure the stand is made of powder-coated steel, anodized aluminum, or another rust-resistant material suitable for Singapore's humid climate.
- Surface Protection: Verify that the base includes pre-installed rubber, silicone, or felt padding. If not, add aftermarket felt bumpers to your shopping list.
- Joint and Lock Inspection: Look at product photos and user reviews to confirm the adjustment joints use sturdy metal screws or robust tension clamps rather than thin plastic friction fits.
- Return Policy Review: Ensure the retailer offers a clear return or exchange policy so you can inspect the build quality and test the stability of the stand in your home before committing.
By systematically checking these details, you can avoid the common pitfalls of online shopping and select a high-quality, stable adjustable table arch stand that beautifully showcases your photo frames while keeping your apartment safe and stylish.
Frequently Asked Questions (FAQ)
Can an adjustable table arch stand hold multiple photo frames at once?
Whether an adjustable table arch stand can hold multiple photo frames depends entirely on the manufacturer’s specified weight limit and the physical width of the horizontal support bar. If you plan to display multiple frames, you must calculate their combined weight—including the glass, backing, and hanging hardware—and ensure it remains well below the stand’s maximum capacity.
Additionally, you must distribute the weight evenly across the arch. Placing all the weight on one side can cause the stand to become unbalanced and tip over, or put uneven stress on the adjustment joints, leading to sagging. If you are hanging frames from the arch, use secure, identical hanging lengths to keep the load centered and stable.
How do I prevent the arch stand from scratching my wooden table?
To protect delicate wooden tables, marble countertops, or glass surfaces, always check if the adjustable table arch stand comes with pre-installed felt, foam, or rubber pads on the bottom of its base. These pads act as a barrier, absorbing vibrations and preventing the hard material of the stand from scuffing the furniture.
If the stand does not have built-in protection, you can easily apply aftermarket adhesive felt bumpers or silicone pads to the underside of the base. Alternatively, you can place a decorative fabric runner, a leather desk mat, or a shallow wooden tray underneath the stand. This not only protects the wood surface from scratches but also adds an extra layer of visual styling to your tabletop display.

Community discussion
Share your experience or ask a question. Comments are reviewed before publication.