
Maximizing visual space is a primary design goal for many homeowners living in compact apartments, condominiums, and HDB flats in Singapore. While traditional heavy glass mirrors require drilling into concrete walls—a process that can be noisy, messy, and restricted in rental properties—sticker mirrors offer a lightweight, drill-free alternative. These adhesive-backed panels can instantly brighten dark corners and create the illusion of a much larger room when selected and installed correctly.
However, the market is flooded with various adhesive mirror products, and quality varies dramatically between brands. Choosing a subpar product often leads to the dreaded “funhouse effect,” where warped surfaces distort reflections, or worse, the mirrors peel off the wall due to Singapore’s high humidity. To achieve a premium, distortion-free look that stands the test of time, you must look beyond basic marketing claims and evaluate products based on material thickness, optical clarity, and adhesive engineering.
This guide provides a comprehensive framework to help you evaluate sticker mirror brands, understand the science of spatial expansion, and select the right product for your specific wall surfaces. By focusing on verifiable manufacturer specifications and proper installation techniques, you can safely transform your living space without damaging your walls.
Products mentioned in this guide
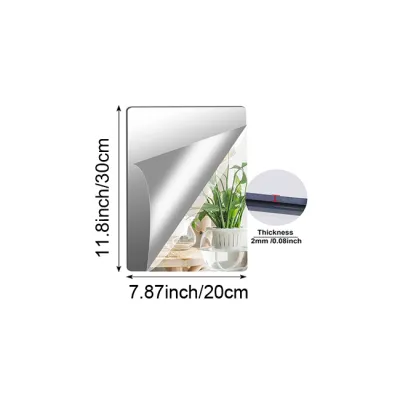
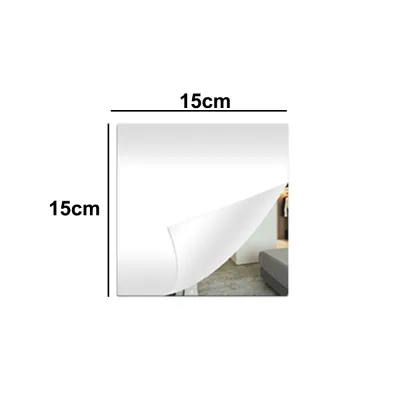
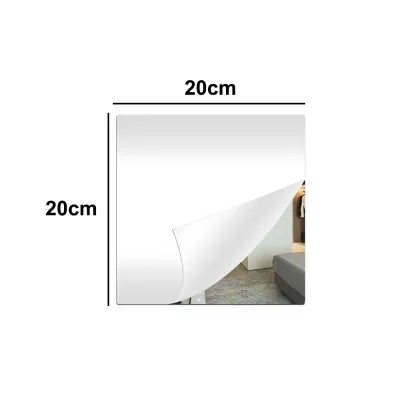
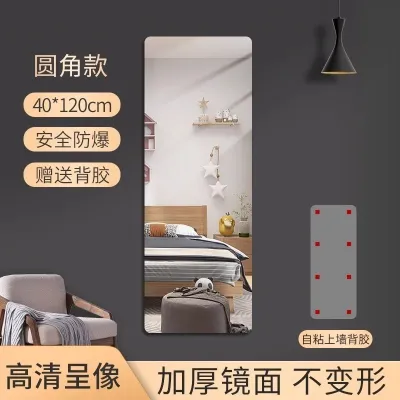
Prices are valid at publication and may change. Please refer to the product page for the latest price.
How Sticker Mirrors Create the Illusion of Space
Sticker mirrors expand a room’s visual boundaries by manipulating light and depth perception. In compact layouts, a well-placed reflective surface tricks the brain into perceiving a continuous space rather than a solid wall. This optical illusion is particularly effective in narrow entryways, small bedrooms, and windowless household shelters common in local apartments.
Light reflection is the primary mechanism behind this spatial expansion. When natural light from a window or artificial light from a ceiling fixture hits a highly reflective surface, it bounces back into the room rather than being absorbed. This increased ambient light eliminates dark corners, making the entire area feel more open, airy, and inviting.
Depth perception is also enhanced through the visual duplication of architectural elements. By reflecting opposing walls, furniture, or indoor plants, a sticker mirror creates a sense of symmetry and double the perceived floor area. This visual extension breaks up the boxy feel of small rooms, reducing the sensation of confinement.
Strategic placement is essential to maximize these optical benefits. Positioning your adhesive mirrors directly opposite a window allows them to capture and distribute natural daylight throughout the day. Alternatively, placing modular mirror tiles along a narrow hallway visually widens the corridor, turning a functional transition zone into a bright, expansive feature wall.
Key Criteria for Choosing Adhesive Mirrors in Compact Rooms
When browsing online marketplaces or local home decor stores, you will encounter three primary materials used for sticker mirrors: polyethylene terephthalate (PET), acrylic (polymethyl methacrylate or PMMA), and thin glass. Each material has distinct characteristics that affect reflection quality, weight, and durability.

PET sticker mirrors are highly flexible, incredibly thin, and usually the most budget-friendly option. However, because they are paper-thin, they conform to every minor imperfection on your wall, resulting in significant distortion over larger areas. They are best reserved for small, functional crafts or very small decorative accents rather than large-scale space expansion.
Acrylic sticker mirrors strike an excellent balance between safety, weight, and optical clarity. They are shatterproof, making them ideal for households with children or pets. To prevent the warped “funhouse” reflection, you must check the material thickness; acrylic sheets should be at least 2mm to 3mm thick to maintain a flat, rigid surface that mimics traditional glass.
Thin glass adhesive mirrors offer the absolute highest optical clarity and are completely resistant to warping. However, they are significantly heavier than plastic alternatives and carry a risk of shattering if they fall. If you choose glass sticker mirrors, you must ensure the adhesive backing is industrial-grade and the wall surface is perfectly prepped to support the weight.
Adhesive backing is another critical factor, especially in Singapore’s tropical climate. Standard double-sided tape often degrades when exposed to high relative humidity, causing the mirrors to slide or fall. Look for brands that utilize high-tack acrylic adhesive or specialized foam backing tapes designed to withstand moisture and temperature fluctuations without losing their grip.
How to Evaluate and Shortlist Sticker Mirror Brands
Because many sticker mirror brands are sold online without physical displays, you must learn to read product listings critically to separate high-quality manufacturers from low-grade alternatives. A reliable brand will always provide transparent technical specifications rather than generic marketing buzzwords.
Begin by checking the manufacturer’s product descriptions for exact material disclosures. Reputable brands will explicitly state the material type (such as premium PMMA acrylic), the precise thickness in millimeters, and the presence of a protective film on the reflective side. Avoid listings that use vague terms like “mirror-like material” without specifying the actual composition.
User reviews are an invaluable resource for verifying adhesive strength and optical quality. When analyzing reviews on e-commerce platforms, filter for feedback from buyers in humid climates. Look for specific mentions of long-term bonding, edge lifting, or whether the mirrors fell off after a few weeks. Pay close attention to user-uploaded photos, which often reveal the true level of reflection distortion.
Packaging standards are a strong indicator of a brand’s overall quality and care. Because acrylic and thin glass are highly susceptible to scratching and cracking during transit, quality brands package their mirrors with protective film on both sides, sandwiched between thick foam layers or rigid cardboard. Listings that mention frequent shipping damage in their reviews should be avoided.
Finally, evaluate the brand’s return and exchange policies. A manufacturer that stands behind its product will offer clear recourse if the mirrors arrive warped, scratched, or with compromised adhesive. Prioritize brands that provide modular tiling options, as these allow you to customize the layout to fit awkward alcoves or create bespoke geometric patterns on your walls.
Installation and Safety Checks for Adhesive Mirrors
Proper wall preparation is the single most important factor in ensuring your sticker mirrors remain securely mounted and distortion-free. Even the strongest adhesive will fail if applied to a dusty, damp, or uneven surface.
Start by thoroughly cleaning the target wall area to remove dust, grease, and loose paint particles. Wipe the surface with a microfiber cloth dampened with isopropyl alcohol or a mild cleaning solution, then allow it to dry completely. Avoid applying adhesive mirrors to freshly painted walls; wait at least two to three weeks for the paint to fully cure and outgas.
If your wall has a textured finish, such as rough plaster or textured wallpaper, standard sticker mirrors will not adhere properly and will exhibit severe reflection distortion. In these scenarios, you must mount the adhesive mirrors onto a flat, rigid backing board (such as a thin sheet of plywood or acrylic) first, and then secure the board to the wall using appropriate mounting hardware.
When applying the mirrors, use a spirit level or a laser level to project a straight reference line on the wall. This is especially crucial for modular tiles, where a tiny alignment error in the first row will compound across the entire installation. Peel the adhesive backing carefully, align the mirror with your reference line, and press firmly from the center outward to expel any trapped air bubbles.
Safety boundaries must be respected to prevent accidents. Never install heavy glass adhesive mirrors directly above beds, sofas, or baby cots where a fall could cause serious injury. If you are dealing with structurally unsound walls, persistent rising damp, or if you want to install a very large, heavy mirror array, stop and consult a professional contractor to discuss mechanical fastening options.
Maintenance and Cleaning for Long-Lasting Clarity
Maintaining the pristine appearance of your sticker mirrors requires gentle cleaning techniques, particularly if you have chosen acrylic panels. Acrylic is much softer than glass and can be easily scratched by abrasive materials or harsh chemicals.
Never use standard glass cleaners containing ammonia, alcohol, or acetone on acrylic sticker mirrors. These chemicals can cause “crazing,” a network of fine micro-cracks that permanently clouds the surface and ruins the reflective quality. Instead, use a specialized acrylic cleaner or a few drops of mild dishwashing liquid mixed with warm water.
Always use a clean, high-quality microfiber cloth to wipe the mirrors. Avoid paper towels, tissues, or old cotton rags, as their fibers can trap microscopic dust particles that act like sandpaper on plastic surfaces. Wipe gently in a circular motion, applying minimal pressure to prevent micro-scratches.
Regularly inspect the edges of your sticker mirrors for any signs of adhesive failure, such as lifting, curling, or gaps forming between the mirror and the wall. In Singapore’s humid environment, early detection allows you to press the edges back down or apply a small amount of compatible mounting tape before the entire panel detaches and falls.
Frequently Asked Questions (FAQ)
Can sticker mirrors be safely removed without damaging rented apartment walls?
Safe removal depends heavily on the type of adhesive used, the quality of the wall paint, and the duration of the installation. In rented apartments, you must review your tenancy agreement regarding wall modifications before proceeding with any semi-permanent adhesives.
To minimize the risk of peeling off paint or drywall paper, use a hairdryer on a medium-heat setting to gently warm the mirror surface. This heat softens the adhesive backing, making it more pliable. Slowly and carefully peel the mirror away from the wall at a shallow angle, using a thin plastic putty knife or dental floss slid behind the panel to saw through the softened tape.
Any remaining adhesive residue can usually be cleaned off using a commercial adhesive remover, eucalyptus oil, or warm soapy water. However, if the wall paint was already peeling, damp, or poorly primed before installation, some minor paint touch-ups may be unavoidable upon removal.
Are acrylic sticker mirrors as clear as traditional glass mirrors?
Acrylic sticker mirrors can achieve excellent optical clarity that closely rivals traditional glass, but only under specific conditions. Because acrylic is a flexible plastic, its reflection quality is entirely dependent on the flatness of the surface it is mounted on.
If an acrylic sheet is thin (under 2mm) or applied to an uneven, textured wall, it will flex and create a distorted, warped reflection. To achieve maximum clarity, you should select acrylic mirrors that are at least 2mm to 3mm thick and ensure they are installed on a perfectly flat, smooth surface.
While traditional glass mirrors remain the gold standard for flawless, long-distance reflections, lightweight acrylic sticker mirrors are highly recommended for compact spaces where safety, ease of installation, and drill-free mounting are the primary priorities.

Community discussion
Share your experience or ask a question. Comments are reviewed before publication.