
A 2.6-meter ceiling height presents a unique design challenge when you want to introduce the elegance of a crystal ceiling light. While crystal fixtures bring unmatched brilliance and sophistication to a space, an oversized or excessively low-hanging light can make a standard room feel cramped and vertically restricted. Finding the perfect balance requires a careful blend of mathematical proportions, safety clearances, and visual weight management.
By understanding how to calculate the ideal diameter and drop height, you can enjoy the luxurious shimmer of crystal without compromising on safety or spatial comfort. The key is choosing a fixture that leaves at least 2.1 meters of clear headroom while scaling the diameter to match the room’s footprint. This guide outlines the exact steps to select, verify, and safely install a crystal fixture tailored to your space.
Calculating the Ideal Diameter for Your Room Size
To ensure your crystal ceiling light looks proportional, you must first calculate the ideal fixture diameter based on the room’s physical footprint. A classic interior design rule of thumb, adapted for metric measurements, provides an excellent starting point. Measure the length and width of the room in meters, add those two numbers together, and then multiply the sum by ten. The resulting figure gives you a recommended fixture diameter in centimeters.
Products mentioned in this guide
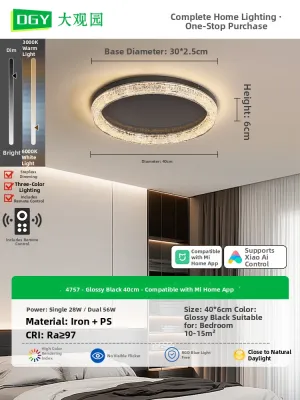
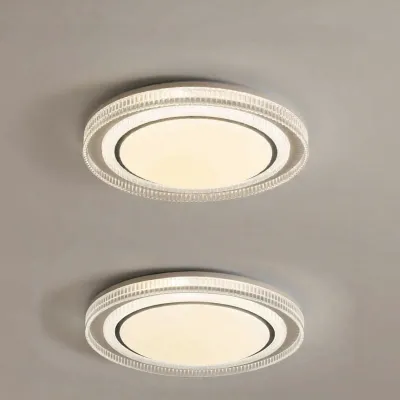
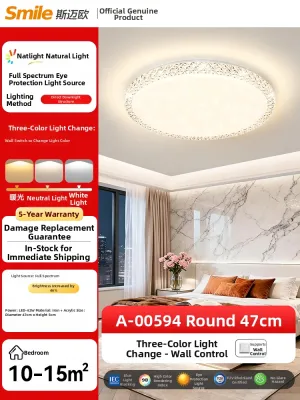
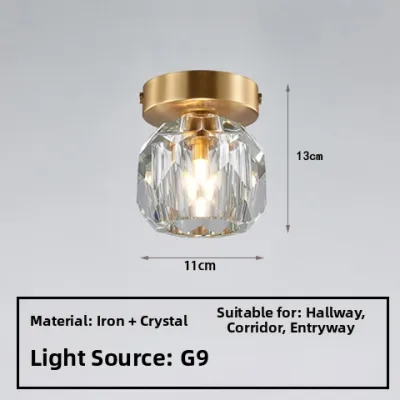
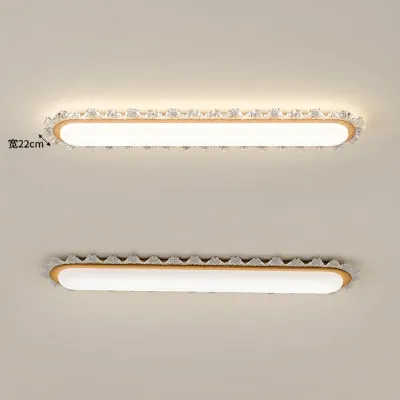
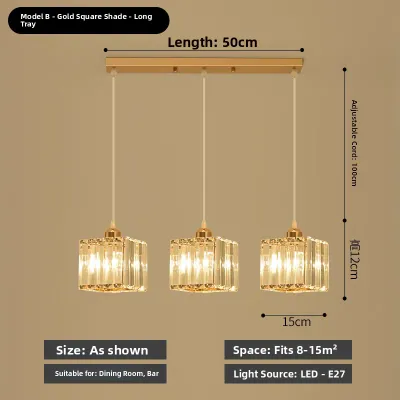

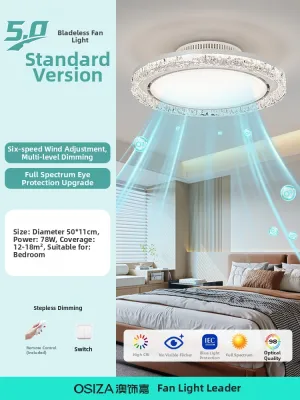
Prices are valid at publication and may change. Please refer to the product page for the latest price.
For example, if your living room measures 3 meters by 4 meters, the sum is 7, which translates to an ideal fixture diameter of approximately 70 centimeters. This formula ensures that the light source is physically scaled to the room’s boundaries, preventing a tiny fixture from getting lost in a large space or a massive fixture from crowding a small area.
However, crystal is a highly reflective and dense material that demands special consideration. The intricate facets, metal frames, and suspended droplets catch the eye and occupy more visual space than a minimalist glass globe or a slim LED panel. Because of this high visual density, a crystal fixture often appears larger and more dominant than its actual physical dimensions suggest. For a room with a 2.6-meter ceiling, it is generally wise to scale down the calculated diameter by roughly 10% to 15% to prevent the light from visually crowding the upper portion of the room.
You must also evaluate the room’s primary function and furniture layout before finalizing the diameter. If the light is positioned directly over a central walkway, keeping the diameter conservative ensures the space feels open and airy. Conversely, if the fixture is centered over a dining table or a coffee table, you can opt for a slightly larger diameter because the furniture naturally anchors the light and prevents people from walking directly beneath it. Additionally, always measure the distance to nearby ceiling fans; ensure there is ample clearance to prevent the fan blades from casting moving shadows through the crystals, which can create a highly distracting strobing effect.
Determining the Safe Drop Height and Clearance
Maintaining adequate headroom is the most critical safety factor when installing any hanging fixture under a 2.6-meter ceiling. As a general rule, walkways and open transit areas require a minimum clearance of 2.1 meters from the floor to the bottom of the light fixture. This ensures that tall family members and guests can walk freely without any risk of head injuries or the uncomfortable sensation of a low-hanging obstacle. With a ceiling height of 2.6 meters, subtracting the 2.1-meter clearance leaves you with a maximum allowable drop height of 50 centimeters. This 50-centimeter limit must include the entire assembly: the ceiling canopy, any mounting chains or rods, and the crystal body itself.

The clearance rules can be relaxed slightly if the fixture is installed over furniture rather than open walkways. For instance, when centering a crystal light over a dining table, the bottom of the fixture can safely sit between 75 and 90 centimeters above the tabletop. Since the table prevents anyone from walking directly under the light, this lower placement allows you to showcase a more dramatic, hanging design. Similar exceptions apply when positioning a light over a bed or a central coffee table, though you should still ensure the fixture does not block sightlines across the room or interfere with daily activities like changing bed linens.
To stay within these tight vertical limits, you will need to choose the right mounting style. Flush-mount crystal lights sit directly against the ceiling surface, making them the safest and most space-efficient option for a 2.6-meter ceiling. Semi-flush mount fixtures feature a short stem that suspends the light body slightly below the ceiling, typically resulting in a total drop of 15 to 30 centimeters. This style is highly recommended because it allows light to reflect off the ceiling surface—creating a beautiful glow—while still leaving plenty of headroom. Short-drop pendant styles can also work, provided the adjustable cord or chain can be shortened sufficiently to meet your safety clearance limits.
Managing Visual Weight and Light Dispersion
The design and structure of the crystal fixture play a massive role in how high or low your ceiling feels. Densely packed, multi-tiered chandeliers with dark metal frames or colored crystals tend to pull the ceiling down visually, making a 2.6-meter space feel oppressive. To maintain an open, airy atmosphere, prioritize lighter and more transparent crystal arrangements. Look for fixtures with open metal frames, delicate single-tier profiles, or clear, high-quality crystals that allow light and sightlines to pass through them easily.
Horizontal designs are particularly effective for lower ceilings. A wide, shallow crystal fixture draws the eye outward rather than downward, emphasizing the room’s width and creating an illusion of greater vertical space. Avoid long, vertical, teardrop-shaped designs that point directly toward the floor, as they emphasize the limited distance between the ceiling and the ground.
Light dispersion is another crucial factor in managing visual weight. A well-designed crystal fixture should scatter light evenly across the entire room, illuminating dark corners and casting a bright, upward glow onto the ceiling. When light reflects off the ceiling surface, it visually lifts the room, making the 2.6-meter height feel much more generous. Ensure the fixture’s bulb placement allows for multi-directional light output, and avoid designs that only cast light downward, which can leave the ceiling in shadow and make the room feel cave-like.
Pre-Installation Checks and Safety Boundaries
Before purchasing or mounting a crystal ceiling light, you must verify that your home’s structural and electrical systems can safely support it. Crystal fixtures are significantly heavier than standard plastic or aluminum lights due to the weight of the glass facets and robust metal frames. Locate the product label on the fixture to find its exact weight, and inspect your ceiling’s junction box. Standard junction boxes are often rated only for lighter fixtures; if your chosen crystal light is heavy, you may need to reinforce the mounting bracket or anchor the fixture directly to a concrete ceiling slab or structural timber support.
Electrical compatibility is equally important for a safe installation. Verify that the fixture’s voltage matches your local electrical supply, which is typically 230V in Singapore. Check the manufacturer’s specifications for bulb wattage limits and heat dissipation requirements. Because crystal fixtures often feature enclosed or semi-enclosed designs, heat can build up quickly. Using bulbs that exceed the recommended wattage can damage the fixture’s wiring, discolor the crystals, or pose a fire hazard.
While basic light replacements can sometimes be handled as a DIY project, you must recognize when to call in a professional. If your installation requires reinforcing the ceiling structure, running new electrical wiring, installing a heavy-duty support bracket, or working at heights on an unstable ladder, stop immediately. Hiring a licensed electrician ensures that the fixture is mounted securely, wired safely, and compliant with local electrical standards, giving you peace of mind that your beautiful new light is completely secure.
Frequently Asked Questions (FAQ)
Can I use a dimmer switch with a crystal ceiling light?
Yes, you can use a dimmer switch, but you must verify compatibility beforehand. Check the manufacturer’s label on the crystal fixture and the packaging of your chosen bulbs to ensure they are explicitly rated as dimmable. Additionally, you must match the type of dimmer switch to the bulb technology; for example, modern LED bulbs typically require a compatible trailing-edge dimmer to prevent flickering, buzzing, or premature bulb failure.
How do I clean a crystal ceiling light safely in a low-ceiling room?
To clean your fixture safely, always start by turning off the mains power at the distribution board and allowing the bulbs to cool completely. Because of the 2.6-meter ceiling height, you can easily reach the fixture using a stable, slip-resistant step stool or a short A-frame ladder. Avoid spraying liquid cleaners directly onto the fixture, as moisture can seep into the electrical sockets; instead, spray a microfiber cloth with a mild, diluted crystal cleaning solution or a mixture of water and isopropyl alcohol, and gently wipe each crystal facet individually.

Community discussion
Share your experience or ask a question. Comments are reviewed before publication.