
Framing a completed jigsaw puzzle is a rewarding way to preserve your hard work and transform a temporary activity into a permanent piece of wall decor. However, unlike standard art prints or photographs, jigsaw puzzles possess unique physical characteristics—such as variable thickness, textured surfaces, and interlocking joints—that require specialized handling to prevent damage. To display your puzzle successfully without warping the cardboard or causing the pieces to separate, you must select the correct frame depth, prepare the pieces with appropriate securing methods, and mount the assembly with even pressure.
Whether you prefer a completely reversible, glue-free display or a permanently sealed finish, understanding the step-by-step mechanics of puzzle framing ensures your creation remains pristine. By taking precise measurements, choosing compatible materials, and protecting the puzzle from environmental factors like humidity and sunlight, you can enjoy your completed design on your wall for years to come.
Assess Your Puzzle and Choose the Right Puzzle Frame
Before purchasing a frame, obtain highly accurate measurements of your completed puzzle. Do not rely solely on the dimensions printed on the box, as manufacturing variances and the natural play between interlocking pieces can cause the final size to deviate. Lay the completed puzzle flat on a hard surface and use a firm metal tape measure to record the exact length, width, and thickness. Compare these measurements against the internal rebate dimensions of the frame, which represent the actual recessed area where the glazing, artwork, and backing board will sit.
Products mentioned in this guide
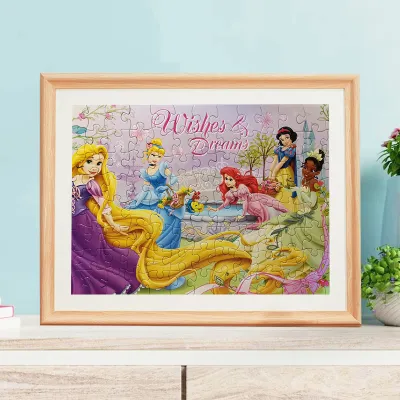
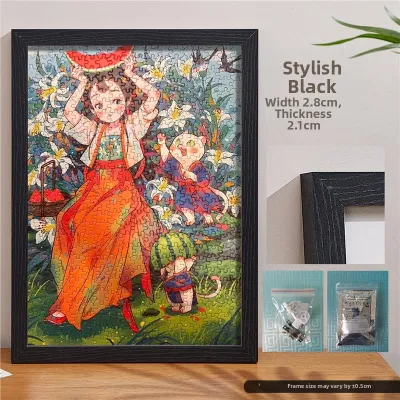
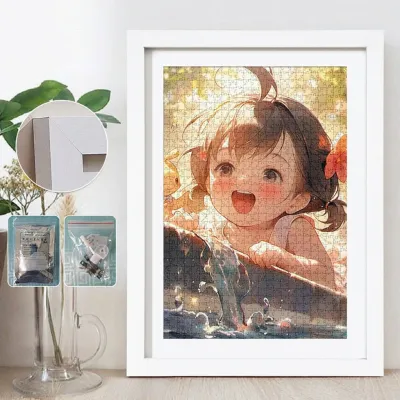
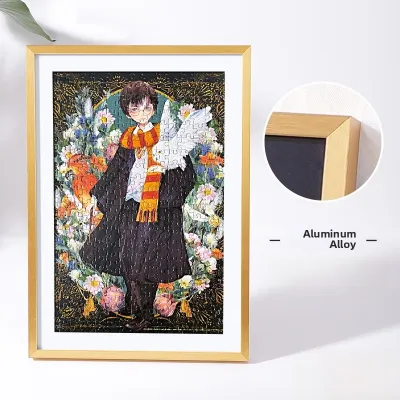


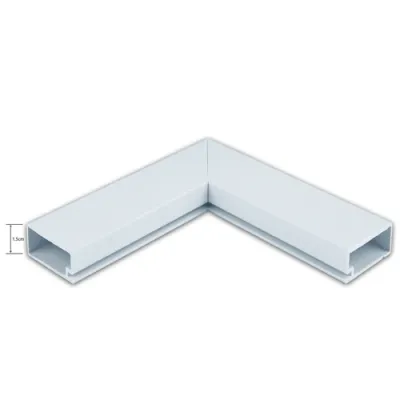
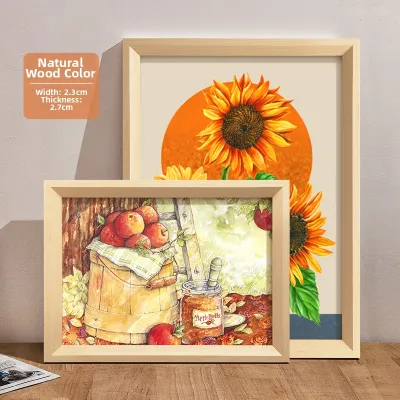
Prices are valid at publication and may change. Please refer to the product page for the latest price.
The depth of the frame rebate is a critical factor. Standard photo frames are typically designed for thin paper prints and may not have enough depth to accommodate a puzzle, which generally ranges from 1.5 to 3 millimeters in thickness. If the rebate is too shallow, you will struggle to secure the backing board, which can apply uneven localized pressure and potentially crack the glazing or warp the puzzle pieces. Ensure the frame specifications explicitly state a rabbet depth that can comfortably house the combined thickness of the glazing, the puzzle, and the backing material.
When selecting the glazing material, weigh the benefits of glass against acrylic based on the size of your puzzle. Glass offers a classic, scratch-resistant finish but is heavy and fragile, making it less suitable for large puzzles that require substantial frames. Acrylic is lightweight and shatter-resistant, making it an excellent choice for larger displays or households with active pets and children. Regardless of the material you choose, verify the manufacturer’s specifications to ensure the glazing provides UV protection, which helps prevent the puzzle’s printed image from fading under ambient light.
Finally, evaluate the rigidity of the backing board included with the frame. A flimsy cardboard backing will bow over time under the weight of the puzzle pieces, leading to gaps, shifting, and eventual damage to the interlocking joints. Look for frames equipped with sturdy backing materials such as medium-density fiberboard (MDF), rigid foam board, or heavy-duty corrugated plastic. A solid, flat backing is essential for maintaining the structural integrity of the puzzle and keeping the pieces pressed firmly against the glazing.
Prepare and Secure the Puzzle Pieces
Securing your puzzle pieces is a vital step to prevent them from shifting or falling apart once the frame is hung vertically. You must first decide between a reversible non-adhesive method and a permanent adhesive finish. Non-adhesive options, such as adhesive puzzle conserver sheets applied strictly to the back of the puzzle, preserve the original texture of the front print and allow you to disassemble the puzzle in the future if desired. Alternatively, dedicated puzzle glues seal the pieces from the front, creating a permanent, unified sheet with a glossy or matte protective coating.

To prepare your puzzle for securing, slide it carefully onto a flat, portable, and stable workspace, such as a large sheet of foam board or a dedicated puzzle mat. Use a soft-bristled brush or a clean, dry microfiber cloth to gently sweep away any dust, lint, or debris that may have settled into the crevices during assembly. Ensuring the surface is completely clean prevents particles from becoming permanently trapped under the adhesive or glazing.
If you choose to use dedicated puzzle glue, apply a small amount directly to the center of the puzzle’s front surface. Using a plastic scraper, a stiff piece of cardboard, or a specialized sponge applicator, spread the glue outward toward the edges in a thin, even layer. Work the adhesive into the joints between the pieces, but avoid letting it pool in the crevices, which can cause the cardboard to swell or warp. Allow the glue to dry completely in a dust-free, well-ventilated room according to the manufacturer’s specified drying time, which typically ranges from two to four hours.
For those using adhesive conserver sheets, you will need to flip the puzzle over to access the backing. To do this safely without spilling the pieces, sandwich the puzzle between two rigid sheets of cardboard or foam board, grip the edges firmly, and rotate the entire assembly in one smooth motion. Peel the backing from the adhesive sheets and apply them to the rear of the puzzle, overlapping the edges slightly to ensure complete coverage. Use a clean rolling pin or a brayer to apply firm, even pressure across the entire surface, ensuring the adhesive bonds securely to every piece.
During this preparation phase, establish strict stop conditions to protect your puzzle from irreversible damage. Never use standard household superglues, hot glue guns, or unverified industrial spray adhesives. These products contain harsh solvents and chemicals that can dissolve the puzzle’s print, cause severe paper warping, or lead to yellowing and discoloration over time. Stick exclusively to products formulated specifically for puzzle preservation or high-quality, acid-free framing adhesives.
Assemble the Puzzle Frame Step-by-Step
Once your puzzle is secured and completely dry, you can begin the physical assembly of the frame. Lay the empty frame face down on a clean, soft surface, such as a large towel or a felt mat, to protect the outer molding from scratches. Clean both sides of the glazing thoroughly with an appropriate cleaner and a lint-free cloth to remove any fingerprints, smudges, or static dust before inserting it into the frame opening.
Carefully lift your secured puzzle and place it face down directly against the clean glazing. If your puzzle is slightly smaller than the frame opening, do not attempt to stretch or force the pieces to fit the edges. Instead, insert a custom-cut mount board or matting behind or around the puzzle to fill the gaps. This matting not only centers the puzzle visually but also provides a professional, gallery-like border that enhances the overall presentation.
Next, place the rigid backing board over the puzzle. To ensure the puzzle remains completely flat and immobile, there must be no empty space or “play” between the backing board and the glazing. If you detect any looseness, insert acid-free foam core sheets or thick paper spacers between the puzzle backing and the frame’s backing board to create a snug, compressed fit. This extra layer provides the necessary structural support to prevent the puzzle from sagging or bowing over time.
Secure the backing board in place using the frame’s built-in fastening system, which may consist of flexi-tabs, turn buttons, or metal frame points. Apply gentle, even downward pressure on the backing board as you secure each tab around the perimeter of the frame. Avoid forcing the tabs down with excessive localized force, especially if you are using glass glazing, as uneven pressure can cause the glass to crack or the frame joints to split.
Conclude the assembly with a thorough visual inspection. Carefully lift the frame, turn it over, and examine the front of the display at eye level. Verify that the puzzle sits perfectly flush against the glazing, with no visible gaps, bowing, or loose pieces. Check the outer edges of the frame to ensure the backing is sealed tightly, preventing dust, insects, or ambient moisture from entering the assembly.
Hang and Maintain Your Framed Puzzle
Hanging your framed puzzle securely requires careful consideration of the assembly’s total weight. Because puzzles, backing boards, and glazing combine to create a heavy display, you must weigh the completed frame before mounting it on the wall. Avoid relying on simple adhesive strips or small nails; instead, select robust wall anchors, such as toggle bolts or threaded drywall anchors, and heavy-duty hooks rated to support the specific weight of your frame. Ensure the hanging wire or D-rings on the back of the frame are rated appropriately and installed securely.
Choosing the right display location is critical for long-term preservation, particularly in climates with high humidity or intense sunlight. Avoid hanging your framed puzzle in areas prone to moisture buildup, such as bathrooms, kitchens, or directly beneath air conditioning units. In humid environments like Singapore, excess moisture trapped inside a frame can cause cardboard puzzle pieces to swell, mold, or separate from their backing. Additionally, keep the frame out of direct sunlight to protect the printed inks from UV-induced fading and discoloration.
Routine maintenance will keep your framed puzzle looking vibrant and clean. Dust the frame and glazing regularly using a dry, non-abrasive microfiber cloth to prevent buildup. If the glazing requires wet cleaning, never spray liquid cleaners directly onto the frame or glass, as the liquid can seep under the edges of the frame and saturate the cardboard puzzle pieces. Instead, spray a small amount of mild glass cleaner or acrylic-safe polish onto your microfiber cloth first, then gently wipe the surface.
Perform a quick inspection of your framed puzzle every few months to ensure its ongoing stability. Check for any signs of backing bowing, shifting pieces, or moisture condensation behind the glazing. If you notice any changes in the flatness of the puzzle or the rigidity of the frame, temporarily remove the display from the wall to inspect the backing tabs and adjust the internal compression spacers as needed.
Frequently Asked Questions (FAQ)
Can I frame a puzzle without using any glue or adhesive?
Yes, you can display a completed puzzle without using any glue or adhesive by utilizing the compression framing technique. This method relies entirely on the physical pressure exerted between a rigid backing board, the puzzle itself, and a sturdy sheet of glazing to hold the interlocking pieces in place through friction. To succeed with this approach, you must ensure a highly precise fit within the frame rebate, leaving no empty space for the pieces to slide.
However, compression framing has distinct limitations. Because the pieces are not chemically or physically bonded together, they are susceptible to shifting or separating if the frame is bumped, dropped, or transported roughly. Additionally, you must verify the frame manufacturer’s guidelines regarding maximum puzzle thickness, as attempting to compress a thick puzzle into a shallow frame can crack the glazing or damage the frame’s securing tabs.
What should I do if the puzzle pieces don't fit perfectly into the frame?
If your completed puzzle does not match the dimensions of your chosen frame perfectly, you can resolve the discrepancy using a custom-cut mount board or matting. Placing a mat board around the puzzle fills the empty gaps, centers the image, and creates a clean, professional border that hides any minor sizing irregularities. This is the safest and most visually appealing way to adapt a standard-sized frame to a non-standard puzzle size.
You must never attempt to force a puzzle into a frame that is too small, nor should you trim, cut, or sand the edges of the puzzle pieces to make them fit. Trimming the pieces causes permanent, irreversible damage to the artwork and compromises the structural integrity of the interlocking joints. If the size discrepancy is too large to be resolved elegantly with a mat board, the best course of action is to exchange the frame for a custom-sized option or a frame specifically manufactured for puzzle dimensions.

Community discussion
Share your experience or ask a question. Comments are reviewed before publication.