
Cherry blossom LED lights bring a soft, organic glow into your living space, mimicking the delicate beauty of spring blooms with energy-efficient illumination. Achieving a clean, professional-looking setup requires more than just hanging the branches and plugging them in. A successful installation blends careful spatial planning, secure mounting techniques, and clever wire concealment to ensure the final display looks like an integrated design feature rather than an afterthought. By following a systematic approach, you can transform your wall or room corner into a stunning illuminated focal point without causing permanent damage to your paint or plaster.
Preparation and Tool Requirements
Before beginning your installation, gathering the correct tools and verifying your equipment specifications will prevent mid-project delays and ensure electrical safety. Start by checking the technical specifications of your cherry blossom LED light kit. In Singapore, household electricity operates at a standard voltage of 230V and a frequency of 50Hz. You must verify that the power adapter supplied with your lights is rated for this input voltage and features a compatible plug type, typically a three-pin Type G plug, or that you have a safe, certified adapter. Look for safety marks or local electrical certifications on the power supply unit to confirm it has undergone proper testing for household use.
Next, inspect the physical components of your lighting kit. Unroll the LED strip or unpack the artificial branches carefully on a clean, flat surface. Check the entire length of the wiring, the individual LED nodes, and the artificial blossom attachments for any signs of damage, exposed copper, or loose connections. It is highly recommended to plug the lights in briefly at this stage to confirm that all sections illuminate evenly and that there are no flickering bulbs before you mount them to the wall.
Products mentioned in this guide
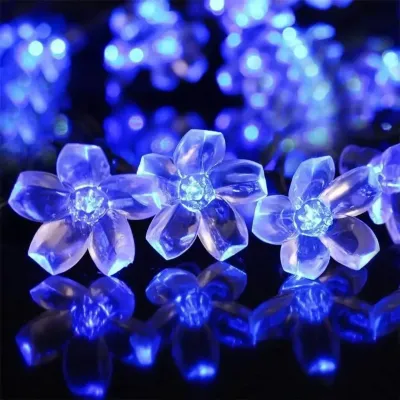
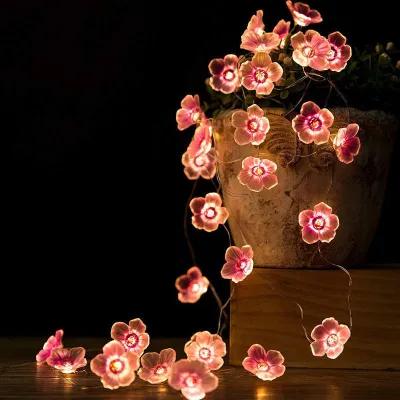
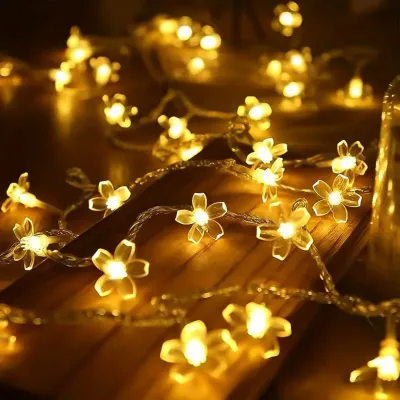
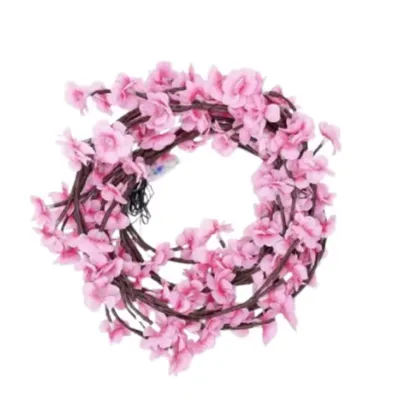
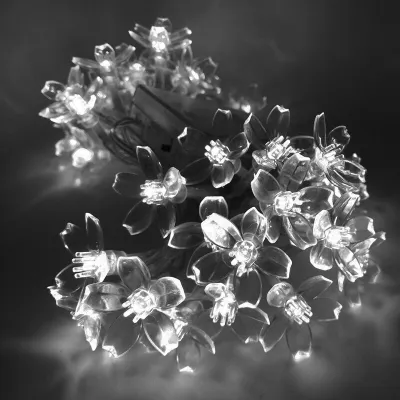
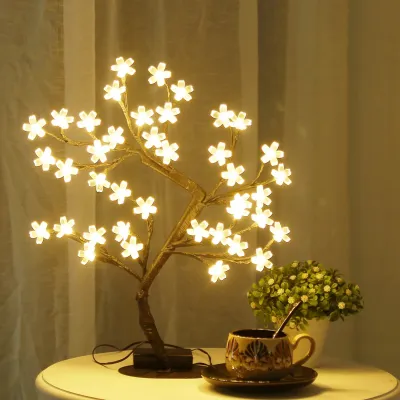
Prices are valid at publication and may change. Please refer to the product page for the latest price.
To complete the installation smoothly, assemble a basic toolkit. You will need a measuring tape to map out your space, a spirit level to ensure straight horizontal or vertical lines, and a clean microfiber cloth to prepare the mounting surface. For securing the lights, prepare appropriate mounting hardware such as damage-free adhesive clips, small cable ties, or lightweight mounting brackets. Having these items ready beforehand ensures you do not have to pause the installation to search for supplies.
Planning the Layout and Power Route
A clean installation relies heavily on a well-thought-out layout that respects both the aesthetics of the room and the physical limitations of the lighting hardware. Begin by measuring the wall or surface area where you intend to place the cherry blossom display. Compare these measurements against the physical dimensions of your LED lights to ensure the branches or strips fit comfortably within the designated space without looking cramped or spilling over onto adjacent fixtures.

The placement of your power source is a critical factor in your layout design. Locate the nearest electrical outlet and trace a path from the outlet to the starting point of your light display. Your goal is to plan a cable route that minimizes the length of visible wiring running across open wall space. If the power cord is too short to reach the outlet safely, do not stretch it tightly; instead, plan to use a certified extension cord or adjust the position of the lights to keep the cable relaxed and free from tension.
Environmental conditions also play a major role in the longevity and safety of your setup. Avoid placing your cherry blossom LED lights near active heat sources, such as radiators, kitchen stoves, or high-wattage appliances, as excessive heat can degrade the adhesive backing and damage the internal electronics. Similarly, unless your specific light model is explicitly rated with an appropriate Ingress Protection (IP) rating for high-humidity or outdoor environments, keep the installation strictly indoors and away from damp areas like bathrooms or open balconies where moisture could cause electrical short circuits.
Step-by-Step Installation Process
The physical mounting of your cherry blossom LED lights must be executed methodically to ensure they remain securely attached over time. The first and most crucial step is preparing the mounting surface. Dust, oils, and moisture on the wall can severely compromise the effectiveness of adhesives, causing the lights to sag or fall. Wipe down the target area thoroughly with a dry or slightly damp microfiber cloth, and if necessary, use a mild cleaning solution that does not leave a residue. Allow the surface to dry completely before proceeding.
Once the wall is dry, map out your design lightly using a pencil or temporary painter’s tape to guide your placement. If your cherry blossom lights feature an adhesive backing, peel away a small section of the protective film at a time. Press the adhesive strip firmly against the wall, applying steady pressure with your fingers along the main trunk and branches for at least thirty seconds per section to activate the bond. If you are using mounting clips or brackets instead of direct adhesive, space them evenly along the path to distribute the weight of the branches and prevent sagging.
As you work your way along the design, pay close attention to the transition points where the branches split. Gently shape the flexible wire branches to mimic a natural cherry blossom tree, ensuring you do not bend the wires at sharp, ninety-degree angles which can fracture the internal circuitry. Keep the main weight-bearing sections of the branch structure supported by stronger clips or hooks to relieve tension on the delicate LED connections.
After the entire physical structure is mounted and positioned to your satisfaction, allow the adhesive to set. Many mounting adhesives require several hours to cure fully and reach maximum holding strength. Avoid plugging in the power adapter or turning on the lights during this curing period, as the heat generated by the LEDs can sometimes soften uncured adhesive. Once the waiting period recommended by the manufacturer has passed, connect the power adapter to the wall outlet to complete the physical installation.
Hiding Wires for a Seamless Look
To elevate your cherry blossom LED setup from a simple DIY project to a polished, professional installation, you must effectively conceal the power cables and connectors. Visible, dangling wires can easily disrupt the delicate, organic aesthetic of the blossom branches. One of the most effective ways to hide these cables is by using paintable plastic cable management channels or cord covers. These slim tracks can be mounted along the baseboards or vertically down the wall, and painting them to match your wall color makes them virtually invisible.
If cable channels are not an option, look for opportunities to route the power cables behind existing furniture, such as bookshelves, sideboards, or television consoles. You can secure the cables along the back edges of these furniture pieces using small adhesive cable clips, keeping the wires taut and hidden from view. For cables that must run along the floor, route them neatly along the top edge of your baseboards, securing them at regular intervals so they do not present a tripping hazard.
The design of the cherry blossom lights themselves offers a unique advantage for wire concealment. You can carefully adjust the artificial branches, silk blossoms, and decorative leaves to drape naturally over the main wire joints, connectors, and the initial segment of the power cord. By strategically fluffing and positioning the foliage around the base of the branch structure, you can mask the transition from the decorative light display to the functional power cable, creating a seamless visual flow.
Safety Checks and Maintenance
Before enjoying your new lighting display long-term, it is essential to perform a thorough safety check to verify the electrical integrity of your setup. Plug in the power adapter and turn on the lights for an initial test run of about thirty minutes. During this time, observe the display closely for any signs of flickering, uneven brightness across different branches, or unusual humming noises. Gently touch the power adapter and the controller unit to ensure they are not overheating; they should feel warm to the touch but never hot.
Inspect the physical path of the cables once more to ensure that no wires are pinched behind heavy furniture, stretched tightly around corners, or resting against sharp metal edges. Cables should have a small amount of slack to prevent tension on the internal copper strands. Ensure that the power adapter is plugged directly into a wall outlet or a high-quality, certified extension strip that is not overloaded with other high-draw appliances.
Establish a simple maintenance routine to keep your cherry blossom lights looking fresh and operating safely. Dust the artificial blossoms and LED nodes periodically using a dry feather duster or a clean, dry microfiber cloth; never use wet cloths or liquid sprays while the lights are connected to power. If you ever notice burning smells, sparking at the outlet, visible discoloration on the wall near the wires, or if your home’s circuit breaker trips when the lights are turned on, disconnect the power immediately and consult a qualified electrician to inspect the system.
Frequently Asked Questions (FAQ)
Can I install these lights on textured or freshly painted walls?
Installing adhesive-backed LED lights on textured or freshly painted walls presents distinct challenges. Textured surfaces, such as stucco or rough plaster, significantly reduce the surface area available for the adhesive to bond, which often leads to the lights peeling off and falling over time. For these surfaces, it is highly recommended to use mechanical fasteners like small mounting clips, thin wire nails, or heavy-duty removable hooks designed for textured walls. If your walls have been recently painted, you must wait at least three to four weeks for the paint to cure completely before applying any adhesives. Applying adhesive to uncured paint can trap moisture, prevent a proper bond, and cause the paint to peel off entirely when you eventually remove the lights.
How do I safely remove the lights without damaging the wall?
To remove cherry blossom LED lights without tearing the drywall paper or peeling the paint, you must proceed slowly and use heat to your advantage. Use a household hairdryer set to a low or medium heat setting and direct the warm air at the adhesive backing for fifteen to thirty seconds. The heat will soften the adhesive, making it pliable and reducing its grip on the wall. Gently peel the strip or clip away from the wall, pulling it slowly and parallel to the surface rather than pulling it straight outward at a ninety-degree angle. If any sticky residue remains on the wall, apply a small amount of a gentle adhesive remover or rubbing alcohol to a clean cloth and wipe the area gently, always testing the solution on an inconspicuous spot first to ensure it does not discolor your paint.

Community discussion
Share your experience or ask a question. Comments are reviewed before publication.