
Hanging string lights is one of the easiest ways to add warmth and character to a living space, but for renters in Singapore, the fear of losing a rental deposit due to peeled paint or plaster damage is a constant concern. Fortunately, you can achieve a cozy, illuminated ambiance without drilling a single hole or ruining your walls. By using the right damage-free adhesive clips, preparing the surface correctly, and following a systematic removal process, you can secure your lights safely and take them down cleanly when it is time to move.
Assess Your Surface and Choose the Right Mounting Method
Before purchasing any mounting hardware, you must evaluate the specific paint finish and wall material in your home. In Singapore, most interior walls are made of concrete covered with a layer of plaster and paint. Matte or flat paint finishes are highly porous, meaning adhesives bond deeply into the microscopic texture, making them much more likely to peel when removed. Conversely, semi-gloss and gloss paints have a harder, slicker finish that resists peeling but requires a completely clean surface for the adhesive to grip properly.
To ensure a damage-free installation, compare your mounting options carefully. Transparent adhesive clips are the most reliable choice for lightweight copper wire string lights because they blend into the background and use stretch-release adhesive strips that pull away cleanly. Mounting putty is another option for very light, temporary setups, but it can leave oily residues on matte paint over time, especially when exposed to high indoor humidity. For hanging lights across a room or near a window, tension-based rods placed between two walls or inside a window frame offer a completely adhesive-free alternative.
Products mentioned in this guide
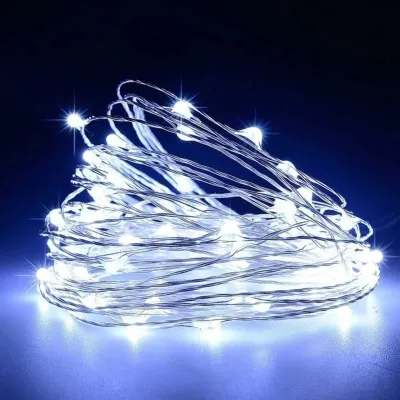
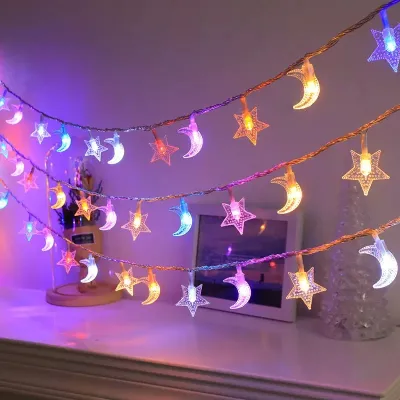
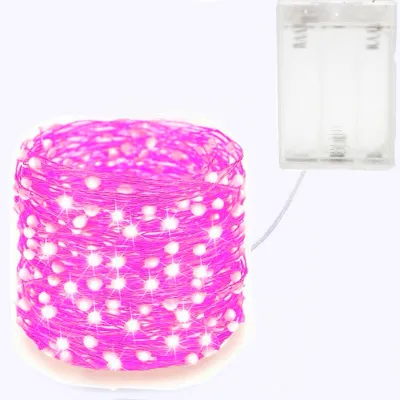
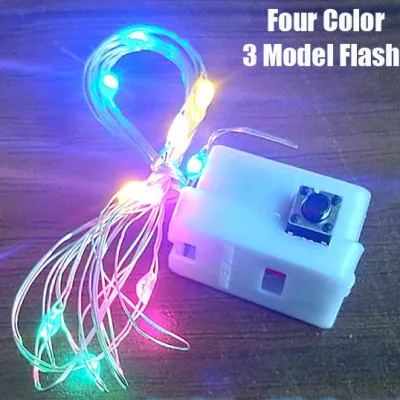
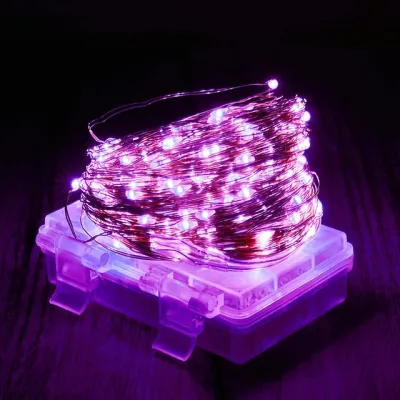
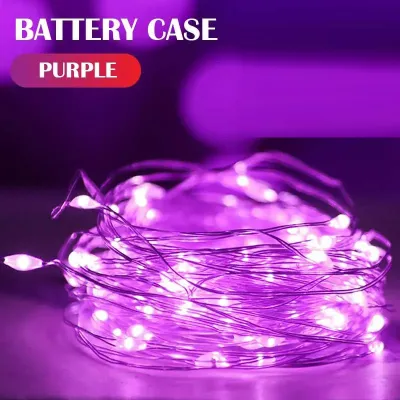
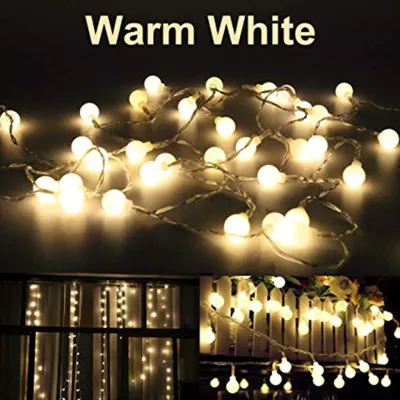
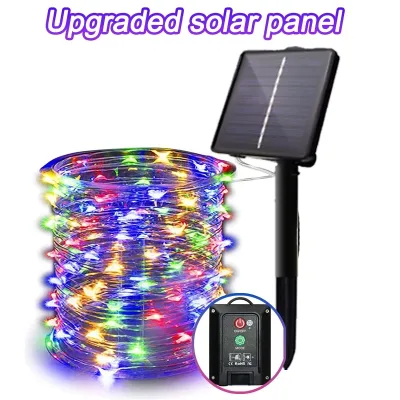
Prices are valid at publication and may change. Please refer to the product page for the latest price.
Always check the total weight of your string lights against the load capacity limits specified on the mounting product labels. A single adhesive clip might only support 200 grams, so you must distribute the weight of the cable and bulbs evenly across multiple clips. For renters, taking these precautions is essential, as standard lease agreements often strictly prohibit wall damage, and even minor paint peeling can lead to costly deductions from your security deposit.
Essential Tools and Materials for a Clean Installation
A successful, damage-free installation relies on proper surface preparation and the right tools. Before you begin, gather your surface cleaning supplies, specifically 70% isopropyl alcohol and a lint-free microfiber cloth. Avoid using household glass cleaners, dish soap, or wet wipes, as these products often leave a thin chemical film that prevents adhesives from bonding securely to the wall.

Next, select your damage-free mounting hardware based on your surface assessment. Keep a roll of low-tack painter’s tape on hand; this is invaluable for temporarily holding the lights in place while you visualize and adjust the layout. You will also need a standard tape measure to ensure even spacing between your clips and a pencil to mark your mounting points lightly.
Finally, verify the electrical specifications of your string lights to ensure safety. In Singapore, the standard household voltage is 230V at 50Hz. If your lights use a plug-in adapter, ensure it carries the appropriate safety certification marks. For low-voltage USB-powered string lights, verify that your power adapter matches the required wattage and amperage limits. Always keep power adapters and plugs away from damp areas, and ensure the installation environment is dry before connecting the lights to a power source.
Step-by-Step Guide to Mounting String Lights
To achieve a clean and secure installation, start by planning your layout. Use low-tack painter’s tape to temporarily stick the string lights along the wall or ceiling. This allows you to adjust the drape, check the distance to the nearest power outlet, and ensure the power cable reaches comfortably without being stretched tight. Once you are happy with the layout, use a pencil to make tiny, light dots where each adhesive clip will go, spacing them roughly 30 to 50 centimeters apart.
Next, prepare the surface by cleaning the marked spots. Dampen your microfiber cloth with isopropyl alcohol and gently wipe the areas where the clips will be mounted. Let the wall dry completely for at least 10 minutes, as any lingering moisture will ruin the adhesive bond.
Now, apply the adhesive clips or hooks. Peel the liner off the wall-side of the adhesive strip and press it firmly onto the wall at your marked spot. Press and hold with your thumb for a full 30 seconds to activate the pressure-sensitive adhesive. Once applied, you must observe the manufacturer’s required curing or waiting time before hanging the lights. Most damage-free adhesive strips require at least one hour—and sometimes up to 24 hours—to fully cure and bond to the wall.
After the curing period, gently route the string lights through the clips. Start from the end closest to the power outlet to ensure the plug reaches comfortably without putting tension on the first clip. Secure the remaining power cable safely along baseboards or corners using clear cable clips to prevent tripping hazards.
How to Remove Mounts and Adhesives Safely
When it is time to move out or change your decor, removing the mounting hardware correctly is just as important as the installation. Never pull the adhesive clip straight off the wall, as this will almost certainly rip the paint and plaster. Instead, hold the clip gently in one hand without pressing it against the wall, and use your other hand to pull the adhesive tab straight down, parallel to the wall.
Pull the tab slowly, stretching it along the wall surface. The strip will stretch to several times its original length, losing its grip chemically and releasing from the wall without damaging the paint. If the adhesive strip has been on the wall for a long time, or if the humid climate has caused it to bond tightly, it may resist stretching. In this case, use a hairdryer on a low heat setting to warm the clip for 20 to 30 seconds to soften the adhesive before pulling.
If any sticky residue remains on the wall, do not scrape it with a sharp tool. Dampen a microfiber cloth with a small amount of isopropyl alcohol or a dedicated paint-safe adhesive remover. Gently rub the residue in a circular motion until it lifts completely. Always test the solvent on an inconspicuous area first to ensure it does not discolor or damage your paint finish.
Troubleshooting Common Installation Issues
If your adhesive clips fail to stick, the culprit is often high humidity or a textured surface. Singapore’s tropical climate can weaken standard indoor adhesives over time. If you experience adhesion failure, switch to water-resistant or outdoor-rated adhesive strips, which are designed to withstand high humidity and temperature fluctuations. For heavily textured or porous walls, standard adhesives may not work at all, and you may need to rely on alternative mounting methods.
Heavy or outdoor-rated string lights with thick rubber cables or glass bulbs often exceed the weight limits of standard indoor adhesive clips. To manage heavier lights, use heavy-duty adhesive hooks rated for higher load capacities, and space them closer together to distribute the weight more evenly. Alternatively, consider swapping heavy lights for lightweight plastic LED string lights that mimic the vintage look without the added weight.
When wall adhesives are simply not viable due to delicate wallpaper or highly textured plaster, explore structural mounting methods. You can drape your string lights over tall furniture like bookshelves, wrap them around curtain rods, or use tension rods wedged between pillars or window frames to suspend the lights beautifully without touching the walls.
Frequently Asked Questions (FAQ)
Can I use string lights on a freshly painted wall?
No, you should avoid applying any adhesives to freshly painted walls. While paint may feel dry to the touch within a few hours, the underlying layers take three to four weeks to fully cure and harden. Applying an adhesive strip during this curing window will trap moisture and solvents, preventing the paint from curing properly and bonding the adhesive directly to the soft paint layer. When you try to remove the clip, it will peel the paint right down to the plaster.
What is the safest way to hang lights on a ceiling without drilling?
Hanging lights on a ceiling is challenging because gravity pulls the weight directly downward, putting constant tension on the adhesive. To prevent them from falling, use ultra-lightweight copper wire string lights. Use specialized ceiling hooks that feature a locking loop to keep the wire secure. Ensure you clean the ceiling thoroughly with isopropyl alcohol before application, as dust accumulates heavily on overhead surfaces and will ruin adhesive contact.
How do I hide the power cord when decorating a room?
To keep your installation looking clean and professional, use paintable, damage-free cable channels or cord covers. These plastic tracks stick to your baseboards or wall corners using light adhesive and can be painted to match your wall color. Alternatively, you can route the power cord along the frame of a door or window using clear adhesive clips, or hide the cord behind tall furniture, indoor plants, or curtains.

Community discussion
Share your experience or ask a question. Comments are reviewed before publication.