
Matching a 24W LED driver with your LED lights and dimmer switch is a matter of aligning electrical specifications and communication protocols. To achieve a flicker-free, safe, and durable setup, you must ensure the total wattage of your lights does not overload the driver, the output voltage matches your LEDs exactly, and the driver’s dimming method is fully compatible with your dimmer switch. Taking these steps prevents premature component failure and ensures smooth dimming performance throughout your home.
Understanding Your 24W LED Driver and Lighting Load
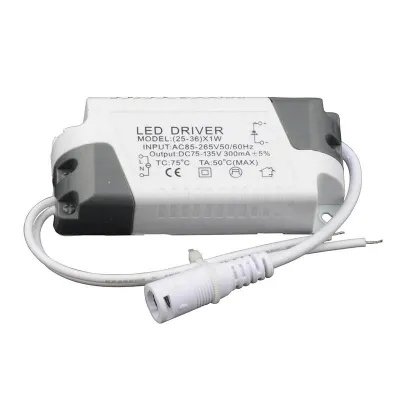
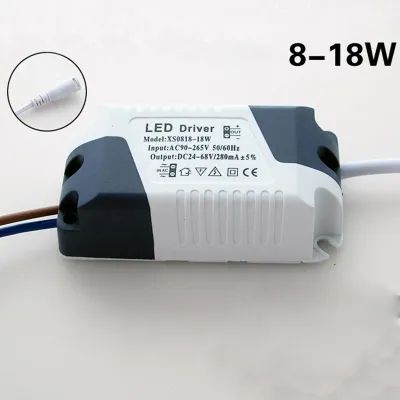
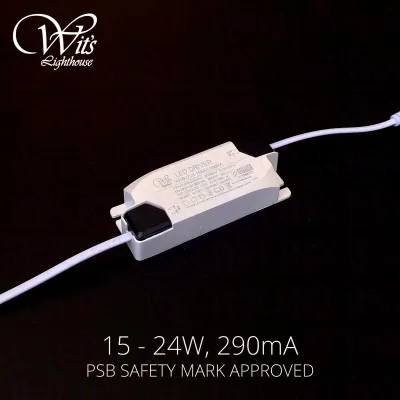
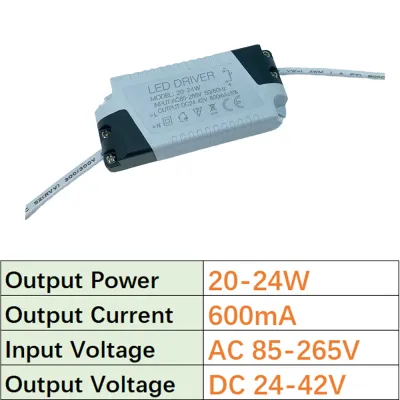
Before connecting any wires, you must verify the electrical compatibility between your 24W LED driver and your LED lights. Start by examining the physical label printed on your driver. This label contains critical specifications, including the input voltage, output voltage, and maximum output current. LED drivers are typically constant voltage (often 12V or 24V DC) or constant current (measured in milliamperes, such as 350mA or 700mA). Your LED lights must match this output type exactly; connecting a constant voltage LED strip to a constant current driver can instantly destroy your lights or the driver itself.
Once you have confirmed the voltage or current type, calculate the total wattage of your connected LED fixtures or strips. For LED strips, multiply the wattage per meter by the total length of the strip you plan to install. For individual fixtures, sum their individual wattage ratings.
Products mentioned in this guide
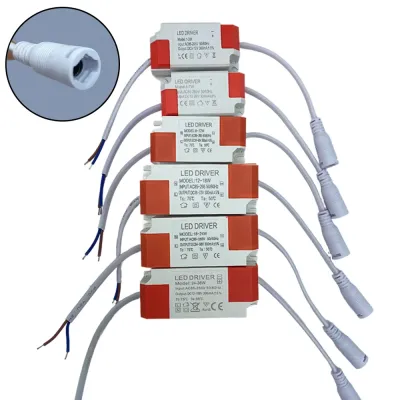
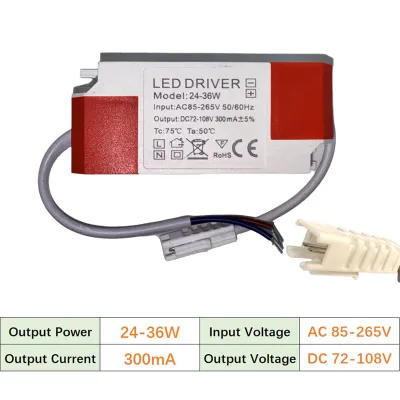
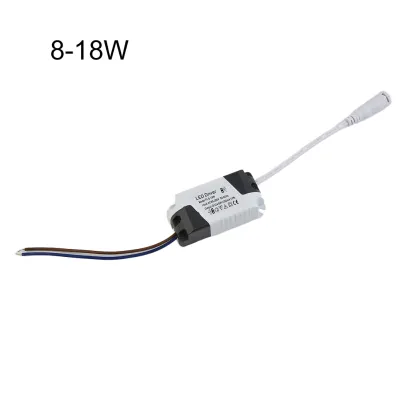
Prices are valid at publication and may change. Please refer to the product page for the latest price.
To ensure long-term reliability and safety, apply the industry-standard 80% continuous load rule. This rule dictates that a driver should not run at more than 80% of its maximum rated capacity for continuous use. For a 24W LED driver, this means your total connected lighting load should ideally not exceed 19.2W. Operating within this threshold prevents the driver from overheating, maintains its efficiency, and significantly extends its operational lifespan.
Checking Dimmer Switch Compatibility
Achieving smooth, flicker-free dimming requires precise compatibility between your dimmer switch and the 24W LED driver. Not all dimmers work with all drivers, as they rely on different dimming protocols. You must identify the specific protocol your driver supports by consulting its product manual or label. Common residential protocols include phase-cut dimming (which includes TRIAC, leading-edge, and trailing-edge dimming), 0-10V dimming, and Pulse Width Modulation (PWM).

Trailing-edge dimmers are generally preferred for electronic LED drivers, while older leading-edge dimmers are often designed for traditional incandescent bulbs and may cause issues. Additionally, you must check the minimum and maximum load ratings of your dimmer switch. Many traditional dimmers have a high minimum load requirement, such as 40W or 60W. If your total load is only 24W, the dimmer may not function correctly because the electrical draw is too low to register.
Incompatibility manifests in several obvious ways. If you notice your LED lights flickering, buzzing, flashing at low levels, or having a very limited dimming range where the lights suddenly drop out, you are likely dealing with a protocol mismatch or an underloaded dimmer. In these scenarios, you will need to replace either the dimmer switch or the driver with a matching pair designed specifically for LED compatibility.
Step-by-Step Matching and Safety Checklist
Before beginning any physical installation, go through a systematic safety and compatibility checklist to protect your equipment and your home. First, verify that the driver’s input voltage matches your local electrical grid. In Singapore, the standard mains supply is 230V AC at 50Hz. Ensure your driver is rated for this input range to avoid immediate electrical hazards or device failure.
Next, plan your low-voltage DC wiring. Ensure you use the correct wire gauge for the distance between the driver and the LED lights. Using wires that are too thin over long distances causes a voltage drop, which leads to dimming or uneven brightness at the far end of your LED run. Make sure all physical connections are secure, insulated, and housed in an appropriate junction box.
Electrical safety must always be your top priority. Before touching any wiring, isolate the power at the main distribution board or circuit breaker. Never work on live circuits. If your installation involves fixed wiring, high-load circuits, or placement in damp locations like bathrooms, kitchens, or outdoor spaces, stop immediately. These environments require specialized ingress protection (IP) rated enclosures and must be installed by a licensed electrician to comply with local safety regulations.
Frequently Asked Questions (FAQ)
Can I use a 24W driver for a 20W LED light setup?
Yes, you can safely use a 24W driver for a 20W LED light setup. An LED driver’s wattage rating represents its maximum power capacity, not the amount of power it constantly forces into the connected lights. The LED lights will only draw the power they require, which in this case is 20W. Utilizing a 24W driver for a 20W load provides a healthy 20% headroom, which aligns perfectly with safety guidelines, reduces thermal stress on the driver, and allows for potential minor expansions in the future.
Why do my LED lights flicker when dimmed with a 24W driver?
Flickering is usually caused by an electrical mismatch between the dimmer switch and the LED driver. First, check if your total connected load falls below the dimmer switch’s minimum wattage threshold, which is common with older dimmers. Second, verify that the dimming technology of the switch (such as TRIAC or trailing-edge) matches the driver’s input requirements. Finally, inspect all physical wiring connections for loose contacts, and consult a qualified professional if the flickering persists after verifying compatibility.

Community discussion
Share your experience or ask a question. Comments are reviewed before publication.