
Matching a 300mA constant-current LED driver with the right dimmer switch requires aligning their dimming protocols and verifying electrical load limits. This ensures smooth, flicker-free dimming while protecting your lighting equipment from premature wear or damage. Because constant-current drivers regulate current rather than voltage, standard dimming rules for traditional lighting do not apply.
To achieve a successful setup, you must verify the technical specifications of both the driver and the dimmer. Incompatibility can lead to annoying strobing effects, audible buzzing, or even permanent component failure. Following a systematic verification process will help you select the correct components for a stable, high-performing lighting system.
Understand Your 300mA LED Driver's Dimming Protocol
Before purchasing a dimmer switch, you must identify the specific dimming signal type supported by your 300mA LED driver. This information is typically printed directly on the driver’s nameplate or detailed in its technical manual. Look for explicit terms such as TRIAC (often labeled as phase-cut, leading-edge, or trailing-edge), 0-10V, DALI, or PWM.
Products mentioned in this guide
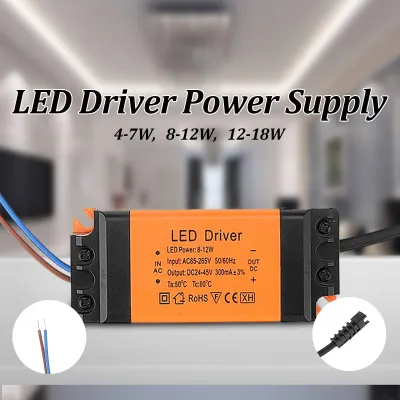
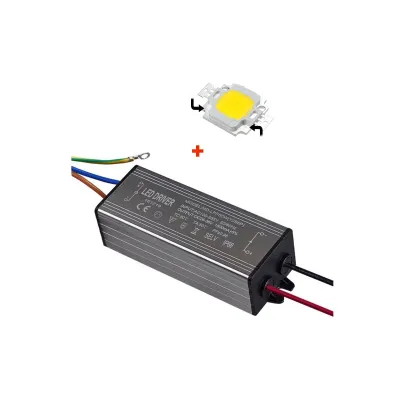
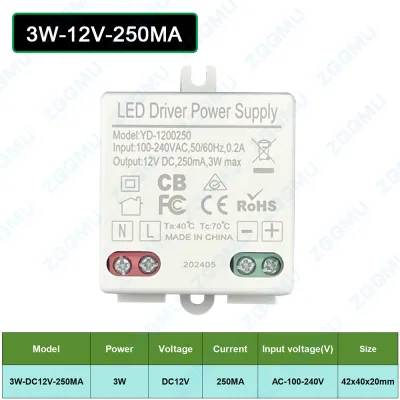
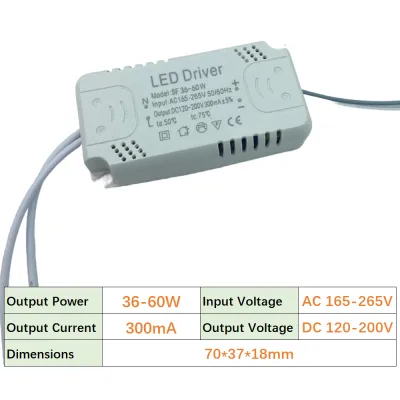
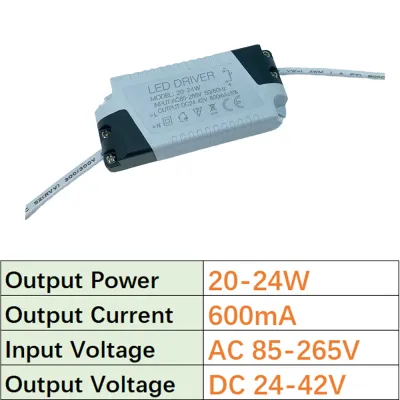
Prices are valid at publication and may change. Please refer to the product page for the latest price.
It is crucial to distinguish between constant-current and constant-voltage drivers. A 300mA driver is a constant-current device, which maintains a steady current of 300mA while varying the output voltage to match the connected LED load. These are commonly used for downlights, spotlights, and track lights. In contrast, constant-voltage drivers (usually rated at 12V or 24V) are typically used for LED strip lighting and require different dimming interfaces.
Additionally, verify whether your 300mA driver has built-in dimming capabilities or if it is a non-dimmable model. Attempting to dim a standard, non-dimmable driver with any external switch will cause immediate performance issues and can overheat the circuitry. If the driver label does not explicitly state that it is dimmable, assume it is a fixed-output device that cannot be dimmed.
Identify the Correct Dimmer Switch Type
Once you have identified your driver’s protocol, you must match it with the corresponding dimmer switch type. Using the wrong switch type is the most common cause of dimming failure in modern LED installations.

For 0-10V dimming, you need a dedicated 0-10V dimmer switch. This setup requires low-voltage control wiring run directly from the dimmer to the driver’s control terminals. The dimmer sends a small direct-current signal to tell the driver how much to reduce the output current.
For TRIAC or phase-cut dimming, which utilizes your existing mains wiring, you must differentiate between leading-edge and trailing-edge dimmers. Leading-edge dimmers are traditionally used for magnetic transformers and incandescent bulbs, whereas trailing-edge dimmers (often labeled as ELV or electronic low-voltage) are designed for electronic LED drivers. Most dimmable 300mA drivers perform best with trailing-edge dimmers, which offer smoother control and prevent high-voltage spikes.
Smart or PWM dimming setups rely on digital communication protocols. If you are using a smart home system, ensure the wireless controller or smart dimmer switch is fully compatible with the driver’s control interface. Avoid connecting standard incandescent wall dimmers directly to LED drivers, as they cannot handle the electronic characteristics of LED power supplies.
Check Electrical and Load Compatibility
Even when the protocols match, you must verify that the electrical loads of your driver and dimmer are compatible. Every dimmer switch has a minimum and maximum load rating, usually specified in watts (W) or volt-amperes (VA). For LED loads, these limits are much lower than they are for traditional incandescent bulbs.
Calculate the total wattage of your lighting setup to ensure it falls within the dimmer’s operating range. To find the wattage of your 300mA driver, check its output voltage range. For example, a 300mA (0.3A) driver with an output voltage range of 30V to 42V has a maximum power output of approximately 12.6 watts. If your dimmer switch has a minimum LED load requirement of 15W, a single 12.6W driver will fall below the threshold, leading to instability or a failure to turn off completely.
Next, confirm that the input voltage of both the driver and the dimmer matches your local mains supply. In Singapore, residential properties operate on a standard 230V AC supply at 50Hz. Ensure all mains-connected components are rated for this voltage.
Finally, account for inrush current. When first switched on, LED drivers briefly draw a high spike of current to charge their internal capacitors. High-quality LED dimmer switches are specifically engineered to handle these brief startup spikes without welding the internal switch contacts together.
Safe Installation and Testing Boundaries
Working with electrical wiring carries inherent risks. Always isolate the power at the main distribution board (DB box) before performing any installation, replacement, or maintenance work on your dimmer switch or LED driver. Never rely solely on the wall switch to cut the power.
When routing your cables, maintain physical separation between low-voltage control wires (such as 0-10V or DALI signal lines) and high-voltage mains lines. Running these cables too close together inside wall boxes or ceiling voids can introduce electromagnetic interference, resulting in visible light flicker.
Establish clear boundaries for when to seek professional help. If the driver labels are faded, the wiring diagrams are ambiguous, or your home features complex multi-way switching, stop work immediately. In Singapore, any modifications to fixed electrical wiring should be performed by a licensed electrical worker (LEW) to ensure compliance with local safety standards.
After installation, restore power and test the dimming range. If you notice minor flickering at the lowest brightness level, check if your dimmer switch features a minimum brightness adjustment dial (often called a trim pot). Adjusting this physical dial upward slightly can eliminate low-end instability and establish a reliable dimming range.
Frequently Asked Questions (FAQ)
Can I use a standard incandescent dimmer with a 300mA LED driver?
No, you should not use a standard incandescent dimmer with a 300mA LED driver. Incandescent dimmers are designed for high-resistive loads and typically require a high minimum wattage to operate correctly. Because a 300mA LED driver presents a low electronic load, using an incompatible dimmer will cause severe flickering, audible buzzing, and can permanently damage the internal components of both the driver and the dimmer switch.
Why does my 300mA LED driver buzz or flicker when dimming?
Buzzing or flickering is usually a sign of an electrical mismatch or an insufficient load. This occurs if you are using a leading-edge dimmer with a driver that requires a trailing-edge signal, or if the total wattage of your LED setup falls below the dimmer’s minimum load rating. It can also be caused by electromagnetic interference on the control lines. To resolve this, verify that the dimmer and driver protocols match, ensure the load is within the specified limits, or adjust the dimmer’s minimum brightness trim setting.

Community discussion
Share your experience or ask a question. Comments are reviewed before publication.