
Selecting the right flashlight holster is a critical but often overlooked step in building a reliable home emergency kit. In Singapore, where many families store their emergency gear inside an HDB household shelter or a dedicated utility closet, having immediate, fumble-free access to your illumination tool during a power outage is essential. A poorly fitting holster can cause your flashlight to slip out when you move, or worse, compress the power switch and drain the battery long before you need to use it. By systematically matching your flashlight’s physical dimensions, selecting a mounting style suited to your storage setup, and choosing materials that withstand local environmental conditions, you can ensure your emergency light is always protected and ready to draw.
Measure Your Emergency Light to Ensure a Secure Fit
To find a holster that provides a secure fit, you must start with precise physical measurements of your flashlight rather than relying on generic model names or marketing categories. Flashlight manufacturers frequently update their product lines, and even a minor design revision can alter the outer dimensions enough to make a previously compatible holster unusable. Using a vernier caliper or a precise ruler, measure three critical dimensions: the bezel diameter, the body tube diameter, and the overall length. The bezel diameter is the widest part of the flashlight head, which determines whether the light can slide into the holster opening. The body tube diameter dictates the snugness of the fit along the middle section, while the overall length determines how much of the flashlight will protrude from the carrier.
In addition to these basic dimensions, you must account for any protruding features that alter the flashlight’s physical profile. Tactical strike bezels, cooling fins, pocket clips, side-mounted buttons, and protruding tail switches can all snag on the interior of a holster or prevent it from seating fully. If your flashlight features a prominent pocket clip, check whether it can be removed or if the holster design has a dedicated channel to accommodate it. Once you have gathered these exact measurements, compare them directly against the holster manufacturer’s detailed sizing charts. Avoid “one-size-fits-all” claims unless the holster features highly adjustable tension systems that you can customize to your specific measurements.
Products mentioned in this guide
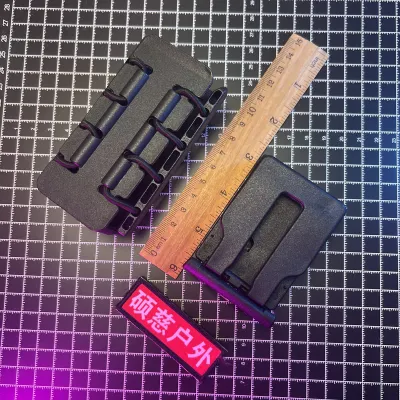
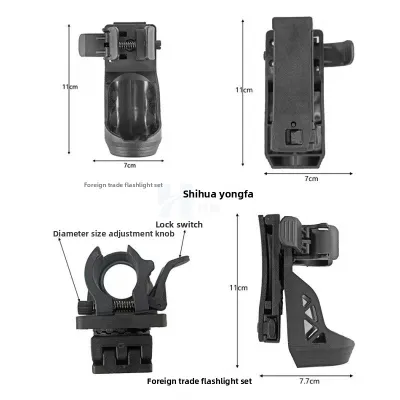
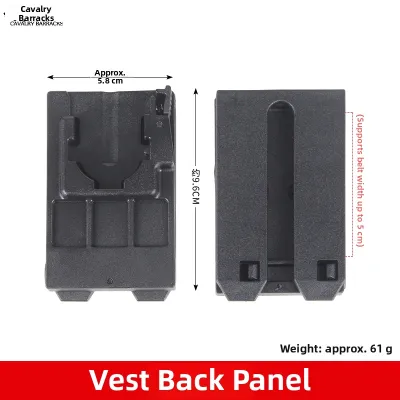
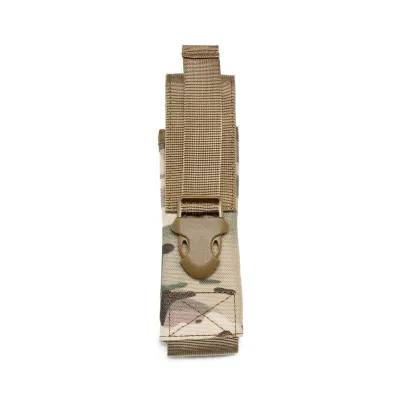
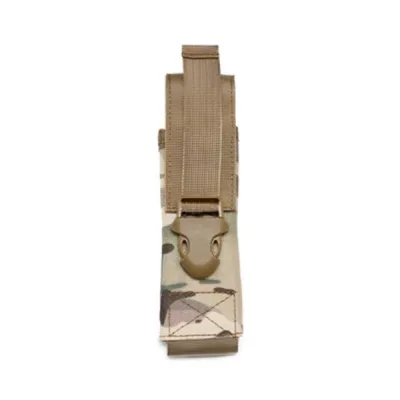
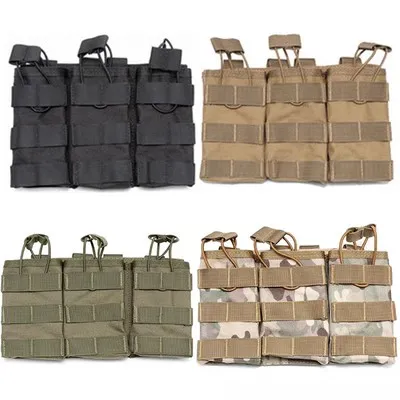
Prices are valid at publication and may change. Please refer to the product page for the latest price.
Choose the Right Mounting Style for Quick Emergency Access
Choosing the right mounting style depends heavily on where and how you plan to store your emergency light. For household emergency preparedness, you might choose to mount the holster to a metal rack inside your household shelter, attach it to an emergency grab-to-go bag, or wear it on a belt during community safety exercises. Evaluate attachment options such as heavy-duty belt clips, MOLLE webbing straps, paddle mounts, or magnetic holders. Belt clips are excellent for personal carry, but you must ensure the clip width matches your belt size to prevent the holster from sliding or shifting. MOLLE-compatible straps allow you to weave the holster securely onto tactical backpacks or emergency vests, ensuring it remains locked in place during vigorous movement.

Retention mechanisms are equally important to prevent the flashlight from dislodging accidentally. Friction-fit holsters, typically made of molded polymers, rely on the physical tension of the material to grip the flashlight body. Snap straps and thumb breaks offer active mechanical retention, requiring you to release a button or strap before drawing the light. When selecting a retention style, consider the draw angle and clearance required to grab the flashlight quickly in low-visibility or high-stress situations. A swivel mount or an angled holster can make it easier to draw the light from a seated position or when space is tight, but it must be positioned so that you can establish a full grip on the flashlight handle before releasing the retention mechanism.
Evaluate Holster Materials for Your Storage Environment
The storage environment plays a massive role in determining which holster material will offer the longest service life. Singapore’s tropical climate is characterized by high relative humidity, which can quickly degrade materials that are not moisture-resistant. Molded polymers, such as Kydex or heavy-duty plastics, are highly recommended for humid environments because they do not absorb moisture, resist mold growth, and maintain their structural rigidity indefinitely. Heavy-duty nylon, particularly ballistic nylon or high-denier Cordura, offers excellent tear resistance and flexibility, making it comfortable for personal carry. However, if stored in an unventilated utility closet or household shelter, nylon can trap moisture over time, so look for options treated with water-resistant coatings or featuring drainage grommets at the bottom.
Leather holsters offer a classic aesthetic and excellent durability, but they require regular maintenance in humid climates to prevent mold and mildew from breaking down the fibers. Beyond environmental resistance, verify that the holster’s interior design protects your flashlight’s lens from scratches and prevents accidental switch activation. A soft, non-abrasive lining or a smooth polymer interior prevents the anodized finish of your flashlight from wearing down. Crucially, the holster must feature a rigid barrier or a recessed channel around the area where the flashlight’s power switch sits, ensuring that external pressure does not accidentally turn the light on and deplete the battery.
Test the Fit and Draw Speed Before an Emergency
Once you have selected and received your holster, you must perform a thorough verification process to ensure it works safely and reliably before an actual emergency occurs. Begin by inserting the flashlight into the holster slowly. It should slide in smoothly with a snug fit, requiring only moderate pressure to seat fully. If you have to use excessive force, the holster is too tight, which can damage the flashlight’s rubber O-rings, scratch the lens coating, or make it incredibly difficult to draw when time is of the essence. For molded polymer holsters, you should hear or feel a distinct “click” as the holster grips the trigger guard or bezel area.
Next, perform a gentle shake test to verify the security of the retention mechanism. Hold the holster upside down over a soft surface, such as a bed or a sofa, and shake it gently. The flashlight should remain securely in place. If the light slips out under minor movement, the retention is insufficient, and you will need to adjust the tension or choose a different model. Finally, practice drawing and re-holstering the light multiple times. This practice helps you confirm that you have proper grip clearance to grab the handle securely and that you can easily access the power switch the moment the light is drawn. Simulate a blackout scenario by practicing this sequence in a darkened room to build muscle memory.
Adjust and Maintain Your Holster for Long-Term Reliability
To ensure long-term reliability, you must periodically adjust and maintain your holster setup. Many high-quality polymer holsters feature adjustable tension screws along the edge; tightening these screws increases the grip on the flashlight, while loosening them allows for a smoother, faster draw. If you are using a nylon holster with hook-and-loop retention straps, ensure the straps are adjusted to hold the light snugly without compressing the body too tightly. For fixed-wall mounting setups in your home, ensure the mounting hardware is securely anchored. If you are mounting a holder to a wall near your household shelter, always follow proper installation instructions and use a stud finder or wall scanner to avoid drilling into hidden electrical conduits or water pipes.
Regular maintenance is simple but vital. Dust, lint, and grit can accumulate inside the holster over time, acting like sandpaper against your flashlight’s finish and lens. Periodically clean the interior by wiping it with a damp microfiber cloth, and allow it to dry completely before re-inserting the flashlight. Inspect the mounting hardware, belt clips, and stitching regularly for signs of wear, loosening, or material degradation. If you notice any cracked plastic, frayed stitching, or loose screws, address them immediately to prevent the holster from failing when you need it most. Investing a small amount of time in maintenance ensures your emergency lighting system remains fully operational for years to come.
Frequently Asked Questions (FAQ)
Can I use a generic universal holster for a specialized emergency flashlight?
While generic universal holsters are widely available and often inexpensive, they carry significant risks when used for specialized emergency flashlights. Universal holsters typically rely on elastic bands or adjustable hook-and-loop flaps to accommodate a wide range of flashlight sizes. Because they lack a precise fit tailored to your specific model, they often fail to provide adequate retention, increasing the risk of the flashlight slipping out during vigorous movement or physical activity. Furthermore, universal designs rarely feature dedicated protective channels for side-mounted switches or specialized bezels, which can lead to accidental power activation and battery drain. For a critical emergency tool, it is highly recommended to verify compatibility with a dedicated sizing chart or choose a holster designed specifically for your flashlight’s exact dimensions.
How do I prevent my flashlight from turning on accidentally inside the holster?
Accidental activation inside a holster is a common issue that can leave you with a dead battery during a critical power outage. To prevent this, look for holsters designed with raised bezel guards, rigid walls, or recessed switch cutouts that physically shield the power button from external pressure. Additionally, check if your flashlight features an electronic lockout mode, which typically requires a specific sequence of button presses to unlock, or a mechanical lockout feature. A mechanical lockout is often achieved by slightly unscrewing the flashlight’s tail cap (usually a quarter-turn) to break the electrical contact, ensuring the light cannot turn on even if the switch is fully compressed. Always ensure that the holster’s internal friction points do not press directly against any side-mounted switches when the light is fully seated.

Community discussion
Share your experience or ask a question. Comments are reviewed before publication.