
Pairing a remote control with a 3-colour LED driver is the essential step to restore or set up the colour-changing and dimming capabilities of your home light fixtures. When a ceiling light or LED strip stops responding to its remote, the issue is frequently a loss of synchronization between the transmitter and the receiver rather than a hardware failure. Re-establishing this connection requires putting the driver into a temporary state of receptivity, commonly referred to as learning mode, and sending a specific pairing command from the remote control. By understanding the underlying wireless technology and following a systematic pairing sequence, you can quickly bring your smart lighting back to full functionality.
Understanding Your 3-Colour LED Driver and Remote Compatibility
A 3 colour led driver is a specialized power supply designed to regulate electrical current to light-emitting diodes that feature adjustable colour temperatures. These systems typically control Correlated Colour Temperature (CCT), allowing users to switch between Warm White (usually around 3000K), Natural White (approximately 4000K), and Cool White (often 6500K). The driver achieves these shifts by mixing power levels across two distinct LED channels—one warm and one cool. When both channels run at full capacity, they produce the neutral or natural white tone, while running individual channels creates the warm or cool extremes.
To control this process wirelessly, manufacturers utilize either Radio Frequency (RF) or Infrared (IR) remote controls. RF remotes are the standard for modern built-in home lighting because they operate on high-frequency radio waves (typically 2.4GHz or 433MHz). This technology does not require a direct line-of-sight and can easily transmit signals through walls, plasterboard ceilings, and non-metallic light fixtures. Conversely, IR remotes rely on light signals, requiring a completely unobstructed path between the remote’s emitter bulb and an external receiver sensor. Because IR remotes are generally plug-and-play and do not support complex digital pairing, this guide focuses primarily on syncing RF-based control systems.
Products mentioned in this guide
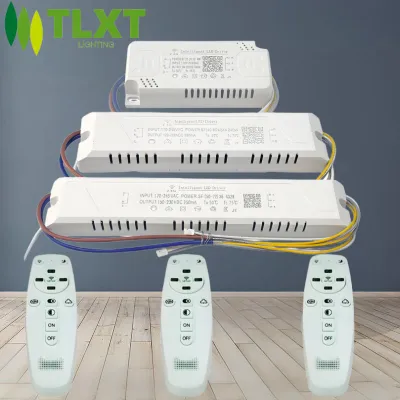
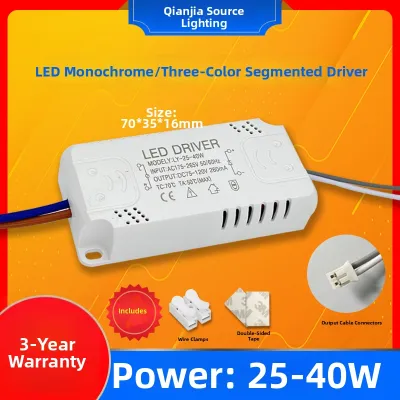
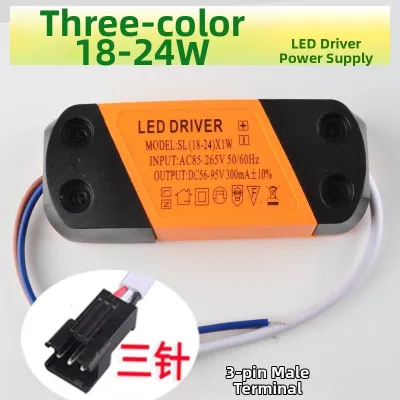

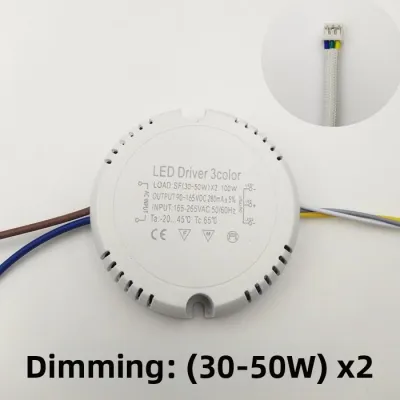
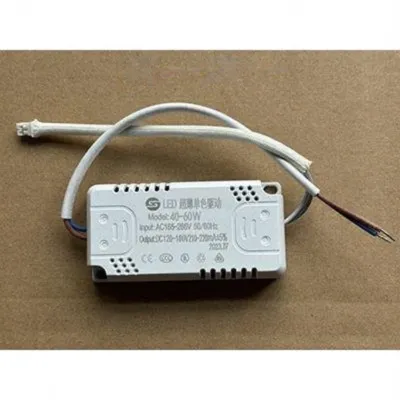
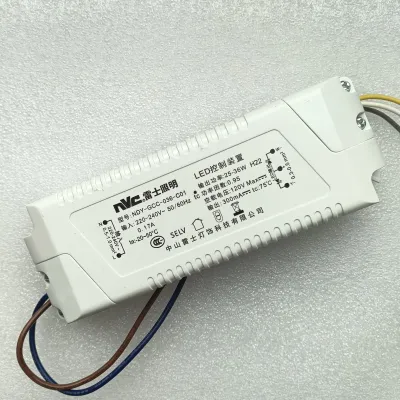
Prices are valid at publication and may change. Please refer to the product page for the latest price.
Before attempting any pairing sequence, it is vital to verify the electrical compatibility of your hardware. Examine the specification label printed on your LED driver casing. You must ensure that the input voltage matches your local mains grid (which is standard 230V AC in Singapore) and that the output voltage, constant current rating (measured in milliamperes or mA), and maximum wattage limits are perfectly matched to the connected LED load. Overloading a driver by connecting a light fixture that draws more wattage than the driver’s rated maximum can lead to overheating, persistent flickering, or permanent driver failure. Because wireless pairing protocols and command structures are highly proprietary, the exact button combinations and timing windows vary significantly between manufacturers, making the original product manual your most reliable reference.
Preparation and Safety Checks Before Pairing
Before initiating any pairing or troubleshooting steps, establishing a safe working environment is paramount. If your pairing process involves replacing an old driver, handling exposed wires, or accessing internal electrical terminals, you must isolate the power completely. Switch off the electricity at the main circuit breaker panel (distribution board) rather than relying solely on the wall switch. Working at height on ladders to reach ceiling-mounted drivers introduces fall risks, so ensure your ladder is stable and placed on a flat, non-slip surface.

To protect your equipment and ensure personal safety, check the applied product’s label and the treated item’s manufacturer instructions before starting. If instructions conflict, the item is unidentified, or the use is not covered, stop and consult the manufacturer or a qualified professional. Never attempt to bypass built-in safety features or force incompatible components together. Before beginning the synchronization sequence, install a fresh set of high-quality alkaline batteries in your remote control. Weak or dying batteries can result in a degraded RF signal, which often prevents the driver from registering the pairing command during the brief learning window. Finally, ensure that the LED driver is fully and correctly connected to both the AC mains power and the DC input of the light fixture before restoring power for the pairing process.
Step-by-Step Guide to Pairing an RF Remote
Syncing an RF remote to a 3-colour LED driver requires a coordinated sequence to establish a secure wireless link. Because RF signals can travel through walls, the driver is programmed to ignore random wireless inputs except during a highly restricted “learning mode” window. This window typically opens for only 3 to 10 seconds immediately after the driver receives power or when a physical button is pressed, preventing neighboring remotes from accidentally controlling your lights.
Method 1: Using the Driver's Physical Pairing Button
Many high-quality LED drivers feature a dedicated physical button on their external casing to simplify the pairing process. This button is commonly labeled with terms such as “Set”, “Pair”, “Match”, or “PRG”, or it may be recessed within a small pinhole to prevent accidental pressing. Utilizing this physical interface bypasses the need for complex power-cycling sequences.
To pair your remote using this method, follow these systematic steps:
- Locate the button: Carefully access your light fixture and locate the pairing button on the driver housing.
- Power on the system: Ensure the main power switch supplying the LED driver is turned on.
- Trigger learning mode: Press and release the physical pairing button on the driver casing. On most models, a small red or blue indicator light on the driver will begin to flash, or the connected LED light fixture itself will blink slowly, indicating that the receiver is actively searching for a remote signal.
- Send the pairing command: Within 5 seconds of pressing the driver's button, press and hold the designated pairing key on your remote control. This key is frequently the master "ON" button, a specific zone button (if using a multi-zone remote), or a dedicated pairing key marked with a wireless icon.
- Observe confirmation: Keep the remote button held down for 3 to 5 seconds. The connected LED light fixture should flash rapidly three times, dim momentarily, or turn off and back on to confirm a successful handshake. Once this visual feedback occurs, release the remote button and test the controls.
Method 2: Power Cycle Pairing Sequence
In many residential installations, the LED driver is sealed inside a ceiling cavity or light fixture where physical buttons are inaccessible. To accommodate this, manufacturers design drivers that automatically enter learning mode via a specific power-cycling sequence. This method relies entirely on the wall switch to trigger the pairing window.
To execute a power-cycle pairing sequence, use the following steps:
- Perform a complete shutdown: Turn off the wall switch controlling the light fixture. Wait at least 15 to 20 seconds to allow the residual electrical charge in the driver's internal capacitors to drain completely. If the capacitors do not drain, the driver will not register a fresh power-on event.
- Restore power: Flip the wall switch back to the "ON" position.
- Initiate remote pairing: Within 3 seconds of the light turning on, press and hold the pairing button on your remote control. Depending on the brand, you may need to press the pairing key repeatedly (such as tapping the "ON" button five times in rapid succession) rather than holding it down. Refer to your manufacturer's sheet to verify the exact button behavior required.
- Verify the connection: Watch the light fixture closely. A successful pairing is almost always confirmed by a visible response, such as the light flashing slowly twice, pulsing in brightness, or changing from warm white to cool white. If the light does not flash and remains steady, turn off the switch, wait 20 seconds, and attempt the sequence again with faster button presses.
Verifying the Connection and Testing Colour Modes
Once the pairing sequence is complete, you must thoroughly test the system to ensure all features of the 3-colour LED driver are operating correctly. Begin by testing the primary colour-switching function. Cycle through the three distinct colour temperature modes—Warm White, Natural White, and Cool White—to confirm that the driver is routing power to the correct LED channels. If the light transitions smoothly without skipping a colour or flickering erratically, the channel mapping is correct.
Next, evaluate the dimming performance if your driver and remote combination supports brightness adjustment. Gradually dim the light down to its lowest setting and then raise it to maximum brightness. Look closely for any signs of unstable output, such as micro-flickering, buzzing, or sudden drop-offs in light intensity, which can point to voltage mismatches. You should also verify the wireless range by standing in different areas of the room and operating the remote from various angles. RF signals should easily penetrate standard obstacles, but testing ensures there are no dead zones caused by structural interference.
If the driver responds erratically, or if you accidentally synced the wrong remote control to the fixture, you will need to clear the driver’s memory before re-pairing. To reset the driver, manufacturers typically require an extended power-cycling sequence, such as turning the wall switch off and on five times consecutively within 10 seconds. The light fixture will usually flash rapidly five times to signal that its paired memory has been completely erased, returning the driver to its factory default state.
Troubleshooting Common Pairing Issues
When a pairing attempt fails, systematic troubleshooting can help isolate the root cause of the communication breakdown. If you experience no response whatsoever from the light fixture when pressing remote buttons, start with the simplest variables. Verify that the remote’s batteries are installed with the correct polarity and have sufficient charge. Next, confirm that the remote is actually an RF model; if it is an IR remote, it will not function unless you point it directly at an exposed receiver sensor. Finally, use a non-contact voltage tester to confirm that mains power is actually reaching the input terminals of the LED driver.
If the light fixture flashes during the pairing sequence but fails to respond to subsequent commands, the timing window was likely missed. This occurs when the driver receives the pairing signal just as the learning mode window is closing, causing an incomplete data packet transfer. It can also indicate that the remote is transmitting on an incompatible frequency or using an unsupported digital coding format, which is common when attempting to mix and match remotes and drivers from different manufacturers.
Intermittent control or a severely limited operating range is usually caused by physical RF signal blockages. While RF waves pass through drywall and timber, they are heavily blocked by metals and dense concrete. If your LED driver is tucked inside a metallic ceiling rose, a steel fixture enclosure, or positioned behind thick structural concrete walls common in Singapore’s residential estates, the signal range will drop drastically. To resolve this, try adjusting the position of the driver inside the fixture, ensuring its small wire antenna (if equipped) is extended and not resting against metal surfaces.
In homes with multiple 3-colour light fixtures, you may encounter cross-interference where one remote control triggers multiple lights in adjacent rooms. This happens when multiple drivers enter learning mode at the same time and register the same wireless address. To correct this, isolate the power to each light fixture individually by turning off their respective circuit breakers. Clear the memory of the driver you wish to isolate, then power on only that specific light while keeping the others turned off, and complete the pairing sequence to link it to a unique channel or zone on your remote control.
When to Seek Professional Help
While pairing a remote is a straightforward DIY task, working with mains electricity involves inherent risks that require professional oversight under specific conditions. You must stop immediately and isolate the power at your main distribution board if the LED driver emits a burning smell, produces an unusual buzzing or humming sound, or feels excessively hot to the touch. These symptoms indicate severe electrical faults, such as a short circuit, overloaded components, or loose wiring connections that pose a fire hazard.
You should also seek professional assistance if your existing wall switch wiring needs modification. For instance, some advanced smart RF drivers or wall-mounted controllers require a neutral wire to power their internal wireless modules, a feature that is often missing in older Singaporean residential properties. Additionally, if your LED light continues to flicker persistently after a successful pairing sequence, it suggests a technical mismatch. This could be due to incompatible voltage ranges between the driver and the LED panel, an overloaded driver capacity, or a conflict with an existing wall dimmer switch. In any of these scenarios, consulting a Licensed Electrician in Singapore ensures that your lighting installation complies with local electrical safety regulations.
Frequently Asked Questions (FAQ)
Can I use one remote to control multiple 3-colour LED drivers?
Yes, you can control multiple 3-colour LED drivers with a single remote control, provided they operate on the same RF frequency and use compatible control protocols. To achieve this, you can put all target drivers into pairing mode simultaneously and send the pairing command from your remote, causing them all to sync to the same wireless address. Alternatively, if you are using a multi-zone RF remote, you can pair each driver to a separate zone button, allowing you to control the lights independently or group them together. Keep in mind that when multiple drivers are synced to a single channel, they will operate in unison, meaning you will lose the ability to adjust their colour temperatures or brightness levels individually.
Why does my LED light flash but not change colour after pairing?
If your LED light flashes during the pairing process but refuses to change colour afterward, it usually indicates a functional mismatch rather than a pairing failure. The initial flash is simply a confirmation that the driver has successfully registered the remote’s wireless signal. If the light remains stuck on one colour temperature when you press the CCT buttons, verify that your connected LED fixture actually supports 3-colour switching. Connecting a standard single-colour LED panel or strip to a 3-colour driver will not enable colour changing. Additionally, make sure the buttons you are pressing on the remote are mapped to the specific output channels supported by your driver model.

Community discussion
Share your experience or ask a question. Comments are reviewed before publication.