
To make a compact Singapore apartment feel spacious, you do not need to knock down walls or undergo major structural renovations. Strategically placing lightweight, shatter-resistant acrylic mirrors is one of the most effective, budget-friendly ways to visually expand your living space. By bouncing natural light, extending sightlines, and creating the illusion of depth, these versatile panels can transform even the most cramped HDB flats and condominiums into bright, airy homes.
Modern urban living often requires making the most of limited square footage. Whether you are dealing with a narrow entryway, a compact dining alcove, or a living room with limited window exposure, the right design choices can make a dramatic difference. Acrylic mirrors offer a highly flexible, DIY-friendly alternative to traditional glass, allowing you to experiment with placement and styling without the structural worries of heavy installations.
Why Choose Acrylic Mirrors for Compact HDB and Condo Spaces
When planning a home makeover, deciding between traditional glass and acrylic mirrors is a crucial first step. Acrylic mirrors offer distinct advantages for modern Singaporean homes, particularly regarding weight and structural safety. Traditional glass mirrors are exceptionally heavy, often requiring robust wall anchors or invasive drilling into concrete walls. In contrast, acrylic is roughly half the weight of glass, making it an ideal choice for lightweight partition walls, drywall, or temporary fixtures in rental properties.
Products mentioned in this guide
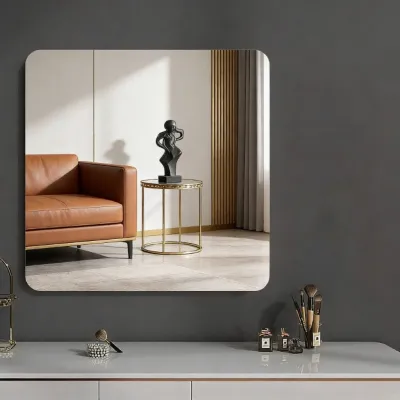
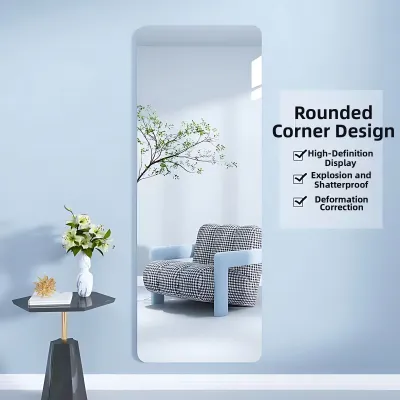
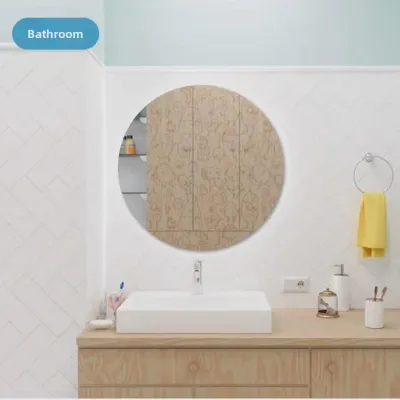
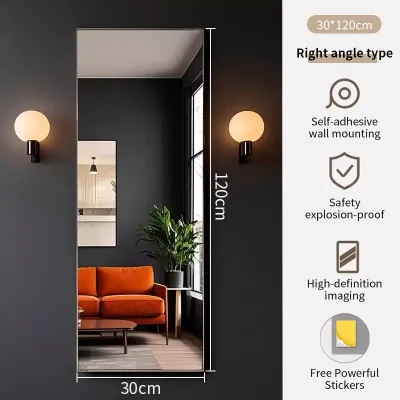
Prices are valid at publication and may change. Please refer to the product page for the latest price.
Safety is another paramount consideration, especially in high-traffic areas or households with young children and pets. Acrylic is highly impact-resistant and virtually shatterproof. If a panel is accidentally bumped or knocked down, it will not break into dangerous, sharp shards. This peace of mind is invaluable in compact layouts where furniture and family members share close quarters.
However, choosing acrylic involves certain trade-offs that you must manage to achieve the best results. Because acrylic is more flexible than glass, it can bend or warp slightly if mounted on an uneven surface, resulting in a distorted reflection. Additionally, acrylic is softer than glass, making it more susceptible to surface scratches. To minimize these issues, select thicker sheets (such as 3mm or 5mm) and ensure they are mounted on a perfectly flat backing.
Strategic Placement to Maximize Visual Space
To maximize the space-expanding effects of your mirrors, placement must be highly intentional. The primary goal is to capture and redirect light, which instantly makes a room feel larger. Positioning your acrylic panels directly opposite or adjacent to your main windows allows them to catch incoming daylight and bounce it deep into the darker corners of your living room or kitchen.

Narrow hallways and small dining nooks are prime locations for large-format acrylic panels. In typical HDB layouts, entryways can feel dark and enclosed. Installing a vertical mirror panel along one side of the corridor visually widens the passage. Similarly, placing a large mirror panel behind a dining table reflects the entire dining set and the surrounding room, creating a classic “double room” effect that makes compact condo dining areas feel twice their actual size.
While mirrors are excellent for amplifying space, they can also amplify visual clutter if placed incorrectly. Avoid positioning mirrors directly opposite open shelving, busy kitchen counters, or utility areas, as reflecting these spaces will only double the perceived clutter. Additionally, be mindful of artificial light sources; placing a mirror where it directly reflects harsh downlights or unshielded LED bulbs can create uncomfortable glare that disrupts the cozy ambiance of your home.
Step-by-Step Installation and Mounting Guide
Proper installation is key to ensuring your acrylic mirror remains flat, secure, and visually clear over time. Begin by thoroughly preparing the wall surface. Clean the area with a damp cloth and a mild detergent to remove any dust, grease, or oil, then allow it to dry completely. Any residual debris on the wall will compromise the adhesive bond, increasing the risk of the mirror peeling away or falling.
Next, select the appropriate mounting method based on the size and weight of your acrylic panel. For small, lightweight decorative pieces, heavy-duty double-sided mounting tape or adhesive strips are highly effective and rental-friendly. For larger sheets, relying solely on tape can lead to bowing or warping over time. In these cases, use a combination of mirror-safe adhesive mastic and mechanical fasteners, such as mirror clips or bottom support brackets, to distribute the weight evenly and keep the panel perfectly flat.
Always check the manufacturer’s instructions regarding wall compatibility before applying any adhesive. Strong adhesives can damage freshly painted walls or fail to bond properly with heavily textured surfaces. If your walls have been recently painted, allow the paint to cure fully for several weeks before mounting your mirror.
Know when to halt a DIY installation and seek professional assistance. If you are working with exceptionally large panels, mounting mirrors on ceilings or high-risk overhead areas, or dealing with unfamiliar wall materials like hollow drywall or structural concrete, it is best to consult a qualified professional. Furthermore, if your mounting area is close to fixed electrical wiring or outlets, always isolate the power at your main distribution board before drilling to ensure safety.
Styling and Framing Techniques for a Polished Look
While raw, frameless acrylic sheets offer a sleek, minimalist look, adding custom styling and framing can elevate the aesthetic to match your interior decor. To conceal the raw, machine-cut edges of the acrylic, consider adding lightweight wooden or metal trim around the perimeter. This simple addition mimics the appearance of a high-end, custom-framed glass mirror without adding significant weight to your walls.
For a more artistic approach, you can create a geometric gallery wall using smaller acrylic pieces. Grouping hexagonal, diamond, or circular mirror tiles in a cascading pattern adds a modern, decorative focal point to your living room while still providing the light-reflecting benefits of a single large mirror. This approach allows for endless customization to fit your personal style.
If you are renting an HDB flat or condo and want to avoid permanent modifications, peel-and-apply decorative borders are an excellent option. These lightweight, removable borders can be applied directly to the edges of the acrylic mirror, allowing you to achieve a polished, framed look that can be easily removed without damaging the wall or leaving stubborn residue behind when it is time to move.
Maintenance and Cleaning for Long-Lasting Clarity
Maintaining the optical clarity of your acrylic mirror requires a gentle touch and the right cleaning materials. Never use standard glass cleaners, as many of these products contain ammonia or alcohol, which can chemically attack the acrylic, leading to a cloudy appearance or fine cracks known as crazing. Instead, use a clean, high-quality microfiber cloth and a mild solution of warm water and a drop of dishwashing liquid.
Avoid using paper towels, polyester cloths, or abrasive sponges, as these materials can easily create micro-scratches on the relatively soft surface of the acrylic. To clean, gently dust the surface first to remove any loose particles that could cause scratches during wiping. Then, wipe the mirror using light, circular motions with your damp microfiber cloth.
To remove stubborn smudges or fingerprints, apply gentle pressure with the damp cloth rather than scrubbing vigorously. Excessive friction can generate static electricity, which will attract more dust to the mirror surface, or cause permanent dullness. Once clean, gently pat the surface dry with a dry section of the microfiber cloth to prevent water spots.
Frequently Asked Questions (FAQ)
Can I use acrylic mirrors in humid areas like bathrooms?
Yes, acrylic itself is highly moisture-resistant and will not rust or degrade like traditional glass backing when exposed to water. However, the adhesive backing used to mount the mirror can be vulnerable to high humidity and steam, which may cause it to fail over time. If you plan to install an acrylic mirror in a bathroom, ensure the product label explicitly rates the adhesive for wet areas, maintain excellent ventilation, and consider using mechanical fasteners for added security.
How do I remove an acrylic mirror without damaging the paint?
To safely remove an adhesive-mounted acrylic mirror, use a hairdryer on a low-heat setting to gently warm and soften the adhesive backing. Once the adhesive is pliable, slowly and carefully pry the mirror away from the wall using a flat plastic scraper, taking care not to gouge the wall surface. Clean any remaining adhesive residue with a mild, surface-safe solvent. Stop immediately if the paint begins to peel or tear, and consult your landlord or a professional to avoid causing extensive damage to the wall.

Community discussion
Share your experience or ask a question. Comments are reviewed before publication.