
Creating a photo frame gallery wall is one of the most effective ways to personalize your living space, turning a blank wall into a curated visual narrative. Whether you want to display family portraits, travel photography, or art prints, a successful gallery wall relies on careful planning, precise measurement, and the right hardware. By mapping out your layout beforehand and selecting tools suited to your specific wall type, you can achieve a balanced, secure, and visually striking display without leaving a trail of unnecessary holes in your plaster or concrete.
A well-executed gallery wall does more than just fill empty space; it establishes a focal point that draws the eye and ties the decorative elements of a room together. The key to success lies in treating the entire arrangement as a single, cohesive piece of art rather than a collection of individual frames. With a systematic approach to planning, measuring, and mounting, you can transform any wall in your home into a professional-looking gallery display that reflects your personal style.
Gather Your Tools and Materials
Before making any marks on your wall, gather the essential tools to ensure a smooth and accurate installation. You will need a reliable measuring tape, a spirit level, a pencil, a hammer, and a ladder if you are working at height. Having these items on hand from the start will save time and help you maintain precise alignment as you mount each frame.
Products mentioned in this guide
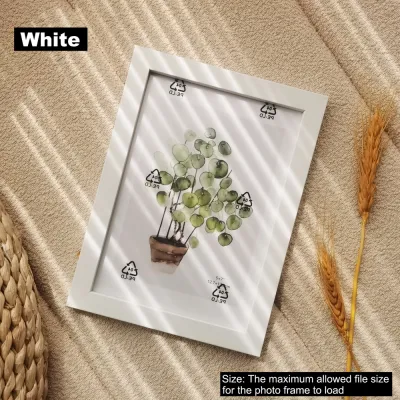
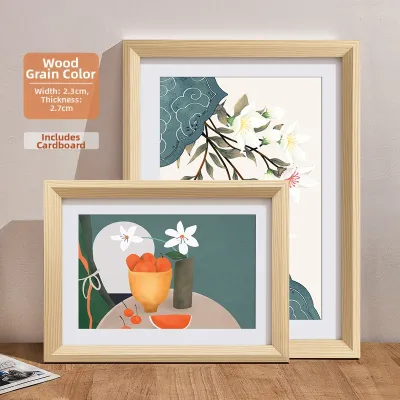
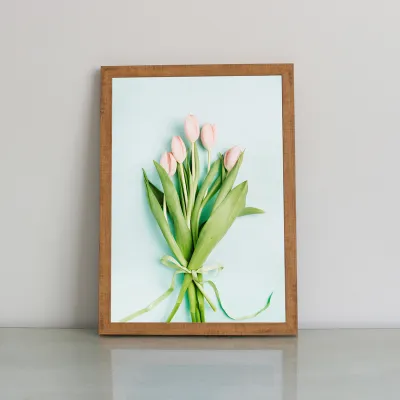
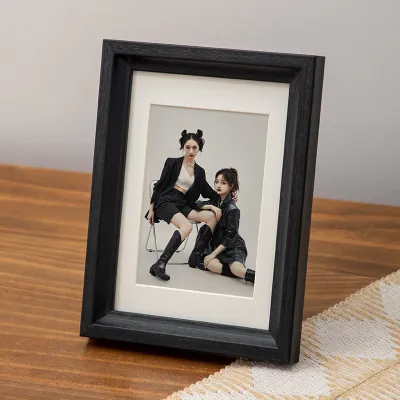
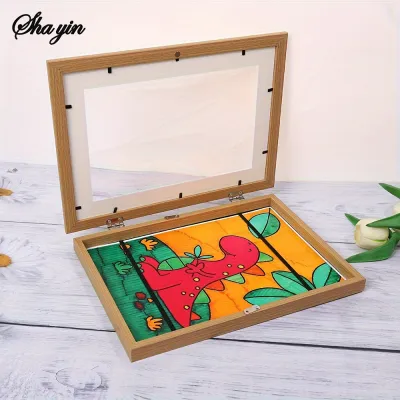
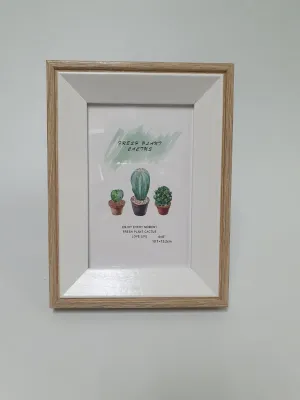
Prices are valid at publication and may change. Please refer to the product page for the latest price.
The choice of hanging hardware depends entirely on your wall construction and the weight of your frames. For instance, solid concrete or masonry walls—which are standard in many modern high-rise apartments—require a power drill with a masonry bit, plastic wall plugs, and screws to hold weight securely. If you are mounting onto drywall or partition walls, specialized drywall anchors, toggle bolts, or heavy-duty picture hooks are necessary to prevent the frame from pulling through the plasterboard.
Always check the weight of your frames before selecting your hardware. Heavy or oversized frames require robust mounting solutions, and you must verify that your chosen anchors are rated for the specific weight of each piece. If you are dealing with exceptionally heavy frames, complex wall structures, or if you are uncertain about what lies behind the wall surface, always stop and consult a qualified professional installer to ensure a safe and secure setup.
Plan the Layout Before Making Holes
A successful gallery wall looks cohesive because it follows a deliberate spatial logic rather than a random arrangement. Begin by identifying your anchor piece, which is typically the largest or most visually striking frame in your collection. Placing this focal point near the center of your planned display helps anchor the entire composition and gives the eye a natural place to rest. From there, you can build outward, arranging smaller frames around the central piece to distribute visual weight evenly across the wall.

Maintaining consistent spacing between your frames is crucial for a polished, intentional look. A standard gap of 5 to 8 centimeters between frames usually works well, though you can adjust this depending on the overall size of your wall and the scale of your frames. Keep this spacing uniform throughout the entire arrangement to prevent the display from looking cluttered or disjointed.
Additionally, establish the overall boundary of your gallery wall in relation to nearby furniture. If you are hanging the frames above a sofa, sideboard, or console table, ensure the bottom edge of the lowest frames sits at least 15 to 20 centimeters above the furniture to prevent accidental bumps and maintain a comfortable visual boundary. This gap ensures that the artwork feels connected to the room’s layout without crowding the furniture below.
Choose a Layout Style
The arrangement pattern you select should complement both your personal style and the uniformity of your frames. A structured grid layout works exceptionally well if you have matching frames of the exact same size and orientation, creating a clean, symmetrical, and modern aesthetic. This style requires absolute precision during installation, as even a minor misalignment will be highly visible.
If your collection features an eclectic mix of frame sizes, finishes, and orientations, an organic salon-style layout is more forgiving and dynamic. This style allows you to grow the collection over time, building outward from your central anchor piece while maintaining a balanced distribution of colors and textures across the wall. Whichever style you choose, ensure it aligns with the existing interior design of your room to create a harmonious atmosphere.
Create a Paper Template Mockup
To visualize your layout without risking damage to your walls, create paper templates of each frame. Place each frame onto a sheet of craft paper or newspaper, trace around the outer edges with a pencil, and cut out the shape. Write a brief description or label on each paper template so you know exactly which frame it represents, and note the orientation of the hanging bracket on the back.
Using low-tack painter’s tape, arrange these paper templates on your wall. This step allows you to experiment freely with different configurations, adjust the spacing, and step back to view the arrangement from various angles in the room. You can easily swap templates around until the entire composition feels balanced and visually pleasing.
Once you are fully satisfied with the layout of the paper templates, use a measuring tape to locate the exact hanging bracket or wire position on the back of each physical frame. Transfer this measurement directly onto the corresponding paper template on the wall, marking the precise spot where your nail, screw, or hook needs to go. This simple step eliminates guesswork and ensures your frames hang exactly where you planned.
Mark, Measure, and Hang the Frames
With your paper templates perfectly positioned and marked, you can begin the physical installation with confidence. Use a spirit level to verify that each paper template is perfectly horizontal before transferring the hanging marks to the wall. Lightly press your pencil through the marked spot on the paper template to leave a small guide mark on the wall surface, then carefully peel away the paper.
If your wall is made of concrete or masonry, use a power drill with a masonry bit to create pilot holes at your pencil marks, insert the appropriate plastic wall plugs, and drive in your screws, leaving the screw head protruding slightly to catch the frame bracket. For drywall, screw in self-drilling drywall anchors or tap in specialized picture hooks designed for plasterboard. Always ensure that the hardware is fully seated and stable before attempting to hang any weight on it.
Once your hardware is securely in place, hang your frames one by one. Place your spirit level on top of each frame to ensure it sits perfectly straight, making minor adjustments to the hanging wire or bracket position as needed. Taking your time during this step ensures that the final display looks sharp, aligned, and professionally executed.
Safety should always be your top priority during installation. If you encounter unexpected resistance while drilling, suspect hidden utility lines, or notice structural instability in the wall material, stop immediately. Consult a qualified professional to inspect the area and locate any hidden electrical wiring or plumbing before proceeding with your project.
Adjust, Light, and Maintain Your Display
After all the frames are hung, step back to the opposite side of the room to evaluate the overall visual balance. Sometimes, minor shifts in perspective or room lighting can make an arrangement look slightly off-center, requiring tiny micro-adjustments to the alignment of individual frames. If frames tend to shift or tilt when doors close or people walk by, you can apply a small piece of removable mounting putty or clear rubber bumpers to the bottom corners of each frame to keep them locked in place.
To elevate your gallery wall, consider how it is illuminated. Directional picture lights mounted directly above the frames or adjustable ceiling spotlights can highlight the artwork beautifully, adding warmth and depth to the space. If you choose to install fixed-wired picture lights, ensure you isolate the power supply at the main consumer unit before installation, follow the manufacturer’s instructions carefully, and hire a licensed electrician to handle the wiring. Adjust the angle of your light fixtures to minimize direct glare on the frame glass, ensuring the art remains clearly visible from all seating positions in the room.
Maintaining your gallery wall requires gentle, regular care to preserve both the frames and the artwork inside. Use a clean, dry microfiber cloth to dust the frames and glass surfaces weekly, avoiding liquid glass cleaners or harsh chemical sprays that could seep behind the glass and ruin the prints. If your home experiences high humidity, ensure the room is well-ventilated to prevent moisture from becoming trapped inside the frames, which can cause paper artwork to warp or mildew over time.
Frequently Asked Questions (FAQ)
How can I hang a gallery wall without drilling holes?
If you are renting your home or simply want to avoid drilling holes, heavy-duty adhesive picture hanging strips are a practical alternative. Before purchasing, check the weight limits specified on the product packaging and weigh your frames to ensure they fall well within the safe operating limit. Keep in mind that adhesive performance can be affected by wall texture, paint type, and high indoor humidity. To prevent damage, always clean the wall surface according to the manufacturer’s instructions, apply the strips correctly, and follow the recommended removal process carefully to avoid peeling the paint off your walls.
What is the ideal height to hang a gallery wall?
As a general guideline, the center of your overall gallery wall arrangement should sit at average eye level, which is approximately 140 to 150 centimeters from the floor. If you are hanging the display in a hallway or entryway where people primarily stand, aim for the higher end of this range. However, if the gallery wall is positioned in a dining room or living area where people are usually seated, you may want to lower the center of the arrangement slightly to ensure a comfortable viewing angle from a seated position. Always adjust the height to harmonize with nearby architectural features, window frames, and furniture heights.

Community discussion
Share your experience or ask a question. Comments are reviewed before publication.