
An E27 to E14 adapter provides a straightforward way to use a smaller E14 Edison screw bulb in a standard E27 light socket. This simple accessory eliminates the need to replace entire light fixtures or undergo costly rewiring projects when you want to use decorative chandelier bulbs, smart candle lights, or specialized accent bulbs. Correctly installing the adapter requires isolating the electrical power, checking the physical clearance of your fixture, and ensuring the electrical contacts align securely.
By understanding the mechanical and electrical limits of these adapters, you can safely customize your home lighting. This guide details the exact steps for a secure installation, critical safety checks for Singapore’s electrical standards, and troubleshooting advice for common connection issues.
Preparation and Safety Checks Before Installation
Working with electrical fixtures requires absolute caution to prevent shocks, short circuits, or damage to your home’s electrical system. Before you handle any lighting components, locate your home’s main consumer unit or distribution board and switch off the circuit breaker for the lighting loop you are working on. Simply turning off the wall switch is not sufficient, as improper or legacy wiring can sometimes leave the socket energized even when the switch is in the off position.
Products mentioned in this guide
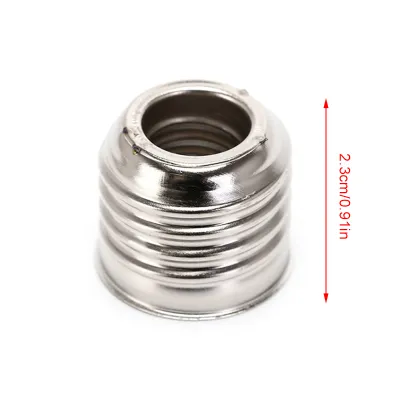
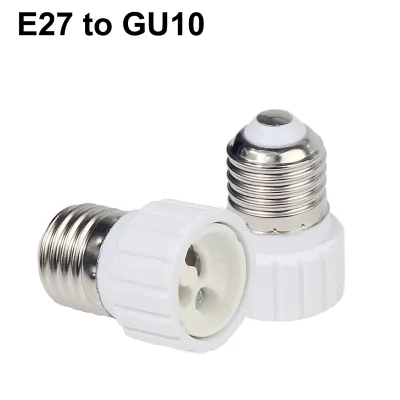
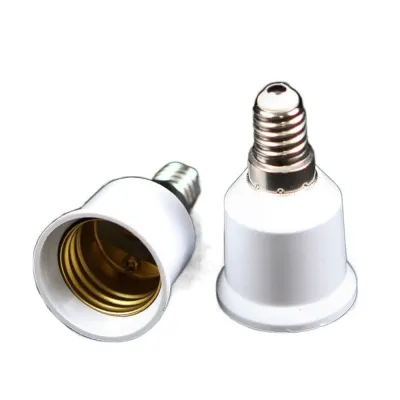
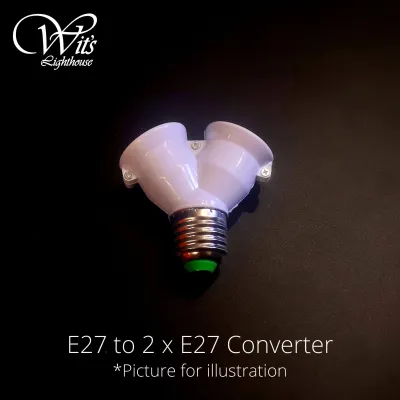
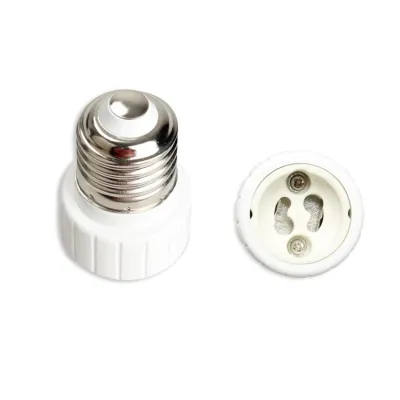
Prices are valid at publication and may change. Please refer to the product page for the latest price.
Gather all the necessary tools and components before starting. You will need a high-quality E27 to E14 adapter, your chosen E14 bulb, and a clean, dry microfiber cloth. If your light fixture is mounted on a high ceiling or wall, ensure you use a stable step ladder placed on a flat, even surface rather than balancing on chairs or unstable furniture.
Verify that your chosen E14 bulb is fully compatible with Singapore’s local electrical grid, which operates at a standard voltage of 230V AC at a frequency of 50Hz. Check the packaging or the base of the E14 bulb to ensure it is rated for 220V–240V. Installing a low-voltage bulb, such as a 12V or 110V bulb imported from another region, directly into a 230V socket without a compatible transformer will cause immediate bulb failure, can blow your circuit breaker, and presents a serious fire hazard.
Inspect the existing E27 socket thoroughly before inserting the adapter. Look closely inside the socket for any signs of wear, such as dark scorch marks, cracked plastic or ceramic housing, corrosion on the metal contacts, or loose internal wiring. If you notice any of these warning signs, do not proceed with the installation. Instead, contact a Licensed Electrical Worker (LEW) to inspect and replace the damaged fixture to ensure your home remains safe.
Step-by-Step Installation Guide
Once you have verified that the power is completely isolated and your components are safe to use, you can proceed with the physical installation. Taking your time during this process ensures a reliable electrical connection and prevents mechanical damage to the threads.

Attaching the Adapter to the E27 Socket
Begin by preparing the E27 socket to ensure a clean contact surface. Use your dry microfiber cloth to gently wipe the inside of the socket, removing any accumulated dust, cobwebs, or debris that could interfere with the electrical connection or create a fire hazard. Never use a damp cloth or liquid cleaners inside an electrical socket.
Hold the E27 to e14 adapter by its outer insulated collar, aligning its larger E27 male thread straight with the female thread of the light fixture’s socket. It is vital to keep the adapter perfectly straight to avoid cross-threading, which can ruin the threads on both the adapter and the fixture.
Gently turn the adapter clockwise into the socket. The adapter should spin smoothly with minimal resistance. If you feel the adapter binding or tilting to one side, unscrew it completely, realign it, and start again.
Continue screwing the adapter in until it is snug and fully seated. Do not overtighten the adapter, as excessive force can easily crack plastic or ceramic housings, strip the delicate threads, or bend the internal metal contact tabs of your light fixture too far back. A firm, hand-tight fit is all that is required to establish a secure connection.
Verify that the adapter is seated straight and flush inside the socket. If the adapter is crooked, the bulb will also sit at an angle, which can look unsightly and prevent the electrical contacts from aligning properly.
Installing the E14 Bulb
With the adapter securely in place, prepare to insert the smaller E14 bulb. Inspect the bulb’s base to ensure the threads are clean and free of any manufacturing residue or dust.
Align the E14 base of the bulb with the female socket opening of the adapter. Hold the bulb gently by its base or collar rather than gripping the fragile glass envelope or the delicate plastic casing of a smart bulb.
Screw the bulb clockwise into the adapter. Turn it slowly until you feel it make firm contact with the bottom of the adapter’s socket. Ensure the bulb is snug but do not apply excessive torque, which can damage the bulb’s internal driver electronics or crack the glass.
Check that the bulb sits straight and does not wobble. If the bulb feels loose or tilts, gently unscrew it and check for any debris inside the adapter before reinserting and tightening it.
Crucial Compatibility and Clearance Considerations
Using an adapter introduces new physical and electrical variables to your light fixture. To maintain a safe home environment, you must evaluate several compatibility factors before leaving the light in use.
Wattage Limits Every light fixture and adapter has a maximum wattage rating printed on its housing. When using an adapter, you must adhere to the lower wattage limit of the two components. For example, if your E27 fixture is rated for a maximum of 40W but your plastic adapter is only rated for 25W, your E14 bulb must not exceed 25W. Exceeding these limits causes extreme heat buildup, which can melt plastic components, degrade wiring insulation, and eventually lead to an electrical fire. Utilizing energy-efficient LED bulbs is highly recommended, as they draw significantly less power and generate far less heat than traditional incandescent or halogen options.
Physical Clearance An E27 to E14 adapter acts as an intermediate spacer, which physically extends the overall length of the bulb assembly. Before finalizing your setup, measure the available space inside your lampshade, recessed ceiling canister, or decorative glass globe. Ensure that the extended bulb does not press against the shade or protrude past the edge of the fixture. If the bulb touches the shade material—especially fabric, paper, or plastic—it can trap heat, leading to premature bulb failure, discoloration of the shade, or a fire hazard. There should always be a clear gap of at least a few centimeters around the bulb for natural air circulation.
Dimmer Compatibility If your E27 fixture is wired to a wall dimmer switch, you must ensure that your chosen E14 bulb is explicitly labeled as dimmable. Standard non-dimmable LED bulbs installed on a dimming circuit will flicker, buzz, or suffer permanent damage to their internal driver circuits. Additionally, ensure that your dimmer switch is compatible with LED technology, as older leading-edge dimmers designed for incandescent bulbs often fail to operate smoothly with modern low-wattage LED bulbs.
Testing and Troubleshooting the Connection
After completing the installation and verifying physical clearance, you can safely test the connection and resolve any minor issues that may arise.
Restore power at your main distribution board or consumer unit, then flip the wall switch to turn on the light. If the bulb illuminates instantly and shines steadily without flickering, your installation is successful.
If the bulb does not light up, follow these systematic troubleshooting steps:
- Isolate the Power: Turn off the wall switch and switch off the corresponding circuit breaker at the main distribution board. Allow the bulb and adapter to cool completely before touching them.
- Check the Bulb Connection: Verify that the E14 bulb is screwed fully into the adapter. If it is slightly loose, the contact point at the bottom of the bulb will not touch the contact tab inside the adapter.
- Check the Adapter Connection: Ensure the adapter itself is screwed securely into the E27 socket.
- Inspect the Contact Tabs: If the connections are tight but the light still fails to turn on, the metal contact tab at the bottom of the E27 socket or inside the adapter may be bent too flat. With the power completely isolated at the breaker, you can use a small, insulated screwdriver to very gently pry the brass tab upward by a millimeter or two to ensure it makes contact with the base of the adapter or bulb.
If you experience persistent flickering or buzzing, this is usually a sign of dimmer incompatibility or a loose connection. Double-check that your bulb is rated for dimming and that all components are seated snugly.
Define clear stopping conditions for your safety. If you smell burning plastic, hear a distinct crackling or buzzing sound from the socket, see sparks, or if the fixture feels unusually hot to the touch, turn off the power at the main circuit breaker immediately. Do not attempt to reuse the fixture. Contact a qualified, licensed electrician to inspect the wiring and identify the underlying issue.
Frequently Asked Questions (FAQ)
Can I use a smart E14 bulb with a standard E27 to E14 adapter?
Yes, smart E14 bulbs can be used with standard physical E27 to E14 adapters, provided the extended bulb assembly fits within the physical clearance of your lampshade or fixture. However, smart bulbs require a constant, uninterrupted supply of electrical power to maintain their Wi-Fi, Zigbee, or Bluetooth connections. Because of this, you should never install a smart bulb in a fixture controlled by a traditional wall dimmer switch, as reducing the voltage will disrupt the bulb’s internal computer chips, causing it to drop offline, flicker, or reset unexpectedly.
Is it safe to use an E27 to E14 adapter in an outdoor or damp location?
Standard indoor E27 to E14 adapters are not weatherproof and do not feature moisture-resistant seals. You should only use an adapter and bulb in damp or outdoor environments, such as bathrooms, balconies, or gardens, if both components carry an appropriate Ingress Protection (IP) rating, such as IP44 or higher, and are installed inside a fully sealed, weatherproof fixture. Always check the manufacturer’s specifications on the product packaging before installation. If the adapter or bulb instructions do not explicitly state that they are suitable for damp or outdoor use, do not install them in those areas.

Community discussion
Share your experience or ask a question. Comments are reviewed before publication.