
When updating your home lighting, you might wonder if a new round LED light cover will work seamlessly with your existing wall dimmer. The short answer is that the physical cover itself has no effect on dimming performance. Instead, compatibility depends entirely on the electronic driver inside the fixture and how it communicates with your dimmer switch.
To ensure your lighting functions perfectly without annoying flickers or buzzing, you must look beyond the plastic or glass exterior. Understanding the electrical relationship between your light’s power supply and your wall switch is the key to a successful upgrade.
Why the LED Driver Matters More Than the Light Cover
In home lighting, a “round LED light cover” typically refers to the physical acrylic, glass, or plastic diffuser dome that sits over the light source. In other cases, consumers use the term to describe the entire integrated round flush-mount ceiling fixture. Whichever definition applies to your situation, the outer material plays no role in the electrical dimming process.
Products mentioned in this guide
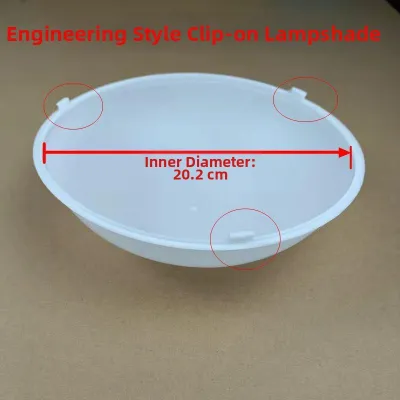
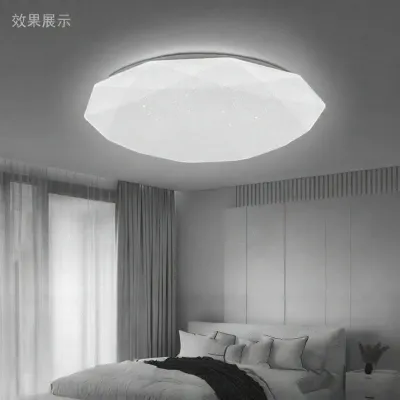

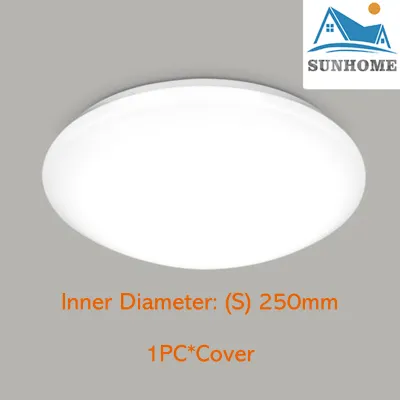
Prices are valid at publication and may change. Please refer to the product page for the latest price.
Physical cover materials only serve to diffuse and soften the light output. They do not interact with the electrical current flowing through the circuit. Dimming is an entirely electronic process managed by the LED driver, which is the internal power supply unit of the fixture.
An LED driver converts the alternating current (AC) from your home’s mains supply into the low-voltage direct current (DC) that LED chips require. If this driver is not engineered to interpret the sliced voltage signals sent by a dimmer switch, the light will fail to dim smoothly. To find the true electrical capabilities of your light, you must locate the specification label on the fixture’s metal chassis, check the internal driver casing, or consult the product manual.
How to Verify Dimmer and LED Compatibility
Matching an existing wall dimmer with a new round LED fixture requires checking a few critical electrical specifications. Following a systematic verification process will prevent compatibility issues before you complete the installation.

Step 1: Confirm Dimmability
Before analyzing your dimmer switch, confirm that the LED fixture is actually designed to be dimmed. Inspect the driver or the fixture base for an explicit “Dimmable” designation. Connecting a non-dimmable LED driver to a dimming circuit will cause immediate operational failure, rapid flashing, or permanent component damage.
Step 2: Identify the Dimmer Type
Wall dimmers generally fall into two categories: Leading Edge (TRIAC) and Trailing Edge (ELV) dimmers. Older wall switches are typically Leading Edge models, which were designed for high-wattage incandescent bulbs. Modern LED drivers usually require Trailing Edge dimmers, which cut off the voltage wave at the end of the cycle to provide a smoother, more stable current for low-wattage electronics.
Step 3: Calculate the Wattage Load
Dimmer switches have both maximum and minimum load limits. Because a single round LED ceiling light consumes very little electricity—often between 12W and 24W—its power draw may fall below the minimum load threshold of an older dimmer switch (which often requires at least 40W to operate). If the total wattage of your connected lights is too low, the dimmer will struggle to regulate the current, leading to unstable performance.
Step 4: Verify Voltage Input
Ensure that the input voltage rating on the LED driver matches the local grid. In Singapore, the standard household electrical supply is 230V at a frequency of 50Hz. Installing a fixture with a driver designed exclusively for 110V systems will destroy the electronics and pose a severe safety hazard.
Troubleshooting Flickering, Buzzing, and Dropouts
If you have already installed your round LED fixture and are experiencing performance issues, the symptoms usually point to specific electrical mismatches.
Flickering or Strobing
Rapid pulsing or strobing is the most common symptom of a mismatched system. This issue occurs when the LED driver cannot interpret the chopped voltage from the dimmer, or when the total electrical load of the light fixture falls below the dimmer’s minimum operating threshold.
Buzzing or Humming
A persistent hum coming from either the wall switch or the ceiling fixture indicates physical vibration within the electronic components. This noise is frequently caused by a Leading Edge TRIAC dimmer forcing high-frequency voltage spikes into an LED driver that lacks adequate electromagnetic filtering.
Dropouts or Limited Range
If your light suddenly cuts out completely before reaching the lowest setting on your dimmer slider, you are experiencing a dropout. This happens when the dimmer’s low-end voltage output drops below the minimum startup voltage required by the LED driver. Many modern LED-compatible dimmers feature a small adjustment dial (low-end trim) behind the faceplate to correct this range.
Actionable Fixes
To resolve these issues, start by upgrading your wall switch to a dedicated Trailing Edge dimmer designed specifically for LED loads. Additionally, check for loose wiring connections behind the switch and inside the ceiling junction box, as a loose neutral wire can cause erratic dimming behavior. If the fixture itself is non-dimmable, you must replace either the internal driver or the entire light unit.
Electrical Safety and Installation Rules in Singapore
Working with home lighting involves dealing with live electrical circuits. You must follow strict safety protocols and local regulations to prevent accidents and ensure a compliant installation.
Before you remove a round LED light cover, touch any internal driver wires, or unscrew a wall dimmer faceplate, you must isolate the power. Go to your home’s main distribution board (DB) and switch off the circuit breaker dedicated to the lighting loop. Never rely solely on the wall switch to cut the power, as current can still be present in the fixture’s wiring.
Do not attempt unsafe workarounds to force incompatible components to work together. Bypassing grounding wires, removing circuit fuses, or altering fixed household wiring can lead to electrical shocks, short circuits, or electrical fires.
In Singapore, any modification to fixed electrical wiring must be carried out by a Licensed Electrical Worker (LEW) or a qualified electrician. This includes replacing an old wall dimmer switch, running new cables, or modifying the ceiling junction box. Hiring a professional ensures your installation complies with local safety standards and protects your property insurance coverage.
Frequently Asked Questions (FAQ)
Can I use a non-dimmable round LED light on a dimmer switch circuit?
No, you must not connect a non-dimmable LED fixture to a dimming circuit. Even when the dimmer switch is turned up to maximum brightness, it still alters the electrical waveform. This altered current will cause severe flickering, generate excessive heat within the driver, and drastically shorten the lifespan of the light while risking damage to the wall switch.
Do I need a special dimmer for smart round LED lights?
Smart round LED lights require constant, uninterrupted power to maintain their wireless connectivity. You should not use a physical wall dimmer switch with a smart light. Instead, connect the smart light to a standard, non-dimming on/off switch and use the dedicated mobile app, a compatible remote control, or a smart home hub to adjust the brightness wirelessly.

Community discussion
Share your experience or ask a question. Comments are reviewed before publication.