
Selecting the right LED downlight specifications for a Singapore home requires matching technical features—such as color temperature, beam angle, and lumen output—to the specific function of each room. Rather than applying a single uniform light across the entire floor plan, a successful layout uses tailored specifications to balance task clarity in the kitchen with restful warmth in the bedrooms. By understanding how these metrics interact with typical local housing features, like HDB concrete ceilings or condominium false ceilings, homeowners can design a cohesive, safe, and visually comfortable environment.
Decoding Core LED Downlight Specifications
To make informed decisions when shopping for an led light ceiling fixture, it is essential to understand how to interpret product labels. The three primary specifications to evaluate are color temperature, beam angle, and the relationship between lumen output and wattage.
Color temperature, measured in Kelvin (K), dictates the color appearance of the light and heavily influences a room’s atmosphere. Warm white ranges (2700K to 3000K) produce a soft, golden glow that promotes relaxation. Neutral white (around 4000K) delivers a clean, balanced light that mimics natural daylight, enhancing focus and clarity. Daylight ranges (6000K to 6500K) offer a highly stimulating, cool blue-white light best reserved for utility spaces.
Products mentioned in this guide
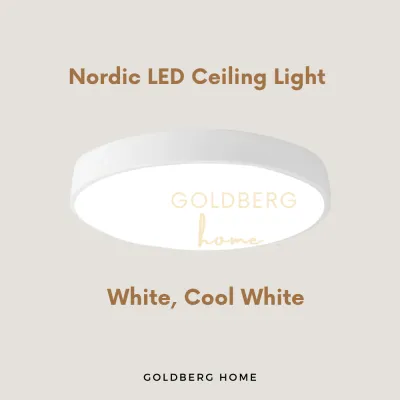
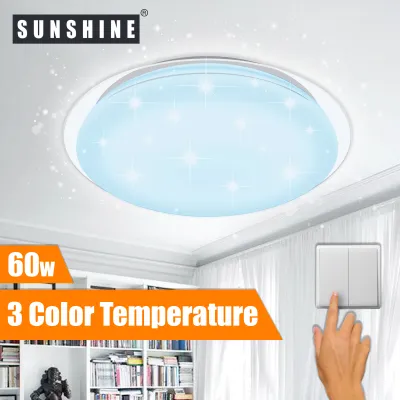

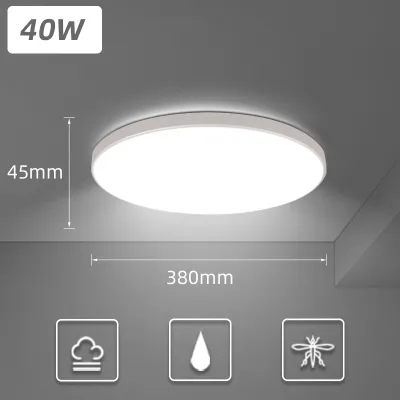
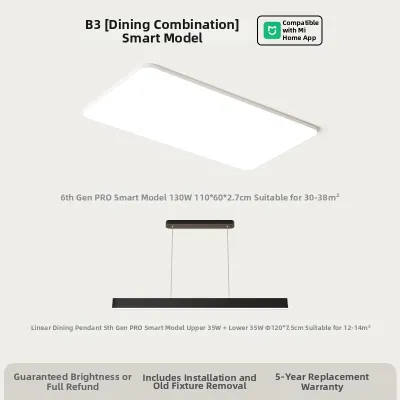
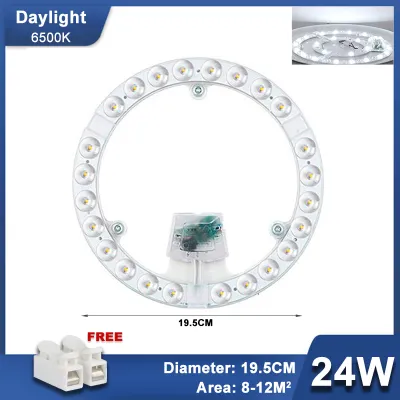
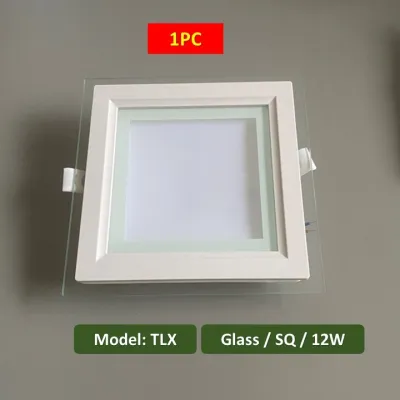
Prices are valid at publication and may change. Please refer to the product page for the latest price.
Beam angle refers to the spread of light emitted from the fixture. Narrow beam angles (15 to 24 degrees) concentrate light into a tight, focused beam, making them ideal for accentuating artwork or architectural features. Medium beam angles (36 to 45 degrees) provide a balanced spread suitable for task areas, while wide beam angles (60 degrees or more) disperse light broadly to create even, general ambient illumination.
Lumen output and wattage are often confused, but they measure entirely different things. Wattage indicates the amount of electrical power the fixture consumes, whereas lumens measure the actual brightness emitted. Because modern LED technology is highly efficient, you should evaluate the lumen-to-watt ratio (efficacy) on product labels to ensure you are getting maximum brightness with minimal energy consumption.
Living Room and Dining Area: Ambient and Layered Light
The living room and dining area serve as the primary social hubs of a Singapore home, requiring flexible lighting that can transition from lively family gatherings to quiet evening relaxation. To establish a welcoming and comfortable environment, prioritize warmer color temperatures, typically around 3000K. This range provides a cozy, inviting feel that softens the overall look of the living space.

For general ambient illumination, select downlights with wide beam angles of 60 degrees or more. Spacing these fixtures evenly across the ceiling ensures a smooth wash of light that minimizes harsh shadows in seating and dining zones. In typical HDB flats with standard ceiling heights, wide-beam downlights help distribute light laterally, making the living areas feel more spacious and open.
To maximize the utility of these social spaces, plan for dimmable LED drivers. Dimmable systems allow you to adjust the brightness levels based on the time of day or the activity, such as dimming the lights for a movie night or brightening them for board games. Always verify that your chosen downlights are paired with compatible dimmer switches to ensure smooth, flicker-free operation.
Kitchen and Workspaces: Brightness and Visual Clarity
Kitchens and home offices are high-activity zones where safety, precision, and visual clarity are paramount. For these spaces, opt for neutral white color temperatures, typically around 4000K. This cooler spectrum enhances contrast, reduces eye strain during detailed tasks like food preparation or reading, and keeps the environment feeling alert and clean.
Position downlights with medium to narrow beam angles (around 36 degrees) directly over key work surfaces, such as kitchen countertops, sinks, and cooking islands. Directing the light downward onto these specific zones eliminates shadows cast by overhead cabinets or your own body, ensuring a safer and more efficient workspace.
When planning the layout, always check the manufacturer’s guidelines regarding heat dissipation and clearance requirements. Recessed downlights installed near kitchen cabinetry or inside false ceilings must have adequate space to disperse heat safely. Ensuring proper clearance prevents heat buildup, which can degrade the LED components and shorten the lifespan of the fixture.
Bedrooms: Restful and Glare-Free Illumination
The bedroom should be a sanctuary dedicated to rest and recovery. To support natural circadian rhythms and prepare the body for sleep, prioritize warm color temperatures between 2700K and 3000K. This warm light minimizes exposure to blue wavelengths in the evening, helping to signal to your brain that it is time to wind down.
To prevent discomfort when lying in bed, specify anti-glare or deep-recessed downlight designs. These fixtures position the LED chip deeper within the housing, shielding the light source from direct line-of-sight. This design ensures that you only see the soft glow on the surfaces below rather than a harsh, blinding glare when looking up.
Avoid placing high-lumen downlights directly over the sleeping area or pillow positions. Instead, position lower-lumen fixtures around the perimeter of the room or near wardrobes. This layout provides sufficient illumination for daily tasks while keeping the immediate sleeping zone calm, soft, and glare-free.
Bathrooms and Wet Zones: Moisture Resistance and Safety
Bathrooms present unique challenges due to high humidity and direct exposure to water splashes. Safety is the primary concern in these wet zones, making it essential to verify the Ingress Protection (IP) ratings on product labels. For general bathroom ceilings, fixtures rated IP44 (splash-proof) are typically sufficient, while zones directly above showers or bathtubs require a higher rating of IP65 (jet-proof) to prevent moisture ingress.
For vanity mirrors where grooming, shaving, and makeup application occur, select downlights with a high Color Rendering Index (CRI) of 90 or above. A high CRI ensures that colors and skin tones are represented accurately under the light, preventing distorted reflections. Pair this with a neutral color temperature (around 4000K) at the vanity for optimal clarity.
Because bathroom installations involve working in damp ceiling cavities and handling fixed electrical wiring, always isolate the power supply at the main distribution board before any inspection or installation. Consult a qualified, licensed electrician to perform the installation. A professional ensures compliance with local electrical safety standards and verifies that all conduits, junction boxes, and fixtures are safely sealed against moisture.
Unifying Your Whole-Home Lighting Design
Creating a cohesive lighting scheme across your entire home prevents a disjointed, jarring transition as you move from room to room. In modern Singapore apartments, where open-plan layouts often connect the living room, dining area, and kitchen, maintaining consistent color temperatures is vital. For instance, transitioning abruptly from a warm 3000K living room to a stark 6000K kitchen can feel visually disruptive; instead, use a transitional 4000K neutral white in the kitchen to bridge the spaces smoothly.
Aesthetics also play a key role in unification. Match the downlight trim colors and bezel styles—such as matte white, matte black, or brushed metallic finishes—to your existing ceiling finishes and interior decor theme. Using the same physical fixture design throughout the home, even if the internal bulbs or specifications differ, establishes a clean, architectural look.
Finally, verify the technical compatibility of your components. Ensure that the voltage ratings match Singapore’s standard 220V–240V electrical supply and that all fixtures carry recognized safety certifications, such as the local Safety Mark. If you plan to use dimmers, double-check that the LED drivers and the dimmer switches are explicitly certified to work together, avoiding mismatched loads that lead to performance issues.
Frequently Asked Questions (FAQ)
Can I use the exact same LED downlight specifications for every room?
Using identical specifications throughout the home is generally not recommended because different rooms serve entirely different functional purposes. A high-brightness, cool-toned downlight that works perfectly for food preparation in a kitchen will feel harsh, cold, and overstimulating in a bedroom. Conversely, the soft, warm, low-lumen lighting designed to create a cozy atmosphere in the living room will fail to provide the necessary visibility and safety required in a workspace or bathroom. Tailoring the specifications to each room’s specific tasks ensures both comfort and utility.
How do I check if my existing ceiling can support new recessed downlights?
Before purchasing recessed downlights, you must assess the structural and spatial constraints of your ceiling. Measure the depth of the ceiling cavity to ensure there is sufficient clearance for both the fixture housing and the required air gap for heat dissipation. Check for hidden obstructions such as concrete beams, air conditioning ducts, water pipes, or existing electrical conduits. Additionally, identify the ceiling material; plasterboard false ceilings easily support recessed fixtures, whereas concrete ceilings require surface-mounted downlights or the installation of a false ceiling. If you are unsure of what lies behind the ceiling panel, consult a professional contractor to avoid damaging critical utility lines.
What should I do if my new LED downlights flicker on a dimmer switch?
Flickering is a common symptom of compatibility issues between the LED driver and the dimmer switch. First, check the minimum and maximum load ratings of your dimmer switch; LED downlights consume very little power, and if the total connected wattage falls below the dimmer’s minimum threshold, instability occurs. Next, verify that both the downlight driver and the dimmer switch are explicitly rated as compatible by their respective manufacturers. If the components are mismatched, you may need to replace the dimmer switch with an LED-compatible trailing-edge dimmer. For persistent flickering or any suspected electrical faults, always isolate the power and consult a licensed electrician to diagnose and resolve the issue safely.

Community discussion
Share your experience or ask a question. Comments are reviewed before publication.