
Finding the right light bulb for your home begins with identifying the correct socket type. If the base of the bulb does not match the socket in your fixture, it will either fail to fit physically or create a serious electrical hazard. By understanding standard coding systems and taking a few simple measurements, you can confidently select the exact bulb you need for any lamp, ceiling fixture, or recessed spotlight.
Understanding Common Light Bulb Socket Codes
Light bulb sockets are classified globally using a simple alphanumeric coding system. The letters in these codes designate the shape or mounting style of the bulb’s base, while the numbers that follow indicate the physical dimensions of that base in millimeters. Recognizing these codes on product packaging or fixture labels is the first step to ensuring a perfect match.
The letter “E” stands for Edison screw, which is the most common socket type found in residential lighting. Named after Thomas Edison, this threaded metal base screws directly into the socket. Common variations include the larger E27 base, frequently used for general room lighting, and the smaller E14 base, often found in decorative chandeliers, wall sconces, and bedside lamps.
Products mentioned in this guide
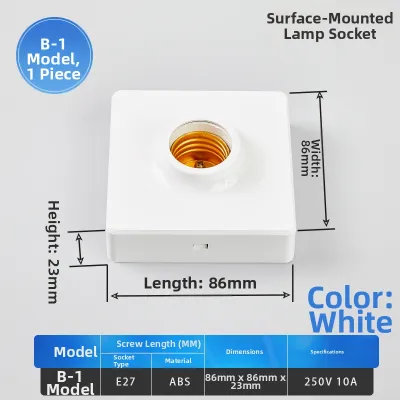
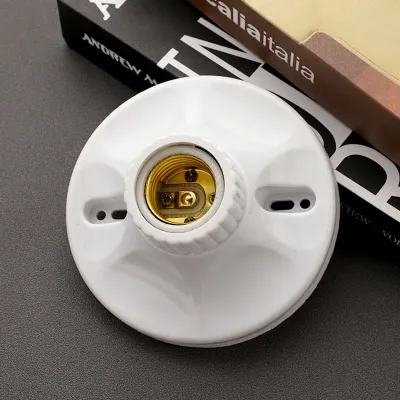
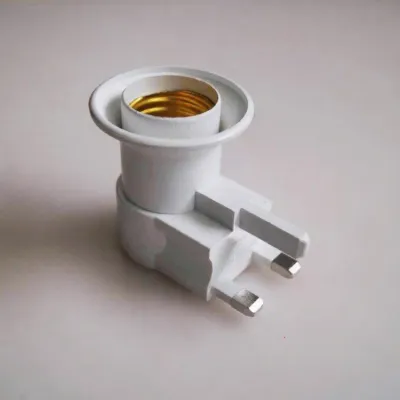
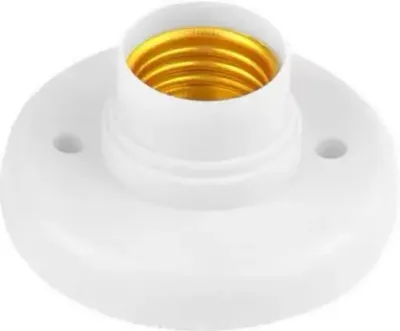
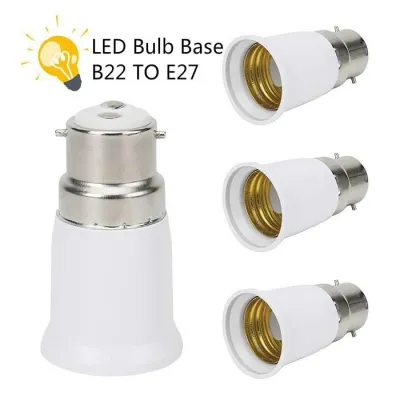
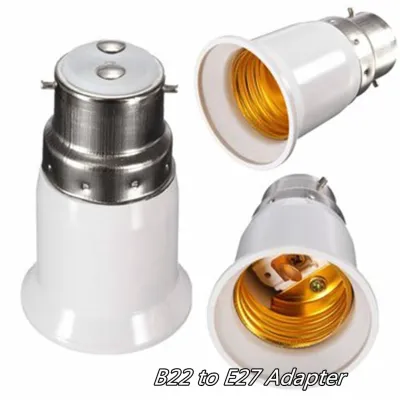
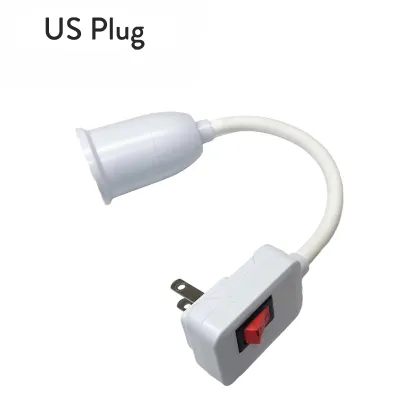
Prices are valid at publication and may change. Please refer to the product page for the latest price.
The letter “B” represents bayonet bases, which utilize a push-and-twist mechanism rather than a screw thread. The B22 base is a widely recognized standard in many homes, featuring two small pins on opposite sides of the metal cap that lock securely into matching slots in the socket. This design is highly resistant to vibration, making it a reliable choice for fixtures that might experience movement.
For spotlights and recessed downlights, you will commonly encounter “G” or “GU” prefixes, which denote pin-based connections. The letters are followed by numbers that specify the exact distance between the centers of the pins in millimeters. For example, a GU10 bulb features two thick pins spaced ten millimeters apart with a twist-lock base, whereas a G4 or G9 base uses thin, straight pins designed to push directly into the socket.
Because regional standards and historical building practices influence which sockets are installed in your home, physical verification remains essential. A fixture imported from another region or installed during a specific construction era may use a socket type that is less common locally. Always check the physical socket or the existing bulb before purchasing a replacement.
How to Identify Your Existing Socket Type
Identifying your socket type does not require specialized electrical training, but it does require a methodical approach to ensure accuracy and safety. Before you begin inspecting any lighting component, ensure the fixture is completely turned off and the bulb has had sufficient time to cool down. Handling a hot bulb can cause burns, and working on an active fixture carries a risk of electrical shock.

The easiest way to identify the socket is to examine the bulb you are replacing. Manufacturers typically print the socket code, wattage, and voltage specifications directly onto the glass or plastic base of the bulb. If the printing has faded or is difficult to read, look for a rating label on the fixture itself, which is often located inside the socket cup, on the mounting bracket, or along the power cord.
If there are no legible markings on the bulb or the fixture, you can determine the socket type by taking physical measurements. Use a ruler or a digital caliper to measure the outer diameter of a screw base or the distance between the pins of a pin-base bulb. For instance, a screw base that measures approximately 27 millimeters across is an E27, while one measuring 14 millimeters is an E14.
When measuring pin bases, measure from the center of one pin to the center of the other. A measurement of ten millimeters between two thick, capped pins confirms a GU10 base, while a five-point-three millimeter spacing between thin pins indicates a GU5.3 base. Comparing these physical measurements to standard socket charts will help you identify the correct replacement without guesswork.
Matching the Right Bulb to Your Fixture
Finding a bulb with the correct physical base is only the first part of the compatibility equation; the electrical specifications must also align perfectly with your fixture. Installing an incompatible bulb can lead to poor performance, rapid component degradation, or hazardous electrical faults.
Voltage compatibility is a critical factor to verify before installation. In Singapore, the standard mains electricity supply operates at 230 volts. Most standard ceiling fixtures and lamps are designed for line-voltage bulbs that connect directly to this supply. However, some low-voltage fixtures, such as certain recessed spotlights or under-cabinet lights, require 12-volt bulbs and rely on an internal transformer to step down the voltage. Installing a low-voltage bulb in a line-voltage socket will cause immediate failure and potential damage.
You must also check the maximum wattage rating of your light fixture, which is typically printed on a safety label near the socket. This rating indicates the maximum heat load the fixture can safely dissipate. While modern LED bulbs consume significantly less power than traditional incandescent bulbs, you must ensure the actual wattage of the new bulb does not exceed the fixture’s stated limit to prevent overheating, melting, or fire risks.
If your fixture is connected to a dimmer switch or integrated into a smart home system, you must select a bulb specifically certified for these setups. Standard LED bulbs may flicker, buzz, or fail prematurely if used on a dimming circuit without explicit dimming support. Verify the packaging confirms compatibility with your specific dimming method, whether it is a traditional wall dimmer or a smart wireless protocol.
Safety and Installation Boundaries
Working with lighting fixtures requires strict adherence to electrical safety protocols to protect yourself and your home. Before inspecting a socket, cleaning a fixture, or changing a bulb, always isolate the power supply. For portable table or floor lamps, unplugging the cord from the wall outlet is sufficient, but for fixed ceiling, wall, or outdoor lights, you must switch off the circuit breaker at the main distribution board.
There is a clear boundary between maintaining a simple plug-in lamp and working on fixed household wiring. While replacing a bulb or checking a clean, intact socket is a straightforward task for most homeowners, any task involving fixed wiring, damp environments, or working at heights requires extra caution. If you are installing a heavy suspended light fixture or working in a bathroom where moisture is present, professional installation is highly recommended.
Inspect the interior of the socket every time you change a bulb. If you observe any signs of damage, such as brown or black scorch marks, cracked plastic, bent metal contacts, or loose internal components, do not attempt to use the fixture. These symptoms indicate electrical arcing or overheating, which pose immediate fire hazards.
If a socket requires replacement or the internal wiring of a fixed fixture is damaged, stop immediately and consult a licensed electrician. Attempting to rewire fixed household circuits without the proper certification and tools can lead to severe injury, code violations, and voided home insurance policies. A qualified professional will ensure that all replacements comply with local electrical safety standards.
Frequently Asked Questions (FAQ)
Can I use an E27 bulb in an E26 socket?
While E27 and E26 bulbs have very similar thread patterns and can sometimes physically fit into each other’s sockets, they are designed for different regional voltage standards. E26 is typically used in 120-volt regions, while E27 is standard in 230-volt regions like Singapore. Mixing them can lead to poor electrical contact, increased resistance, or safety hazards. Always match the exact socket code specified on your fixture’s rating label to ensure safe operation.
Is it safe to replace a damaged light bulb socket myself?
Replacing a damaged socket on a portable table lamp is a manageable task if you follow the manufacturer’s instructions and ensure the lamp is completely unplugged. However, replacing a damaged socket on a fixed ceiling, wall, or outdoor fixture involves handling permanent household wiring. For these fixed installations, you should always hire a licensed electrician to perform the replacement safely and in accordance with local electrical regulations.

Community discussion
Share your experience or ask a question. Comments are reviewed before publication.