
Mirror sticker sheets offer a lightweight, highly flexible, and cost-effective alternative to heavy glass mirrors, making them an exceptional design tool for visually expanding compact Singapore homes like 3-room HDB flats or cozy studio apartments. In typical HDB layouts, deep floor plans can leave certain zones, like the dining area or entryway, feeling somewhat dim. By strategically positioning reflective surfaces, you can capture natural light from the balcony or windows and bounce it deep into these recessed areas. This creates a perceived sense of depth, tricking the eye into seeing a room that extends far beyond its physical walls.
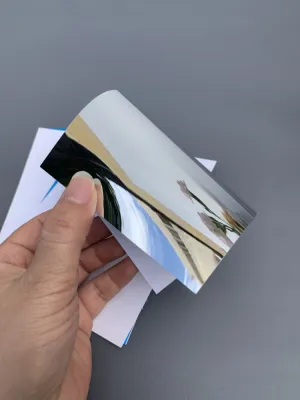
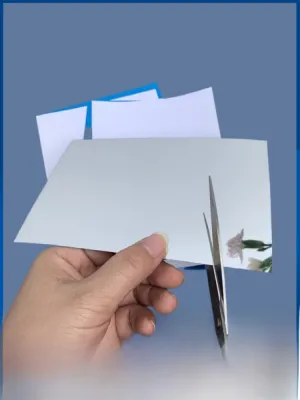
Unlike traditional glass mirrors, which are heavy, fragile, and difficult to transport up narrow HDB stairwells or lift lobbies, mirror sticker sheets are typically made from lightweight polymers like acrylic or PET. They are shatter-resistant, making them highly suitable for households with young children or pets.
However, because these polymer sheets are flexible, they are susceptible to minor optical distortion. If applied to an uneven wall, or viewed from a distance of more than a few meters, the reflection may exhibit a slight warping effect. Understanding this trade-off allows you to plan their placement where close-to-medium viewing distances are the norm, ensuring they serve as effective spatial enhancers rather than primary grooming mirrors.
Products mentioned in this guide
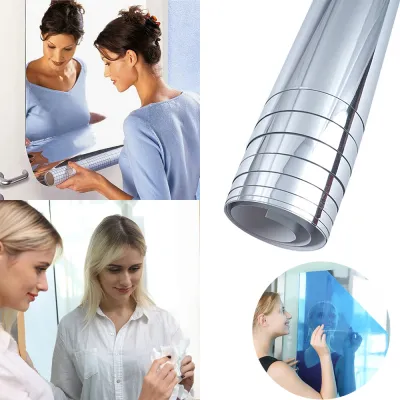
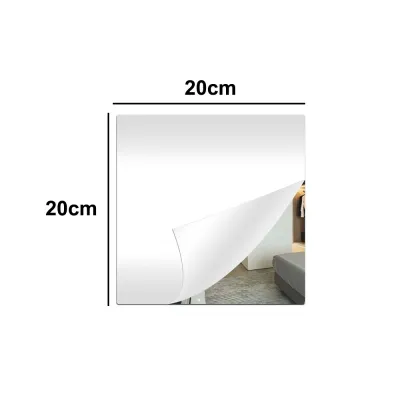
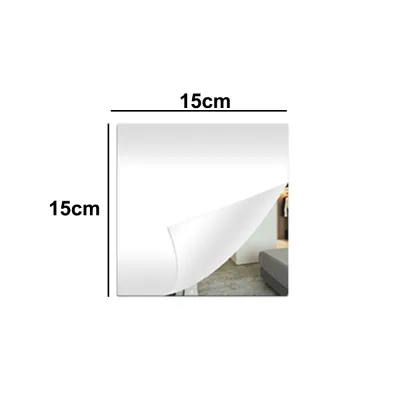
![[OKLIFE. SG]Mirror Wall Sticker Self Adhesive Decorative Mirror 3D Acrylic Glass Sticker mirror](https://img.lazcdn.com/g/p/287f9ae0f82e6a421d138f466656fe1c.jpg_400x400q80.jpg_.webp)
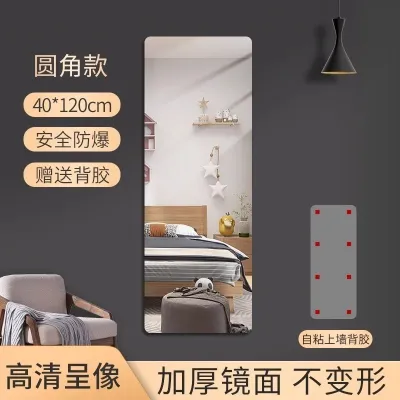
Prices are valid at publication and may change. Please refer to the product page for the latest price.
Selecting the Best Finish for Your Room's Vibe
The finish you choose dictates not only how much light bounces around your home but also the overall aesthetic tone of your living space. Different finishes interact with light in unique ways, allowing you to tailor the visual impact to your specific room layout.
Clear and High-Definition Finishes
Clear, high-definition finishes are the closest equivalent to traditional glass mirrors. They offer the highest rate of light reflection, making them the premier choice for dark corners, windowless HDB bathrooms, or compact utility yards.
When shopping on online marketplaces or at local home decor stores, always check the product specifications for labels such as “high-definition,” “optical grade,” or “premium acrylic.” Lower-grade clear sheets often suffer from a cloudy appearance or high levels of inherent warping, which diminishes the spatial illusion.
Keep in mind that a clear finish reflects every detail with absolute precision. To maximize the spatial benefit, place these sheets opposite clean, organized, and visually appealing zones. If positioned directly opposite a cluttered storage shelf or a busy kitchen counter, they will simply double the visual clutter, making the room feel more chaotic rather than more spacious.
Tinted, Smoked, or Metallic Finishes
If your goal is to create a sophisticated, moody ambiance rather than pure, high-contrast light reflection, tinted mirror sheets are an excellent alternative. Finishes like smoked grey, bronze, or rose gold soften the reflected light, reducing harsh glare and creating a warm, intimate atmosphere. This makes them highly suitable for studio apartment bedrooms or cozy dining nooks.
Tinted finishes are also remarkably forgiving. Because they do not reflect light with high-contrast clarity, they naturally camouflage minor wall imperfections and are less likely to highlight tiny air bubbles or dust particles trapped beneath the sheet during installation.
However, keep the physics of light absorption in mind. Darker tints absorb a significant portion of incoming light rather than reflecting it. If your HDB flat suffers from a severe lack of natural light, limit tinted sheets to small decorative accents rather than using them as your primary tool for spatial expansion.
Sizing and Shaping Strategies for Compact Layouts
The physical dimensions and layout of your mirror sheets play a critical role in how they alter the perception of your floor plan. Choosing the right shape can help you manipulate the height and width of a room without taking up valuable floor space.

Large Continuous Panels vs. Modular Tiles
Large, continuous mirror sheets provide an uninterrupted, seamless reflection that offers the most convincing illusion of an open, extended room. They work beautifully on large, flat surfaces such as wardrobe doors or dedicated feature walls. However, installing a single large sheet requires a perfectly flat substrate and is incredibly challenging to execute alone without trapping air bubbles or causing misalignment.
On the other hand, modular mirror tiles—such as squares, rectangles, or trendy hexagons—are much easier to handle and install individually. While the visible seams between the tiles break up the continuous reflection, you can use these lines to your advantage. Arranging modular tiles in deliberate geometric patterns can draw the eye outward or upward, creating a dynamic feature wall that distracts from a limited floor area.
Before purchasing, carefully measure your target wall space. Ensure you leave a balanced border of empty wall around your mirror arrangement. Packing a small wall completely with mismatched mirror tiles can create a busy, cramped aesthetic that defeats the purpose of spatial expansion.
Full-Length and Vertical Formats
In compact HDB flats where floor space is at a premium, utilizing “dead” vertical space is a smart design strategy. Tall, narrow mirror sticker sheets are perfect for these underutilized zones. Consider applying them to the backs of bedroom doors, narrow hallway walls, or the side panels of tall wardrobes.
Vertical formats naturally draw the human eye upward toward the ceiling. In standard HDB flats, where ceiling heights typically hover around 2.6 meters, this vertical emphasis can make the rooms feel loftier and less restrictive.
Geometric and Custom Cut-Outs
Standard rectangular mirrors can sometimes feel rigid and institutional, reinforcing the boxy architecture of typical modern apartments. To counter this, consider using organic shapes like circles, arches, or abstract geometric cut-outs.
These softer shapes act as artistic focal points on your wall. They draw attention to their unique design, effectively distracting visitors from the room’s small footprint while still performing the essential task of catching and distributing light across the room.
Strategic Placement to Maximize Light and Depth
Where you place your mirror sticker sheets is just as important as the style you choose. Proper placement ensures that the reflective surfaces work in harmony with your home’s natural flow and lighting.
- Opposite Windows and Light Sources: To get the absolute most out of your mirror sticker sheets, position them directly opposite or adjacent to your main windows or balcony doors. This placement allows the sheets to capture incoming natural light and throw it deep into the darker recesses of your living room or kitchen. For windowless areas like internal hallways, place the sheets near warm artificial light sources, such as wall sconces or pendant lights, to amplify the ambient glow.
- Narrow Corridors and Foyers: Many HDB flats feature a narrow entrance foyer or a long hallway leading to the bedrooms. Applying mirror sheets along one side of this corridor can visually double its width, instantly eliminating the claustrophobic "tunnel" effect. However, avoid the temptation to place mirror sheets on both opposing walls; this creates an infinite, disorienting reflection loop that can feel highly unsettling.
- Dining and Living Zones: Placing a large mirror sheet arrangement behind your dining table or directly behind a low-profile sofa is a classic interior design technique. It creates a symmetrical, expansive focal point that makes your main gathering area feel twice as large, fostering a more open and welcoming environment for guests.
- Placement to Avoid: Be highly selective about what your mirrors will reflect. Avoid placing them directly opposite cluttered storage areas, open kitchen sinks filled with dishes, or laundry drying racks, as this will only double the visual noise. Additionally, placing a mirror directly facing your bed can cause visual restlessness at night due to sudden reflections of movement, which can disrupt your sleep quality.
Installation Realities and Rental-Friendly Tips
Installing mirror sticker sheets requires careful preparation to ensure a flat, long-lasting finish that does not damage your walls, especially if you are renting.
- Wall Flatness and Preparation: Because mirror sticker sheets are thin and flexible, they will conform perfectly to whatever surface lies beneath them. Any wall texture, paint drips, or plaster dents will telegraph directly through the sheet, causing unsightly distortions in the reflection. Before installation, thoroughly inspect your wall. Clean the surface with a damp cloth to remove dust and oils, let it dry completely, and if necessary, lightly sand any minor bumps. Always check the manufacturer's instructions for specific surface compatibility.
- Adhesive Selection and Reversibility: For tenants renting HDB flats or studio apartments in Singapore, preserving the landlord's walls is a top priority. Avoid using the heavy-duty permanent adhesives that often come pre-applied on cheap mirror sheets, as these can tear away chunks of drywall or plaster upon removal. Instead, opt for high-quality, damage-free removable mounting tapes or light acrylic adhesives designed specifically for clean removal. Always test a small piece of the adhesive on a hidden area of the wall first to ensure it does not peel the paint.
- Handling and Edge Safety: While polymer mirror sheets are shatterproof, their cut edges can still be surprisingly sharp. Handle the sheets with care, and wear protective gloves during the cutting and installation process. If you are placing the sheets in high-traffic areas—such as a narrow entryway where family members might frequently brush past—consider applying a thin edge sealant, a decorative border tape, or a lightweight frame to protect skin and clothing from accidental scrapes.
- Application Technique: To achieve a flawless, bubble-free finish, avoid simply slapping the sheet onto the wall. Use the "hinge method": secure one edge of the sheet in place with painter's tape, peel back a small section of the adhesive backing, and slowly press the sheet onto the wall. Use a soft squeegee or a clean microfiber cloth to smooth the sheet down, working in firm, overlapping strokes from the center outward to push out any trapped air.
- Environmental Considerations: For installations in damp areas like bathrooms or near heat sources like kitchen stoves, always check the manufacturer's instructions regarding moisture and heat resistance. High humidity can degrade certain adhesives over time, causing the sheets to peel or warp. If the instructions are unclear or if you are mounting heavy panels at height, consult a qualified professional to prevent adhesive failure.
Frequently Asked Questions (FAQ)
Do mirror sticker sheets look as clear as real glass mirrors?
While high-quality acrylic or PET mirror sheets offer excellent reflectivity and brightness, they do not provide the absolute, distortion-free clarity of thick glass mirrors. At close range, the difference is minimal, but at distances beyond two to three meters, minor warping is common. They are highly effective for spatial expansion and light enhancement, but traditional glass remains superior for detailed grooming tasks.
Can I apply mirror stickers over existing wallpaper or textured walls?
It is highly recommended to avoid applying mirror sticker sheets directly over textured walls, popcorn finishes, or delicate wallpaper. The adhesive cannot form a secure, flat bond on uneven surfaces, which leads to severe optical distortion and eventual peeling. Furthermore, removing the adhesive later will almost certainly tear and ruin the underlying wallpaper or paint. For textured surfaces, consider mounting the sheets onto a thin, flat backing board first, then hanging the board securely.

Community discussion
Share your experience or ask a question. Comments are reviewed before publication.