
Determining whether the Philips CL200 is suitable for a standard 2.6m HDB ceiling requires evaluating its physical profile, light dispersion, and electrical compatibility. Rather than relying on general assumptions, this guide provides a structured framework to help you cross-reference the manufacturer’s official specifications with your specific room dimensions and lighting needs, ensuring a safe and visually comfortable installation. Because a 2.6m ceiling height leaves limited vertical clearance, choosing a low-profile flush-mount fixture is essential to maintain comfortable headroom and balanced visual proportions.
By systematically checking the fixture’s dimensions, light output, and mounting requirements, you can avoid common pitfalls such as excessive glare, cramped aesthetics, or installation hazards. Whether you are renovating a new Build-To-Order (BTO) flat or upgrading the lighting in an existing resale unit, taking the time to verify these technical details ensures your home remains bright, safe, and visually spacious.
Verifying Physical Clearance and Visual Proportion
Before purchasing any ceiling fixture for a 2.6m ceiling, you must verify its exact physical dimensions to ensure it does not obstruct daily movement. Instruct yourself to check the official Philips CL200 specification sheet for the precise mounting depth, base plate thickness, and overall height. In homes with lower ceilings, even a few extra centimeters of fixture depth can make a room feel significantly more enclosed.
Products mentioned in this guide
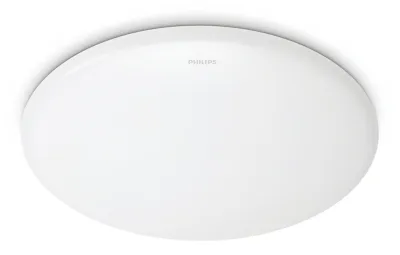
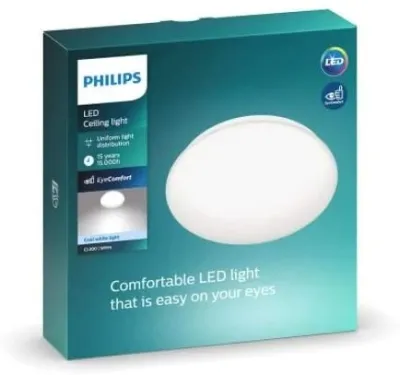
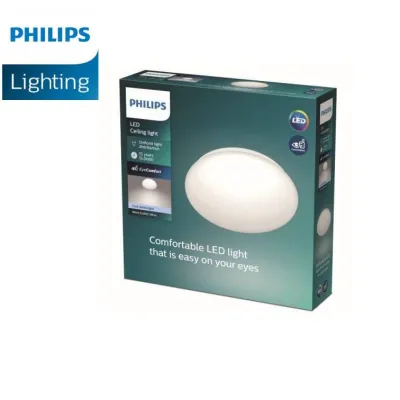
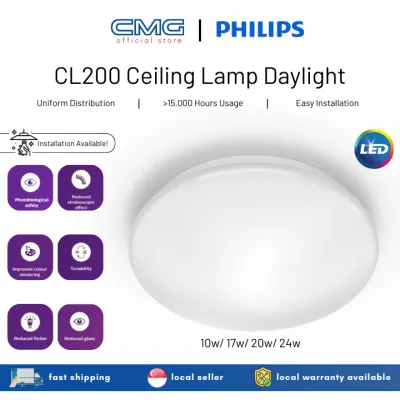
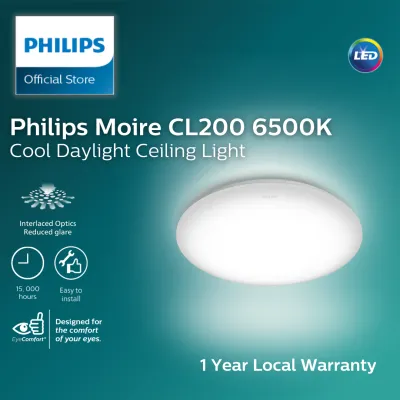
![[Climate Voucher] PHILIPS 10W / 20W / 24W CL200 Round LED Ceiling Light 6500K Cool Daylight EyeComfort](https://img.lazcdn.com/g/p/a90fe1d59dc7130c367907c82eeee7dc.jpg_400x400q80.jpg_.webp)
Prices are valid at publication and may change. Please refer to the product page for the latest price.
To determine the actual space remaining beneath the light, calculate the net floor-to-fixture clearance. Subtract the total height of the CL200 from your ceiling height of 2.6 meters. This calculation is crucial to ensure that tall occupants can walk freely without any risk of head contact and that tall furniture pieces, such as wardrobes or modular shelving units, can be assembled and positioned without hitting the fixture.
Additionally, you must consider how the fixture’s profile interacts with other ceiling installations. If you plan to install a ceiling fan in the same room, verify that the CL200’s physical depth and placement leave sufficient clearance to prevent the fan blades from creating a strobing shadow effect across the room. This visual flickering can cause eye strain and ruin the ambiance of your living space.
Finally, assess the visual proportion of the fixture by comparing its diameter against the overall width of your HDB room. A fixture with a large diameter can overwhelm a compact common bedroom, making the ceiling feel lower than it actually is. Conversely, a fixture that is too small may look disproportionate and fail to provide balanced visual weight, so choosing a size that complements your room’s footprint is key to maintaining an open, airy aesthetic.
Assessing Light Output and Glare at 2.6m
Mounting a ceiling light at a height of 2.6 meters places the light source closer to eye level than in properties with higher ceilings, making light dispersion a critical comfort factor. Check the official lumen output and beam angle of the CL200 to understand how the light will spread across your room. A wider beam angle is highly beneficial for low ceilings because it distributes light horizontally, reducing harsh shadows and creating a more uniform wash of light.

The material and design of the diffuser play a vital role in preventing visual discomfort. Evaluate the CL200’s diffuser—typically made of frosted acrylic or polycarbonate—to ensure it is designed to soften direct glare from the internal LED chips. A high-quality diffuser scatters the light evenly, protecting your eyes from intense hotspots when you look up or relax on a bed or sofa directly beneath the fixture.
Color temperature is another essential variable that influences how spacious and comfortable your room feels. Cooler color temperatures, such as cool white or daylight, can make a low-ceilinged room feel brighter and more expansive, but they can also feel clinical if the light is too intense. Warmer color temperatures create a cozy, inviting atmosphere but can make a small room feel more enclosed, so you should select a color temperature that aligns with the primary function of the space.
Furthermore, observe how the light interacts with your standard HDB wall colors and finishes. Light-colored walls and ceilings reflect light more efficiently, which helps maximize the perceived brightness of the CL200 and reduces the need for high-wattage fixtures. If your room features dark accent walls, they will absorb more light, meaning you may need to verify that the fixture’s output is sufficient to overcome this absorption without causing localized glare.
Matching Light Output to HDB Room Sizes
To ensure your room is adequately illuminated, you must match the wattage and lumen specifications of the CL200 against the actual square footage of your HDB space. Standard HDB common bedrooms typically range from 10 to 15 square meters, while living areas and master bedrooms can range from 20 to 30 square meters. A fixture that works perfectly in a small study may leave dark corners in a spacious living room.
You can verify the adequacy of the light by performing a basic lux calculation. Divide the total lumen output of the CL200 by the area of your room in square meters to find the estimated lux level (Lux = Lumens / Square Meters). For general ambient lighting in a bedroom, a target of 100 to 150 lux is generally recommended, whereas a living room or home office may require 150 to 200 lux to support various activities comfortably.
If your calculation reveals that a single CL200 cannot provide sufficient lux for a larger room, you should avoid simply installing a much brighter single fixture, as this can create uncomfortable glare directly overhead. Instead, consider using the ceiling light as your primary ambient source and supplementing it with localized task lighting.
Integrating supplementary lighting sources, such as floor lamps, table lamps, or wall-mounted sconces, allows you to layer your lighting. This approach ensures that specific areas, like a reading armchair or a study desk, receive targeted illumination while keeping the overall ceiling light comfortable and glare-free. Layering also gives you the flexibility to adjust the room’s brightness based on the time of day and your current activity.
Ensuring Safe Installation and Ceiling Compatibility
A successful installation requires verifying that your HDB ceiling infrastructure can safely support the physical weight and electrical requirements of the CL200. Check the net weight of the fixture against the load-bearing capacity of your ceiling type. While standard HDB concrete ceilings can easily support heavy fixtures, if you are mounting the light onto a false ceiling, you must ensure that appropriate plasterboard anchors or support brackets are used to distribute the weight safely.
Next, verify the electrical compatibility of the fixture’s internal driver. Ensure the voltage rating matches Singapore’s standard 230V electrical supply to prevent damage to the LEDs. You should also check the physical dimensions of the CL200’s base plate to ensure it completely covers your existing ceiling junction box or any exposed wiring, which prevents dust accumulation and maintains a clean, professional finish.
Safety must always be your top priority when dealing with electrical installations. Before inspecting your existing wiring or attempting to mount the new fixture, isolate the electrical power by turning off the main circuit breaker at your home’s distribution board (DB box). Use a reliable voltage tester on the wires to confirm that no electrical current is flowing before you begin any physical work.
While basic mounting might seem like a straightforward DIY task, working with fixed wiring and drilling into concrete ceilings carries inherent risks. To ensure full compliance with local safety standards and prevent electrical hazards, it is highly recommended to hire a Licensed Electrical Worker (LEW) in Singapore. A professional installation typically costs around S$80 to S$150, providing peace of mind that your fixture is securely mounted and correctly wired.
Frequently Asked Questions (FAQ)
Is the Philips CL200 compatible with standard wall dimmer switches?
To determine if the Philips CL200 is compatible with standard wall dimmer switches, you must check the official product packaging or user manual for an explicit ‘dimmable’ label. Many standard LED ceiling lights feature non-dimmable drivers; attempting to use them with a traditional wall dimmer can lead to persistent flickering, buzzing, or premature driver failure. If the specific model is labeled as dimmable, verify whether it requires a specific dimmer type, such as a trailing-edge dimmer or a compatible smart switch system, to ensure smooth operation.
How do I clean the diffuser without damaging the fixture?
Cleaning the diffuser regularly is essential to maintain optimal light transmission and prevent dust buildup from dimming your room. Before cleaning, always turn off the light switch and allow the fixture to cool down completely. Use a dry, soft microfiber cloth to gently wipe away loose dust and cobwebs from the exterior surface. For stubborn spots, you can slightly dampen the microfiber cloth with water, but avoid using harsh chemical solvents, abrasive cleaners, or alcohol-based sprays, as these can degrade, yellow, or crack the acrylic or polycarbonate diffuser over time.

Community discussion
Share your experience or ask a question. Comments are reviewed before publication.