
When planning your home lighting, seeing a “14W” rating on a fixture like the Philips Marcasite downlight tells you how much electrical power the unit consumes, but it does not directly reveal how bright your room will be or how much area the light will cover. To determine if this specific downlight is suitable for your space, you must look beyond the wattage and evaluate key lighting metrics such as luminous flux (measured in lumens), beam angle, and color temperature. By understanding how these specifications interact with your ceiling height and room layout, you can design a balanced, comfortable lighting scheme that avoids dark corners and harsh glare.
Decoding the 14W Rating: Wattage vs. Actual Brightness
In the era of traditional incandescent bulbs, wattage was a reliable shorthand for brightness because higher power consumption directly correlated with more light. With modern LED technology, however, wattage represents only the energy consumed, while the actual light output is measured in lumens. To understand the true performance of the Philips Marcasite 14W downlight, you must locate its luminous flux rating. This figure, along with the luminous efficacy—which measures how efficiently the fixture converts watts into lumens (lm/W)—is typically printed on the product packaging, the physical label on the back of the fixture, or the manufacturer’s official specification sheet.
Because LED efficiency varies across different product lines and generations, never assume a 14W LED downlight will perform identically to another brand’s 14W model. Checking the official specifications ensures you have the exact lumen count to work with. A typical 14W LED downlight’s output varies depending on its design, which is why checking the manufacturer’s exact lumen specification is essential. Knowing this precise number is the first step in calculating whether the fixture can adequately illuminate your intended space.
Products mentioned in this guide
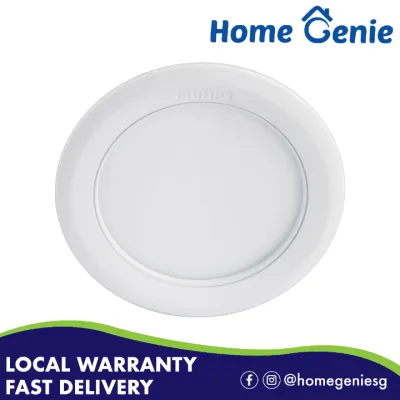
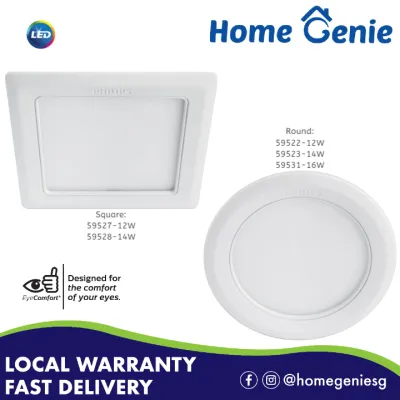
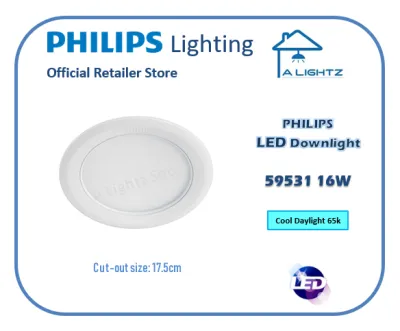
Prices are valid at publication and may change. Please refer to the product page for the latest price.
Another critical factor that influences how bright a room feels is the correlated color temperature (CCT), measured in Kelvin (K). The Philips Marcasite series is often available in multiple color temperatures, such as warm white (typically around 3000K), cool white (4000K), or cool daylight (6500K). While CCT does not change the physical lumen output of the fixture, it dramatically alters your perception of brightness and the overall mood of the room. Cool daylight can make a space feel sharper, more energetic, and visually brighter, making it ideal for task-oriented areas. Conversely, warm white light creates a softer, more relaxing ambiance that is highly suited for living rooms and bedrooms, though it may visually appear slightly dimmer to the human eye.
Matching Light Output to Your Room Size and Layout
To determine if the light output from a 14W downlight fits your room, you need to establish a baseline for the total lumens required. A practical method involves calculating the square footage or square meterage of your room and multiplying it by the recommended lux level (lumens per square meter) for that specific space. For example, a living room or bedroom generally requires a lower ambient level of around 100 to 150 lux, whereas a kitchen counter, home office, or vanity area demands task lighting levels of 300 lux or more. By multiplying your room’s area by these target lux values, you arrive at the total lumen target for the entire space.

Once you have your total lumen target, you must consider how the light behaves as it leaves the fixture. The beam angle of the downlight determines how wide the cone of light will be when it reaches your floor or work surfaces. A wider beam angle distributes light broadly across the room, which is excellent for general ambient lighting but reduces the intensity directly beneath the fixture. The ceiling height plays a major role here; in typical residential settings with ceiling heights of 2.6 to 2.8 meters, a wide-beam downlight will spread its light quickly, helping to eliminate dark spots between fixtures. However, if your ceilings are exceptionally high, a wide beam may disperse too much, resulting in a dim floor level and potential glare at eye level.
To achieve uniform coverage and avoid a “cave-like” effect where the center of the room is bright but the walls remain dark, it is almost always better to use a distributed layout of multiple fixtures rather than relying on a single high-wattage light source. For a standard-sized room, spacing several downlights evenly across the ceiling ensures that the overlapping cones of light create a seamless, shadow-free environment. When planning your layout, measure the distance between the walls and the fixtures, keeping downlights spaced roughly half the distance from each other as they are from the walls to maintain balanced illumination.
Essential Physical and Electrical Compatibility Checks
Before purchasing or installing any recessed downlight, you must verify that the physical dimensions of the fixture match your ceiling infrastructure. Recessed downlights require a specific ceiling cut-out size, which is the diameter of the hole that must be cut into the plasterboard or false ceiling. You must compare this cut-out dimension, along with the fixture’s overall outer diameter and depth, against the available space in your ceiling void. If you have a shallow ceiling cavity, ensure there is sufficient clearance above the fixture to allow heat to dissipate safely, as trapping heat can drastically shorten the lifespan of the LED driver and chips.
Electrical compatibility is equally vital for a safe and functional installation. You must verify that the voltage rating of the downlight matches your local household electrical supply. Additionally, if you plan to control the brightness of your lighting, you must check whether the specific 14W model you are purchasing is explicitly labeled as dimmable. Connecting a non-dimmable LED downlight or its driver to a standard dimmer switch can cause flickering, buzzing, or permanent damage to the internal circuitry. Always verify driver compatibility and use dimmer switches recommended by the manufacturer to ensure smooth operation.
Because installing recessed downlights involves working with fixed electrical wiring, safety must be your top priority. Before undertaking any installation, replacement, or maintenance, ensure that the power supply is completely isolated at the main distribution board. For installations in damp environments like bathrooms, work at heights, or complex wiring configurations, always hire a qualified licensed electrician. All electrical work must strictly adhere to the manufacturer’s installation instructions and local electrical safety standards to prevent fire hazards or electrical shocks.
Frequently Asked Questions (FAQ)
Is a 14W LED downlight sufficient as the sole light source for a bedroom?
Relying on a single central 14W downlight as the sole light source in a bedroom is generally not recommended. Because downlights project light downward in a defined cone, a single fixture will create harsh shadows in the corners of the room, leave the walls dark, and produce an intense, uncomfortable glare directly overhead when you are lying in bed. To create a comfortable and functional bedroom environment, it is better to calculate the total lumen requirement for the room’s square footage and distribute that light. Consider installing multiple, lower-intensity downlights spaced evenly across the ceiling, and supplement them with layered lighting such as bedside table lamps, wall sconces, or wardrobe lighting to achieve a balanced, relaxing atmosphere.
Can this downlight be installed in a bathroom or outdoor soffit?
Whether you can install this downlight in a bathroom or an outdoor soffit depends entirely on its Ingress Protection (IP) rating, which you must verify on the product’s specification label or user manual. Standard indoor downlights typically carry an IP20 rating, meaning they are protected against solid objects but offer no protection against water or moisture. Installing an IP20-rated fixture in wet zones, directly above a shower, or in exposed outdoor locations where wind-driven rain or high humidity can penetrate the housing is highly dangerous and can lead to short circuits or premature failure. For damp or wet areas, you must select a fixture specifically rated for those environments, such as an IP44 or IP65 downlight, and consult a qualified electrician to ensure the installation meets all safety codes.

Community discussion
Share your experience or ask a question. Comments are reviewed before publication.