
The Philips CL200 downlight is well suited for dry, indoor areas of your Singapore HDB flat or condo that feature a false ceiling, such as living rooms, bedrooms, hallways, and dedicated study areas. Because recessed downlights require physical clearance behind the ceiling board for housing and heat dissipation, their suitability depends heavily on your ceiling type and the specific environmental conditions of each room. Matching this fixture to the right space ensures both optimal lighting performance and long-term electrical safety.
In Singapore homes, the choice of lighting must balance aesthetic preferences with practical structural realities. HDB flats typically come with standard concrete soffits, meaning any recessed lighting installation requires the addition of a false ceiling. Condominiums may have partial or full false ceilings pre-installed, but the depth of these cavities varies significantly. Understanding these structural parameters is the first step before purchasing or installing any recessed fixtures.
Assessing Ceiling Clearance and Cutout Requirements
Before purchasing any recessed lighting fixtures, you must verify that your ceiling structure can physically accommodate them. Recessed downlights sit inside the ceiling cavity, which means the space behind your plasterboard must be deep enough to house the fixture body. You need to measure the vertical clearance between the underside of the concrete slab and the top of the false ceiling board.
Products mentioned in this guide
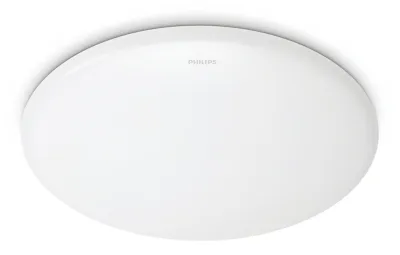
![[Climate Voucher] PHILIPS 10W / 20W / 24W CL200 Round LED Ceiling Light 6500K Cool Daylight EyeComfort](https://img.lazcdn.com/g/p/a90fe1d59dc7130c367907c82eeee7dc.jpg_400x400q80.jpg_.webp)
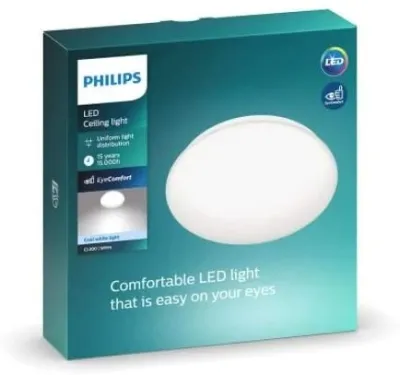
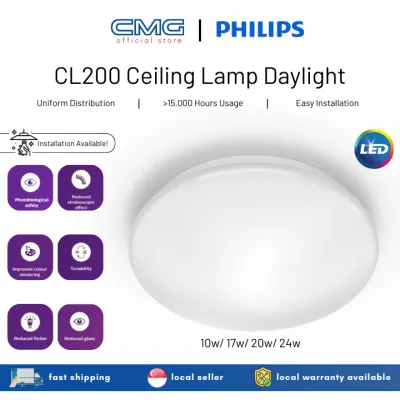
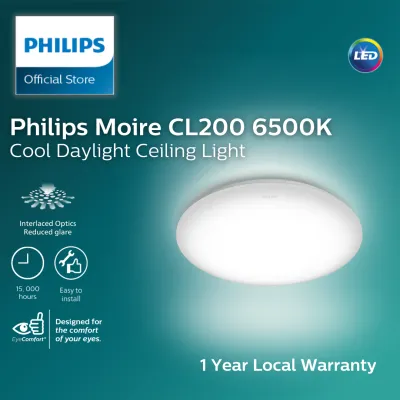
Prices are valid at publication and may change. Please refer to the product page for the latest price.
Insufficient clearance can lead to installation failures or severe overheating. Even energy-efficient LED fixtures generate heat at the back of the driver and light engine, which must dissipate into the surrounding air cavity. If the space is too tight or packed with insulation material, heat can build up rapidly, shortening the lifespan of the internal electronics. Always refer to the manufacturer’s specifications on the product packaging for the minimum clearance depth required.
The cutout diameter is another critical dimension that requires precise verification. You should never cut holes in your false ceiling based on general estimates or online guides. Instead, wait until you have the physical product or the official manufacturer specification sheet in hand to confirm the exact cutout diameter. A hole that is cut too large will prevent the spring clips of the downlight from gripping the ceiling board securely, while a hole that is too small will require tedious and messy widening.
Ceiling material compatibility is equally important for a clean and stable installation. Most residential false ceilings in Singapore are constructed from gypsum board or calcium silicate board supported by a metal frame. When cutting holes for your downlights, ensure that you do not cut through the main structural metal studs or channels, as this can compromise the integrity of the entire ceiling structure.
Once the cutouts are made, inspect the edges of the holes. The cut edges should be clean and free of excessive crumbling or loose plaster. If the material is prone to shedding, applying a quick-drying sealant or primer to the raw edges can help prevent dust from continuously falling through the gap. This step also ensures that the spring clips of the downlight sit on a firm, stable surface that will not degrade over time under the tension of the springs.
Evaluating Room Functions and Environmental Constraints
Different rooms in your home serve distinct functional purposes, and the lighting must be selected to match these activities. In living rooms and bedrooms, the primary goal is usually to create a warm, inviting, and relaxing atmosphere. When selecting your downlights, check the product label for the color temperature, which is measured in Kelvin (K). Warm white options (typically around 2700K to 3000K) are highly suitable for these spaces as they mimic the soft glow of traditional incandescent bulbs.

Brightness levels, measured in lumens, must also be balanced against the room’s size and layout. For ambient lighting in a bedroom or living room, you want a soft, diffused glow rather than a harsh, clinical glare. Evaluating the lumen output on the packaging allows you to calculate how many fixtures you need to achieve comfortable illumination without over-lighting the space.
Kitchens and home offices demand a different approach to lighting design. These workspaces require focused task lighting to ensure safety and productivity during food preparation or reading. Neutral white or cool white color temperatures (ranging from 4000K to 6500K) are often preferred here because they improve visibility and contrast.
However, kitchens present unique environmental challenges, such as airborne grease, steam, and elevated temperatures from cooking. Before installing a standard downlight directly above a stove or oven, check the manufacturer’s guidelines regarding heat tolerance and exposure to cooking fumes. Accumulations of grease and moisture on the fixture’s lens can degrade the light output and potentially damage the casing if the unit is not designed to withstand these elements.
Bathrooms and other wet areas require the strictest scrutiny of all. Water and electricity are a dangerous combination, making it essential to verify the Ingress Protection (IP) rating of any light fixture before installation. The IP rating consists of two digits: the first indicates protection against solid particles, and the second indicates protection against liquids.
For zones close to showers, bathtubs, or sinks, you must check the product label to ensure the downlight has an adequate IP rating (such as IP44 or higher) to handle splashing water and high humidity. If the downlight model you have purchased is rated only for dry indoor use (typically IP20), you must stop and avoid installing it in these moisture-prone zones. Installing an under-rated fixture in a damp environment can lead to short circuits, corrosion of internal components, and premature failure.
Navigating Electrical Safety and Installation Boundaries
Electrical safety must always be your top priority when planning any lighting installation or modification. Before you touch any wires, open any junction boxes, or attempt to mount a fixture, you must shut down the main power supply at your home’s distribution board. Do not rely solely on the wall switch to turn off the power, as some circuits may still carry live current due to improper wiring configurations.
Once the power is switched off at the distribution board, use a reliable, non-contact voltage tester to verify that the wires are truly dead before proceeding. This simple check takes only a few seconds but can prevent severe electrical shocks. If you are replacing existing fixtures, take the opportunity to inspect the condition of the wiring inside the ceiling cavity.
Look closely at the insulation of the existing wires. If you notice any cracking, fraying, discoloration, or signs of melting, this indicates that the wiring is degraded or has been subjected to excessive heat. You must also ensure that the existing lighting circuit has sufficient capacity to handle the cumulative electrical load of your new downlights, especially if you are adding more fixtures than were previously installed.
While modern LED downlights consume very little power compared to older halogen or incandescent bulbs, overloading a circuit can still cause breakers to trip or create fire hazards if the wiring is substandard. It is crucial to recognize your limits and identify clear stop conditions where DIY efforts must be halted immediately.
If you discover outdated wiring, if your home lacks a proper grounding system, or if you need to make structural modifications to the ceiling joists to fit the fixtures, stop immediately. Similarly, if you are planning installations in complex damp areas or need to run new electrical lines from the distribution board, you must consult a licensed electrician. In Singapore, electrical work must comply with local safety standards, and hiring a qualified professional ensures your home remains safe and compliant.
Planning Fixture Spacing and Lighting Layouts
A successful lighting layout requires careful planning to ensure even illumination across the room without creating dark corners or harsh, overlapping glare. To determine the optimal spacing between your downlights, you need to consider both the height of your ceiling and the beam angle of the fixture. The beam angle determines how wide the cone of light spreads as it travels downward.
As a general guideline for standard residential ceiling heights in Singapore (which typically range from 2.6 to 2.8 meters), downlights are often spaced approximately 1 to 1.5 meters apart. Spacing them too far apart will result in noticeable dark spots on your floors and walls, while placing them too close together can create an overly bright, clinical environment that feels uncomfortable.
When planning the layout, pay close attention to the placement of major furniture pieces. Avoid positioning downlights directly above areas where people will be lying down or sitting for extended periods, such as directly over the head of a bed, above a sofa, or right over a television screen. Direct light shining down into a person’s eyes causes uncomfortable glare and eye strain.
Instead, offset the fixtures slightly so that the light washes down walls or illuminates open floor pathways. This technique, known as wall washing, can make a room feel larger and more spacious by highlighting the vertical surfaces. It also reduces the direct glare that can make a living room or bedroom feel less relaxing.
To achieve optimal results, do not rely on downlights as your sole source of illumination. Instead, integrate them into a layered lighting scheme that combines ambient, task, and accent lighting. For example, you can pair your recessed downlights with cove lighting hidden in the false ceiling, pendant lights over a dining table, or floor lamps next to reading chairs.
This layered approach allows you to adapt the lighting to different times of day and activities. You can turn on the downlights when you need bright, clear visibility for cleaning or hosting guests, and switch to softer cove lighting or lamps in the evening when you want to wind down before sleep.
Frequently Asked Questions (FAQ)
Can I install this downlight in a bathroom without a false ceiling?
Recessed downlights are designed specifically to be mounted inside a cavity, which means they cannot be installed directly onto a solid concrete ceiling without a false ceiling. If your bathroom has a concrete soffit and you do not wish to install a false ceiling, you will need to look for surface-mounted downlights or alternative ceiling-mounted utility fixtures. Additionally, you must verify that any fixture installed in a bathroom has an appropriate IP rating to protect against moisture and splashing water, as standard indoor downlights are not safe for wet environments.
How do I check if my existing dimmer switch is compatible?
To determine if your downlight can be dimmed safely, you must first check the product packaging or manufacturer specification sheet for a clear indicator stating that the unit is dimmable. Many standard LED downlights are non-dimmable, and connecting them to a dimmer switch can cause persistent flickering, buzzing, or permanent damage to the LED driver. If the fixture is dimmable, you must also verify that your dimmer switch is compatible with LED loads, as older dimmers designed for incandescent bulbs often do not function correctly with low-wattage LED fixtures. Testing a single unit on the circuit before completing the full installation is highly recommended to ensure smooth operation.

Community discussion
Share your experience or ask a question. Comments are reviewed before publication.